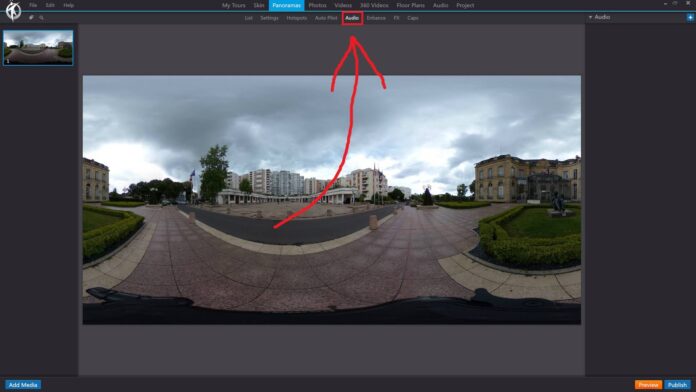
In 3DVista, the “Audio” feature allows you to add background music or ambient sounds to your panoramas, enhancing the immersive experience of your virtual tours. Audio can be used to create a specific atmosphere or provide additional context for the viewer.
To add audio to your panoramas in 3DVista, follow these steps:
Launch 3DVista and open your virtual tour project.
In the toolbar at the top of the main window, click on “Panoramas” to open the “Panoramas” section.
In the list of panoramas, click on the panorama where you want to add audio.
Click on the “Audio” tab to open the audio editor for the selected panorama.
Within the audio editor, you can:
Add background music or ambient sounds: Click the “Add” button to open the file browser and select the audio file you want to use. Supported file formats include MP3, WAV, and OGG.
Edit audio settings: Click on the audio file in the list to open its properties panel. Here, you can adjust settings such as volume, loop, and fade in/out times.
Delete audio: Select the audio file you want to remove and click the “Delete” button.
Preview the audio: Click the “Play” button to listen to the audio within the panorama viewer.
Keep in mind that audio files should be appropriately compressed to ensure optimal performance and loading times in your virtual tour. Also, it is essential to respect copyright and licensing rules when using music or other audio content in your projects.
Adding audio to your panoramas in 3DVista can significantly enhance the user experience, providing a more immersive and engaging virtual tour for your viewers. By incorporating background music or ambient sounds, you can create a specific atmosphere or context that adds depth and dimension to your virtual tours.
