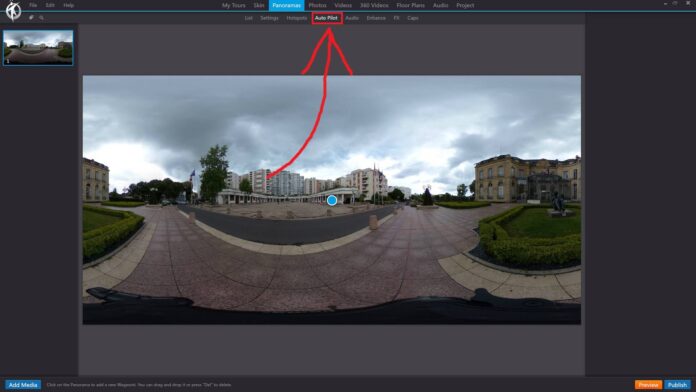
In 3DVista, the “Auto Pilot” feature allows you to create an automatic guided tour that navigates through your panoramas and other media without any user input. This can be a useful tool for showcasing your virtual tour in a presentation or for providing a quick overview of your project.
To set up the Auto Pilot feature for your panoramas in 3DVista, follow these steps:
Launch 3DVista and open your virtual tour project.
In the toolbar at the top of the main window, click on “Panoramas” to open the “Panoramas” section.
In the list of panoramas, click on the panorama where you want to add an Auto Pilot sequence.
Click on the “Auto Pilot” tab to open the Auto Pilot editor for the selected panorama.
Within the Auto Pilot editor, you can:
Create a new Auto Pilot sequence: Click the “Add” button to create a new sequence.
Edit an existing sequence: Click on an existing sequence in the list to open its properties panel. Here, you can adjust settings such as the duration of each step, the camera’s path and speed, and the transitions between panoramas.
Delete a sequence: Select the sequence you want to remove and click the “Delete” button.
Preview the Auto Pilot sequence: Click the “Play” button to preview the current sequence in the panorama viewer.
Enable Auto Pilot for the entire tour: To activate Auto Pilot mode for the entire virtual tour, open the “Project” tab in the main toolbar, and enable the “Auto Pilot” option in the “General” settings.
By using the Auto Pilot feature in 3DVista, you can create an automated walkthrough of your virtual tour, providing an engaging and immersive experience for your viewers. This feature can be especially helpful for showcasing your project during presentations, trade shows, or other events where a hands-off approach is desired.
