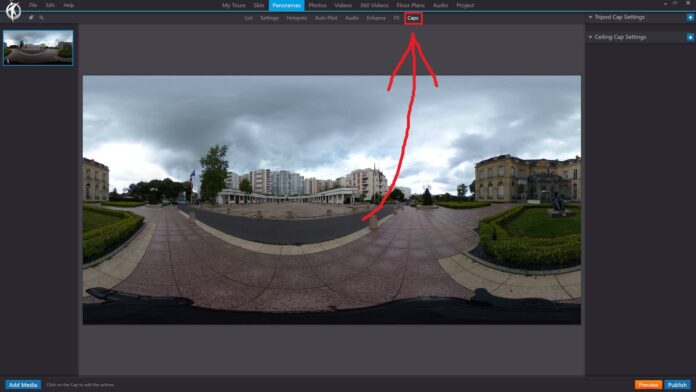
In 3DVista, the “Caps” feature allows you to add customized top and bottom caps to your panoramas. Caps are graphical elements that cover the zenith (top) and nadir (bottom) areas of a panoramic image, which can be used to hide tripod legs, shadows, or stitching errors. They can also be used to add branding or other visual elements to your virtual tours.
To add caps to your panoramas in 3DVista, follow these steps:
Launch 3DVista and open your virtual tour project.
In the toolbar at the top of the main window, click on “Panoramas” to open the “Panoramas” section.
In the list of panoramas, click on the panorama to which you want to add caps.
Click on the “Caps” tab to open the caps editor for the selected panorama.
Within the caps editor, you can:
Add top cap: Click on the “+” button next to “Top Cap” to browse and select an image file to be used as the top cap. The image will be placed at the zenith of the panorama, covering the top area.
Add bottom cap: Click on the “+” button next to “Bottom Cap” to browse and select an image file to be used as the bottom cap. The image will be placed at the nadir of the panorama, covering the bottom area.
Adjust cap size: Use the sliders next to “Top Cap” and “Bottom Cap” to adjust the size of the caps. You can make them larger or smaller to cover more or less area of the panorama.
Remove caps: To remove a cap, click on the “X” button next to the corresponding cap (Top Cap or Bottom Cap).
When adding caps to your panoramas, ensure that the image files you use are of high quality and have a transparent background (e.g., PNG format) to blend seamlessly with the panorama.
Using the Caps feature in 3DVista, you can enhance the presentation of your virtual tours by covering any imperfections, adding branding elements, or simply providing a more polished look to your panoramas.
