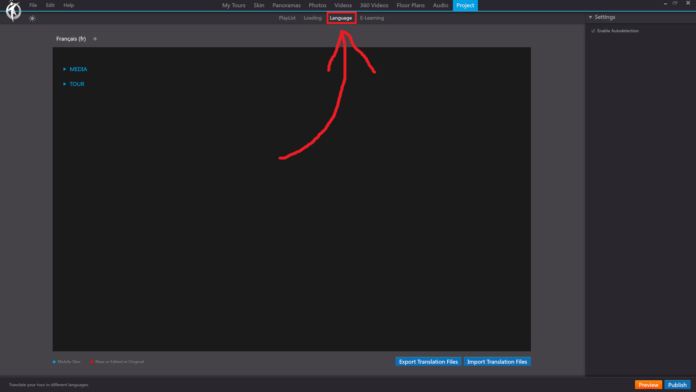
In 3DVista, the “Language” option in the “Project” section of the toolbar allows you to manage and customize the languages available for your virtual tour. This feature is particularly useful when creating virtual tours for audiences that speak different languages or come from different regions.
When you click on the “Language” option under the “Project” section, you will have access to the following settings:
Default Language: Choose the default language for your virtual tour. This is the language that will be displayed when a user first opens the tour.
Add Language: Click the “Add Language” button to include additional languages in your virtual tour. You can choose from a list of predefined languages or add custom ones.
Language Settings: For each added language, you can customize the text labels, tooltips, and other text elements within your virtual tour. This includes text within the skin, hotspots, and other interactive elements.
Language Flags: Assign flag icons to represent the different languages available in your virtual tour. The flag icons can be displayed within the skin, allowing users to easily switch between languages.
Preview Language Settings: Use the built-in preview function to test the language settings and ensure that the text and other elements are properly translated and displayed for each language.
By using the “Language” option under the “Project” section in the 3DVista toolbar, you can create a multilingual virtual tour that caters to a diverse audience, making your tour more accessible and engaging for users from different regions and language backgrounds.


