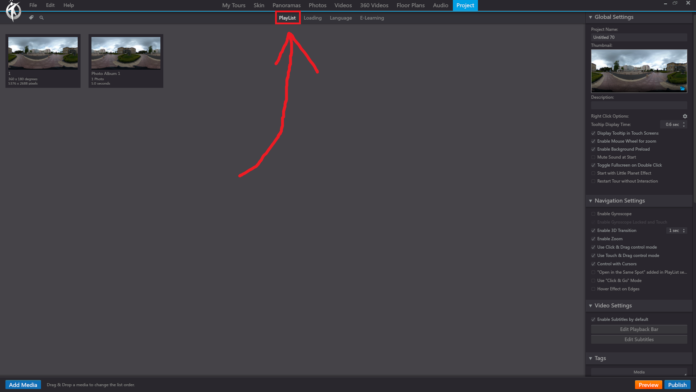
In 3DVista, the “Playlist” option in the “Project” section of the toolbar allows you to manage the sequence and timing of your virtual tour’s media assets. You can create a custom playlist to control the order in which panoramas, videos, and audio files are played during the virtual tour, as well as set specific durations for each media asset.
When you click on the “Playlist” option under the “Project” section, you will be able to perform the following actions:
Add Media: Click on the “Add Media” button to insert panoramas, videos, or audio files from your project into the playlist. You can browse your media library and select the assets you want to include in the sequence.
Arrange Media: Drag and drop the media assets within the playlist to arrange them in the desired order. You can easily change the sequence of the media by clicking and dragging the assets to a new position in the list.
Set Duration: For each media asset in the playlist, you can set a specific duration in seconds. This will determine how long the asset will be displayed or played during the virtual tour before transitioning to the next item in the playlist.
Loop Playlist: Enable the “Loop Playlist” option if you want the playlist to automatically restart from the beginning once it reaches the end. This can be useful for creating continuous presentations or background audio that plays throughout the entire virtual tour.
Preview Playlist: Use the built-in preview function to test the playlist and ensure that the sequence and timing of the media assets are as intended.
By using the “Playlist” option under the “Project” section in the 3DVista toolbar, you can create a well-organized and timed presentation of your virtual tour’s media assets, providing your viewers with a more engaging and dynamic experience.
