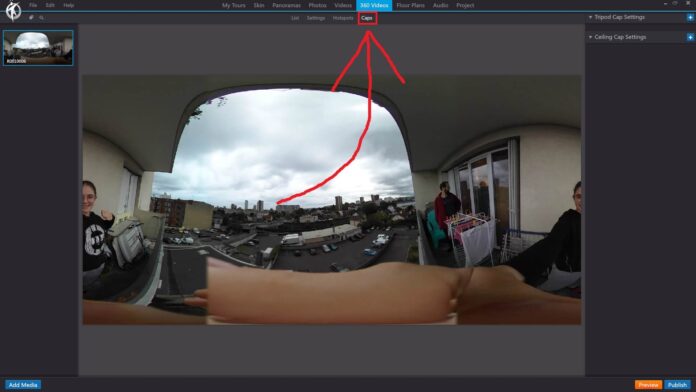
In 3DVista, the “Caps” option under the “360 Videos” section in the toolbar allows you to add customized caps to the nadir (bottom) and zenith (top) of your 360-degree videos. These caps can be useful for covering camera equipment, tripod shadows, or other unwanted elements in your 360-degree video, resulting in a more polished and professional appearance.
When you click on the “Caps” option with a 360-degree video selected, you can perform the following actions:
Choose Cap Design: Select from a variety of pre-designed caps, or upload your own custom image to use as a cap.
Apply Nadir and Zenith Caps: Apply separate caps to the nadir and zenith of your 360-degree video. You can use the same design for both or choose different designs for each.
Customize Cap Properties: Adjust the size, position, opacity, and other properties of the cap to ensure it blends seamlessly with your 360-degree video.
Preview the Cap: Use the built-in preview function to see how the cap appears within the 360-degree video. This allows you to ensure that the cap is properly placed and customized before publishing your virtual tour.
By using the “Caps” option under the “360 Videos” section in the toolbar, you can enhance the visual quality of your 360-degree videos and create a more immersive and professional virtual tour experience.
