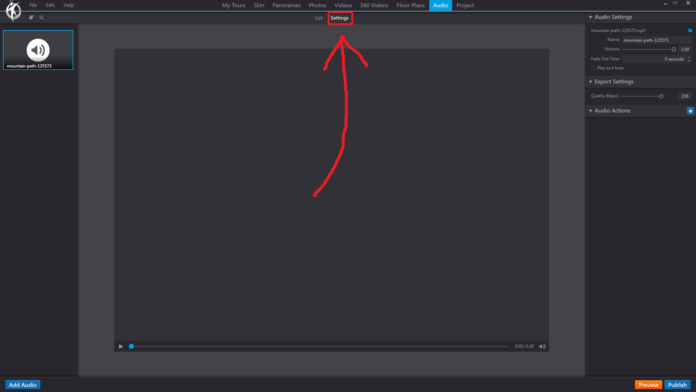
In 3DVista, the “Settings” option under the “Audio” section of the toolbar allows you to configure and fine-tune the audio settings for your virtual tour. This includes adjusting the global audio settings, as well as managing the audio behavior within individual scenes and hotspots.
When you click on the “Settings” option in the “Audio” section, you will see the following:
Global Audio Settings: Configure the overall audio settings for your virtual tour, such as the master volume, mute settings, and audio fade settings when transitioning between scenes. These settings will apply to all audio elements within your tour.
Scene-specific Audio Settings: Customize the audio settings for individual scenes in your tour. This allows you to create unique audio experiences for each scene, including different background music, ambient sounds, or narration. You can adjust the volume, looping, and auto-play settings for each scene.
Hotspot Audio Settings: Manage the audio settings for hotspots within your tour. This includes configuring the audio behavior when a hotspot is clicked or hovered over by the user. You can set the hotspot to play specific audio files, pause or resume playback, adjust the volume, or mute/unmute the audio.
Audio Format Compatibility: Ensure that your audio files are in a format compatible with various devices and web browsers. 3DVista supports popular audio formats such as MP3, WAV, and OGG. You can check the compatibility of your audio files and convert them to other formats if needed.
By using the “Settings” option in the “Audio” section of the 3DVista toolbar, you can create a fully customized and immersive audio experience for your viewers, enhancing the overall quality and engagement of your virtual tour.
