3DVista – Panoramas – List
In 3DVista, the “Panoramas” section provides a list of all the panoramas you have imported or created for your virtual tour project. This list allows you to manage, organize, and edit your panoramas as needed.
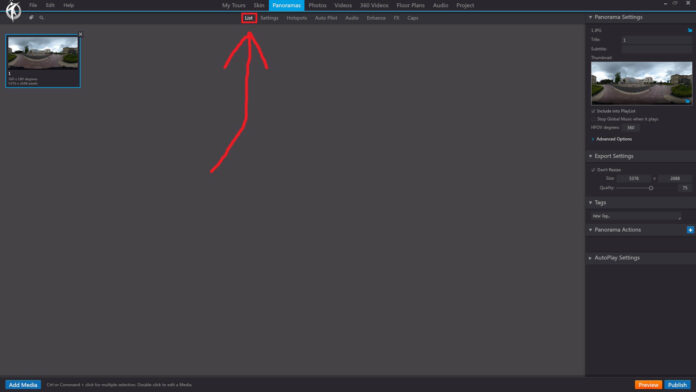
To access the list of panoramas in 3DVista, follow these steps:
1. Launch 3DVista and open your virtual tour project.
2. In the toolbar at the top of the main window, click on “Panoramas” to open the “Panoramas” section.
3. You will see a list of all the panoramas that are part of your project, displayed with thumbnail previews and filenames.
From the “Panoramas” list, you can perform various actions, such as:
• Preview the panorama by clicking on the thumbnail.
• Rename the panorama by double-clicking on the filename and typing a new name.
• Delete a panorama by selecting it and pressing the “Delete” key on your keyboard or clicking the “Delete” icon.
• Change the order of panoramas by clicking and dragging them to a new position in the list.
• Edit panorama properties, such as the initial view or GPS location, by clicking on the “Properties” icon.
The “Panoramas” list in 3DVista is an essential tool for organizing and managing the panoramas within your virtual tour project, allowing you to keep track of all your imported and created panoramic images in one place.
Sign in


