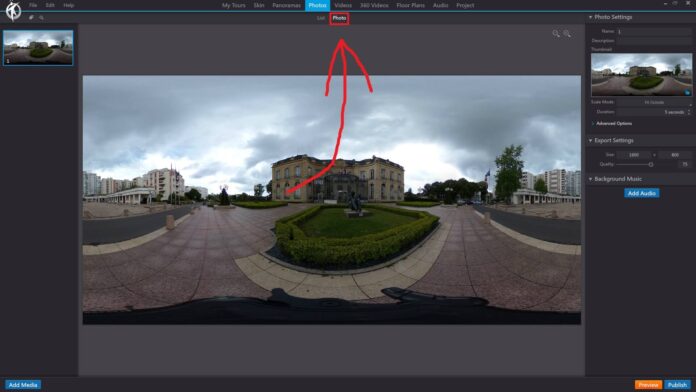
In 3DVista, the “Photo” option under the “Photos” toolbar section is designed to help you manage individual photos and create photo albums within your virtual tour project. This option allows you to add photos to your project, edit their properties, and apply various settings.
Here’s what you can do with the “Photo” option in the “Photos” section:
Add Photos: To add a photo to your virtual tour, click on the “Photo” option, and a file browser window will open, allowing you to select the image file you want to import. Choose the desired image file and click “Open” to add it to your project.
Edit Photo Properties: Once you’ve added a photo to your project, you can edit its properties, such as the title, description, and tags. This information can be used to help organize your photos and make them more accessible to your audience.
Apply Settings: The “Photo” option also provides various settings that can be applied to individual photos or entire photo albums. These settings include display options, such as transitions, image quality, and more.
Create Photo Albums: You can use the “Photo” option to create photo albums by grouping related photos together. This allows you to create a more organized and engaging virtual tour experience for your audience.
Preview Photos: After adding and editing your photos, you can preview them directly in 3DVista to see how they will appear in your virtual tour. This helps ensure that your photos look their best and that they are properly formatted for your project.
By using the “Photo” option under the “Photos” toolbar, you can manage individual photos and create visually appealing photo albums for your virtual tour project, making it more engaging and enjoyable for your audience.
