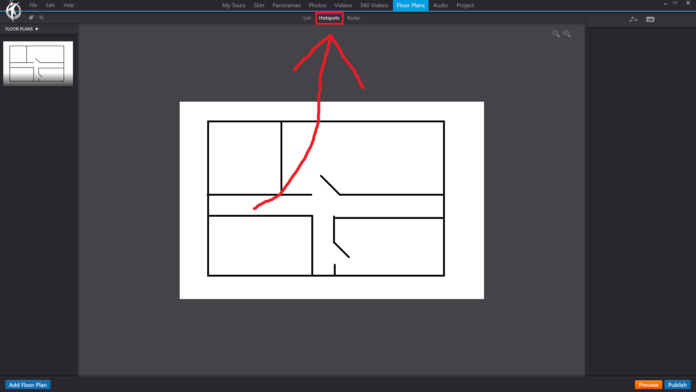
In 3DVista, the “Hotspots” option under the “Floor Plans” section in the toolbar enables you to add and customize interactive hotspots on your floor plans. These hotspots can be used to create engaging and interactive experiences for your virtual tour viewers, allowing them to navigate between different scenes, display additional information, or trigger various actions.
When you click on the “Hotspots” option with a floor plan selected, you can perform the following actions:
Add a Hotspot: Click the “Add Hotspot” button to place a new hotspot on the floor plan. You can choose from a variety of hotspot types, such as image, text, audio, video, or 3D objects.
Position the Hotspot: Click and drag the hotspot to the desired location on the floor plan.
Configure the Hotspot: Customize the appearance and functionality of the hotspot by editing its properties. You can adjust the size, color, opacity, and animations, as well as add tooltips or labels.
Set Hotspot Actions: Define the actions that will be triggered when the hotspot is clicked or hovered over by the user. These actions can include navigating to another scene, displaying an info window, playing audio or video, opening a website, or executing custom JavaScript code.
Preview the Hotspot: Use the built-in preview function to test the hotspot’s appearance and functionality within the floor plan. This allows you to ensure that the hotspot is working as intended before publishing your virtual tour.
Using the “Hotspots” option under the “Floor Plans” section in the toolbar, you can create immersive and interactive experiences within your floor plans, enhancing the overall engagement and enjoyment of your virtual tours.
