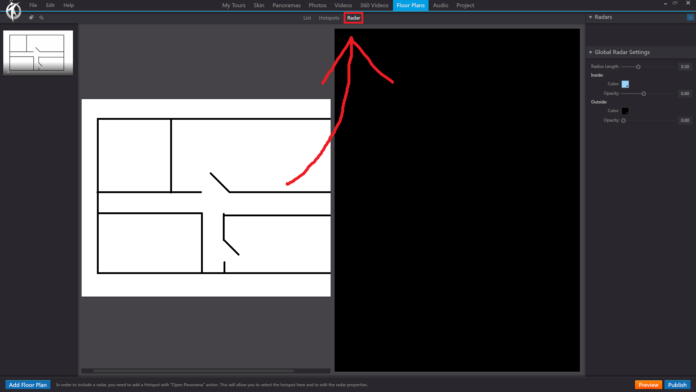
In 3DVista, the “Radar” option under the “Floor Plans” section in the toolbar allows you to add a radar element to your floor plan, which helps users understand their current orientation within the virtual tour. The radar visually represents the viewer’s field of view and direction, making it easier for them to navigate the tour and understand the spatial layout.
When you click on the “Radar” option with a floor plan selected, you can perform the following actions:
Add a Radar: Click the “Add Radar” button to place a new radar element on the floor plan.
Position the Radar: Click and drag the radar to the desired location on the floor plan, usually over the hotspot that represents the current panorama.
Configure the Radar: Customize the appearance and functionality of the radar by editing its properties. You can adjust the size, color, opacity, and other visual aspects of the radar element.
Set Radar Rotation: Define the rotation of the radar element based on the orientation of the panorama within the virtual tour. This ensures that the radar accurately represents the viewer’s field of view and direction.
Preview the Radar: Use the built-in preview function to test the radar’s appearance and functionality within the floor plan. This allows you to ensure that the radar is working as intended before publishing your virtual tour.
By using the “Radar” option under the “Floor Plans” section in the toolbar, you can enhance the navigation experience for your virtual tour viewers, making it easier for them to understand their position and orientation within the tour.
