3DVista – Add Media
In 3DVista, adding media to your virtual tour project, such as images, panoramas, or videos, is an essential step in creating an engaging and immersive experience. To add media to your project, follow these steps:
1. Open your 3DVista project or create a new one.
2. In the workspace, locate the “Media” panel, usually found on the left side of the interface.
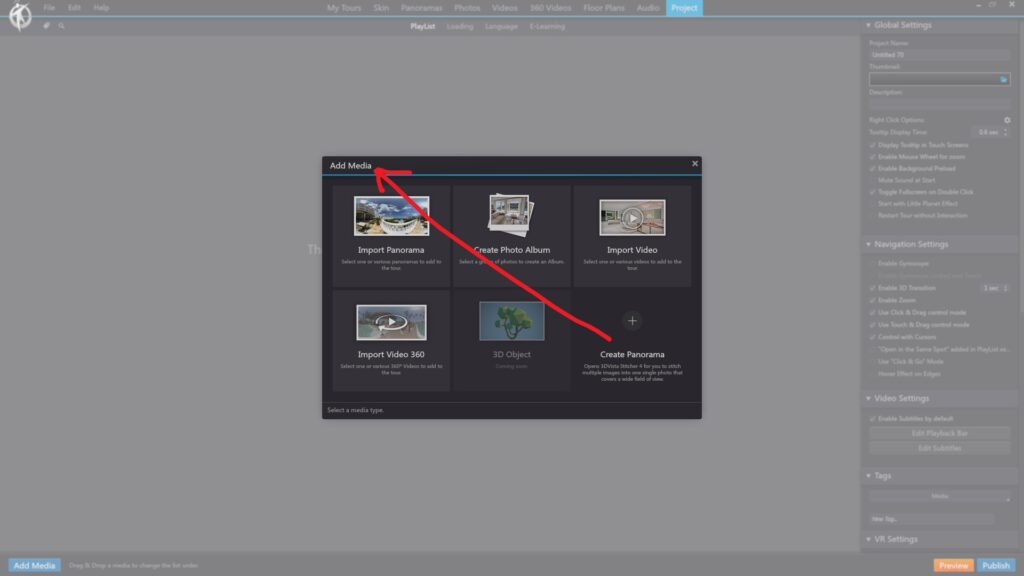
3. Click on the “Add Media” button within the “Media” panel. The button is typically represented by a “+” icon.
4. A context menu will appear, displaying various media types you can add to your project. These may include:
– Panoramas: 360° panoramic images
– Photos: Regular 2D images
– Videos: Video files in supported formats
– 360° Videos: 360° video files in supported formats
5. Select the desired media type from the menu, and a file browser dialog will appear.
6. Navigate to the location where the media file is saved on your computer, select the file, and click “Open” to import it into your project.
The imported media will now be available in your project and can be added to your virtual tour. You can further customize the media’s appearance, interactivity, and settings to create a truly immersive and engaging experience for your viewers.
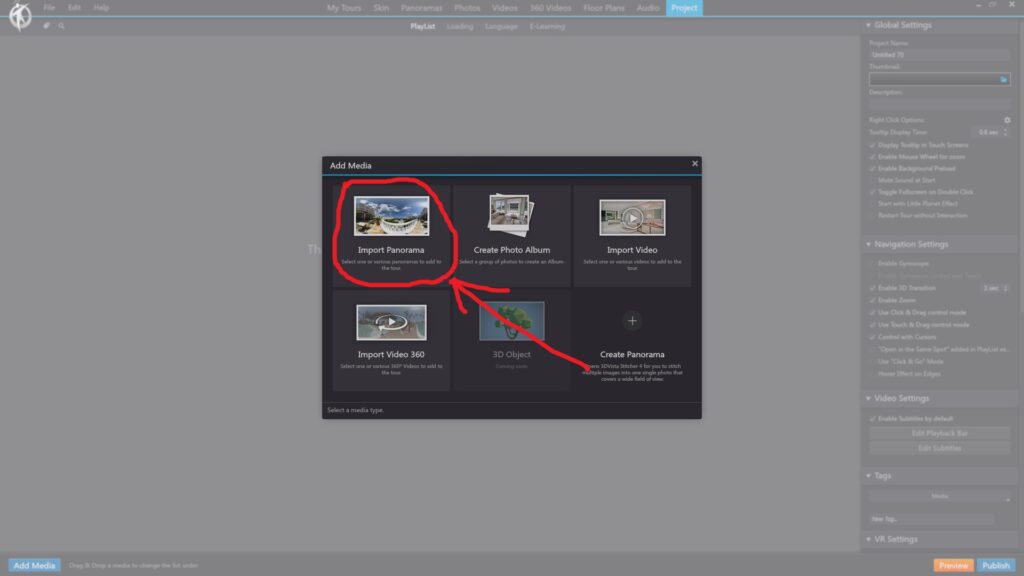
3DVista – Add Media – Import Panorama
In 3DVista, the “Import Panorama” is used to add 360° panoramic images to your virtual tour project. These panoramas create an immersive, interactive experience for your viewers. You can further customize the panorama’s appearance, interactivity, and settings to create a truly immersive and engaging experience for your viewers.
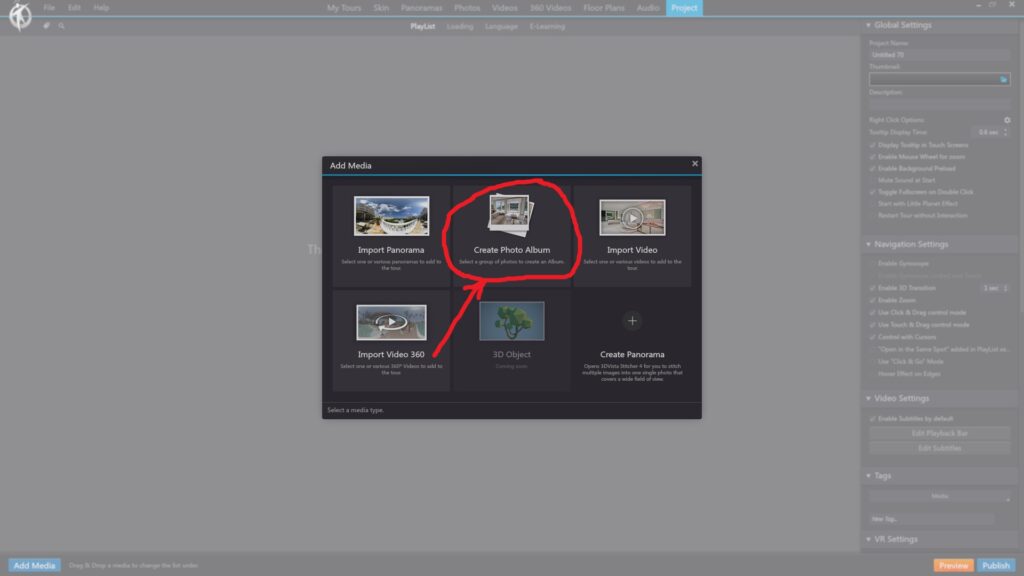
3DVista – Add Media – Create Photo Album
In 3DVista, creating a photo album allows you to showcase a collection of 2D images within your virtual tour, providing an additional layer of interactivity and engagement for your viewers. Once the images are imported, a photo album icon will appear in the “Media” panel. You can now customize the appearance and settings of the photo album, including adding captions, changing the order of the images, and selecting a layout or skin for the album.
To integrate the photo album into your virtual tour, simply drag and drop it onto a hotspot or other interactive element.
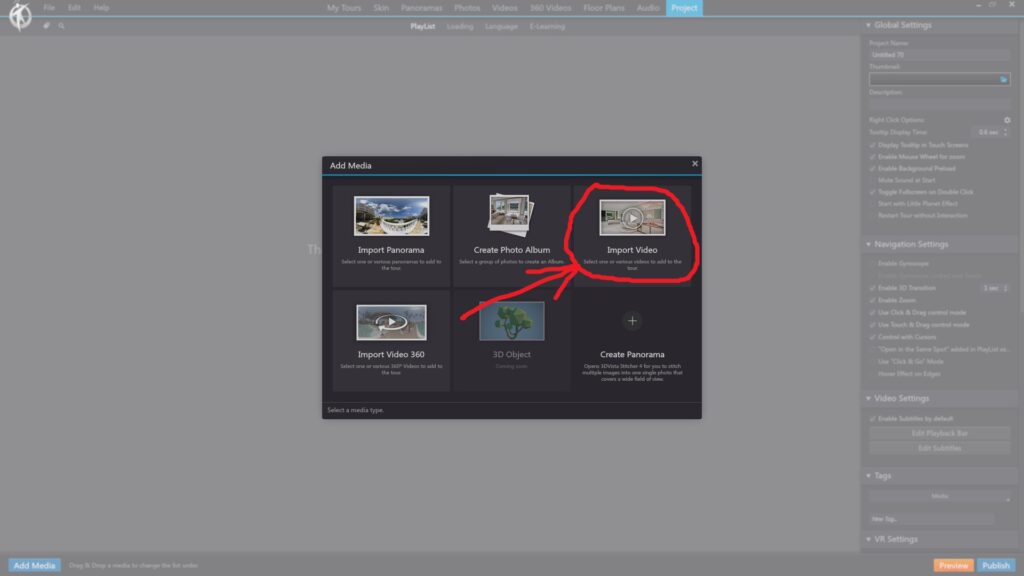
3DVista – Add Media – Import Video
In 3DVista, importing a video allows you to include video content in your virtual tour, enhancing the interactivity and immersive experience for your viewers. The imported video will now be available in your project and can be added to your virtual tour. You can further customize the video’s appearance, interactivity, and settings to create a truly engaging experience for your viewers.
To integrate the video into your virtual tour, simply drag and drop it onto a hotspot or other interactive element.
3DVista – Add Media – Import Video 360
In 3DVista, importing a 360° video allows you to include immersive video content in your virtual tour, creating an engaging and interactive experience for your viewers. You can further customize the video’s appearance, interactivity, and settings to create a truly immersive experience for your viewers.
To integrate the 360° video into your virtual tour, simply drag and drop it onto a hotspot or other interactive element.

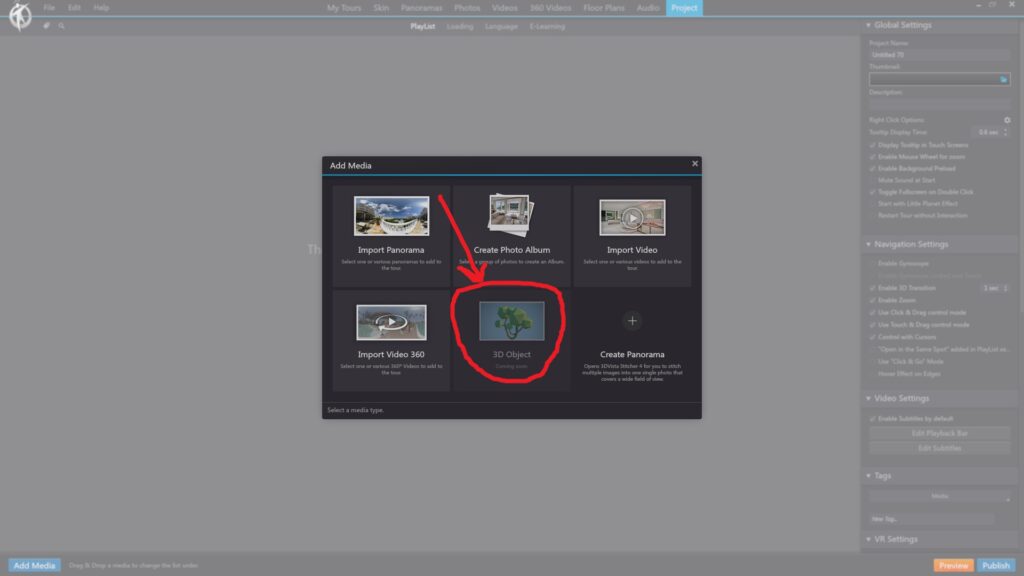
3DVista – Add Media – 3D Object
This method allows you to enhance the interactivity and immersion of your virtual tour by incorporating 3D objects for your viewers to explore.
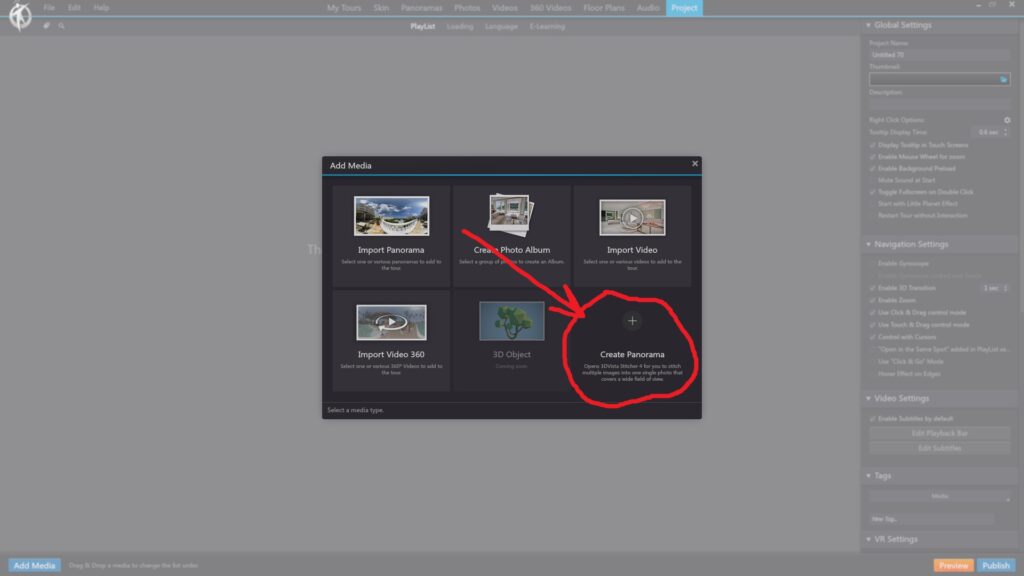
3DVista – Add Media – Create Panorama
In 3DVista, creating a panorama involves stitching together multiple photographs to create a 360° panoramic image that you can add to your virtual tour. To create a panorama in 3DVista, you can use an external tool like 3DVista Stitcher, which is designed for this purpose. After creating the panorama using 3DVista Stitcher, you can import it into your 3DVista virtual tour project by following the steps for importing a panorama mentioned in a previous response. With the panorama added to your project, you can customize its appearance, interactivity, and settings to create an immersive experience for your viewers.