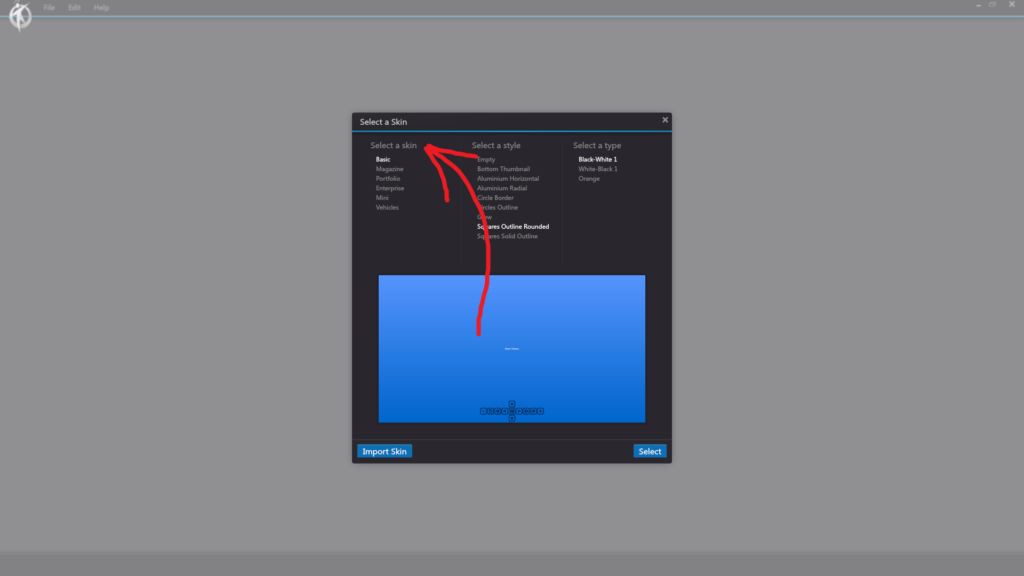
3DVista – Select a Skin
In 3DVista, a skin is a predefined design template that determines the appearance of the virtual tour interface, including elements like buttons, menus, and navigation controls.
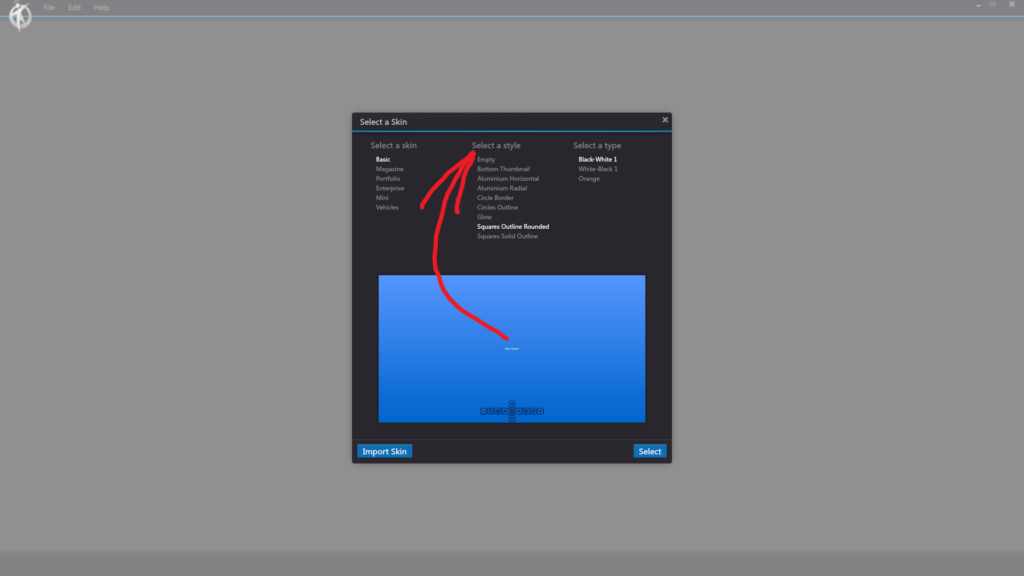
3DVista – Select a Skin – Select a Style
In 3DVista, selecting a skin style for your virtual tour project is part of the skin selection process. Skins come in various styles to suit different design preferences and project requirements. After selecting a skin style, you can further customize its appearance by editing individual elements and adding your own branding or design touches.
The skin style can be changed at any time during the virtual tour creation process, allowing you to experiment with different designs until you find the perfect fit for your project.
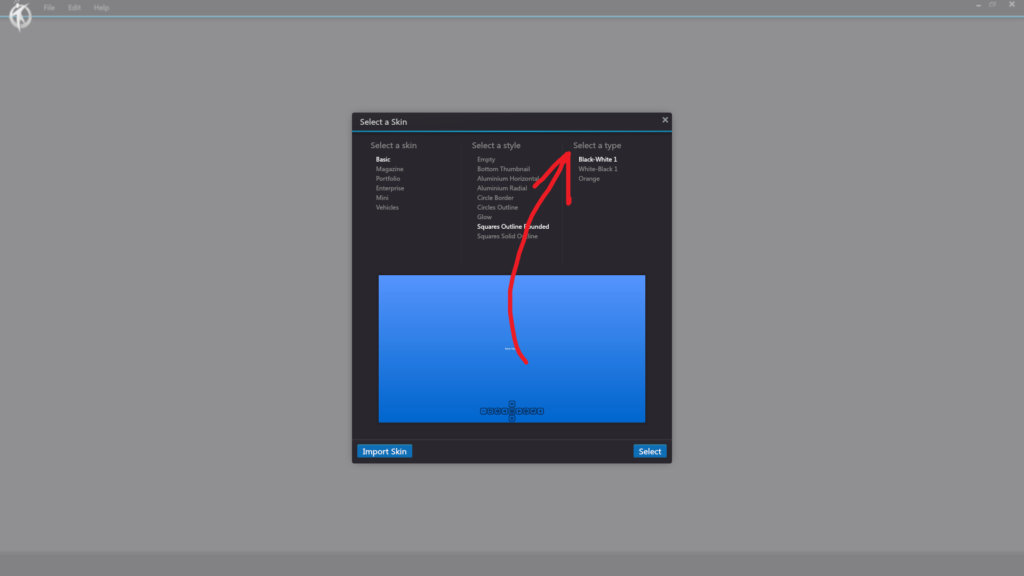
3DVista – Select a Skin – Select a Type
In 3DVista, skins are organized into different types or categories, each catering to specific design preferences and virtual tour requirements. After selecting a skin type, you can further customize its appearance by editing individual elements and adding your own branding or design touches.
The skin type can be changed at any time during the virtual tour creation process, allowing you to experiment with different designs until you find the perfect fit for your project.
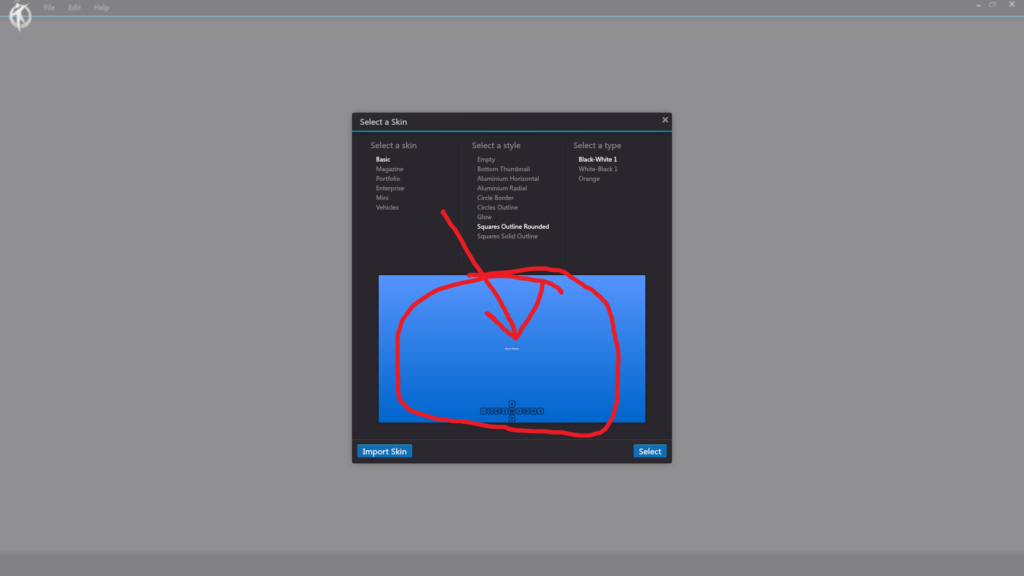
3DVista – Select a Skin – Main Viewer
In 3DVista, the Main Viewer refers to the primary viewing area in which the virtual tour’s panoramas, videos, and other media are displayed. Selecting a skin for the Main Viewer helps define the overall appearance and interactivity of the virtual tour. After selecting a skin for the Main Viewer, you can further customize its appearance by editing individual elements and adding your own branding or design touches. The skin can be changed at any time during the virtual tour creation process, allowing you to experiment with different designs until you find the perfect fit for your project.
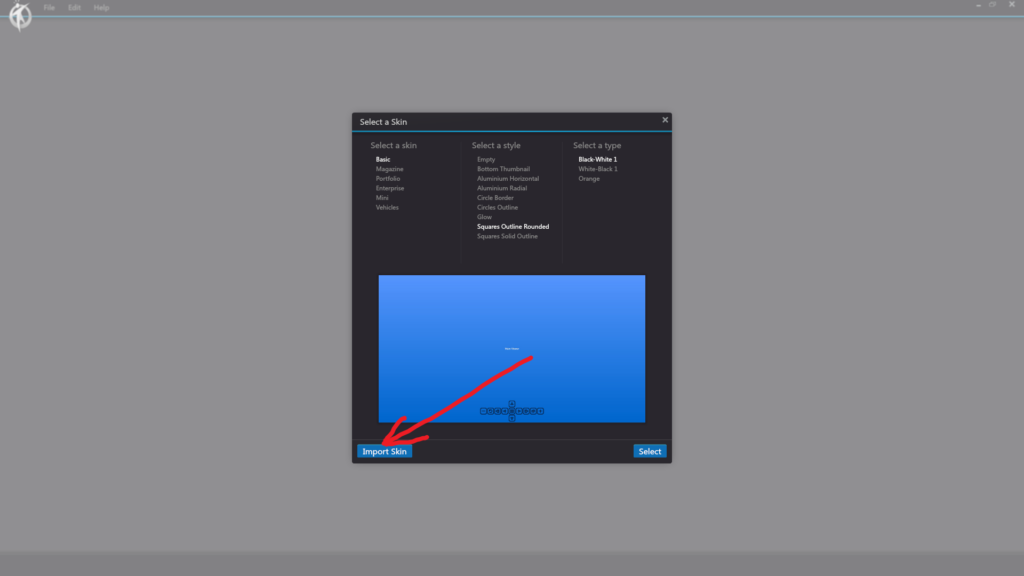
3DVista – Import Skin
In 3DVista, importing a custom skin allows you to use a skin that you’ve either created yourself or obtained from another source, such as a designer or a third-party website. The imported skin will now be available in your project, and you can apply it to your virtual tour. You can further customize the skin by editing individual elements and adding your own branding or design touches. Keep in mind that you can import and use multiple custom skins in a single project, giving you even more control over the appearance and functionality of your virtual tour.
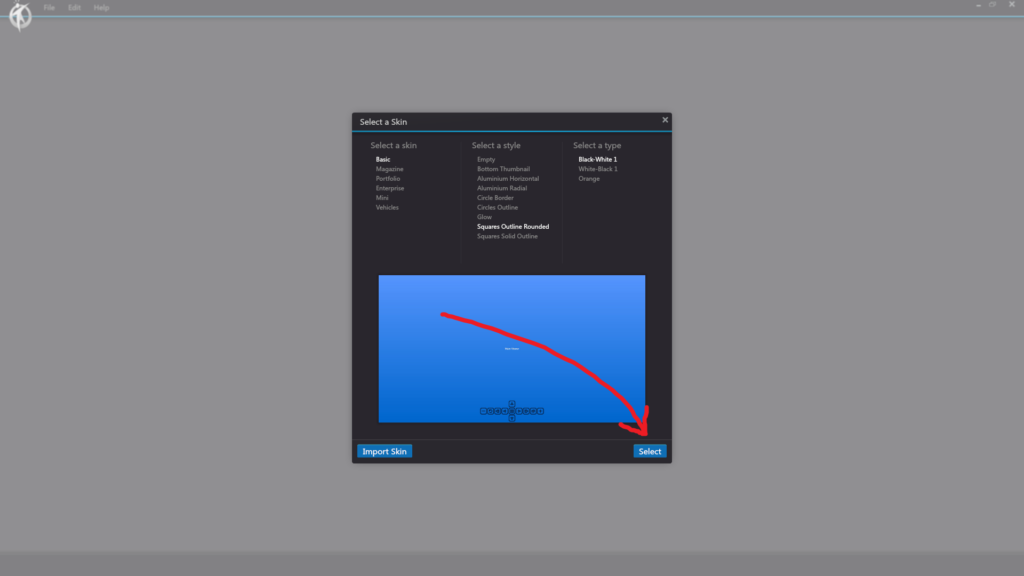
3DVista – Select a Skin – Select
In 3DVista, the “Select” button is a key component in the process of choosing a skin for your virtual tour project. Located within the “Skin Library” dialog, the “Select” button allows you to finalize your skin selection and apply it to your virtual tour project.
When you browse through the available skins in the “Skin Library” dialog, you can preview each skin by clicking on its thumbnail. Once you’ve found a suitable skin, click on the “Select” button to confirm your choice. The skin will then be applied to your project, and you can proceed to customize its appearance and elements to fit your specific needs and preferences.
The “Select” button streamlines the skin selection process, making it easy for you to experiment with different designs and quickly apply the one that best suits your virtual tour’s style and requirements.