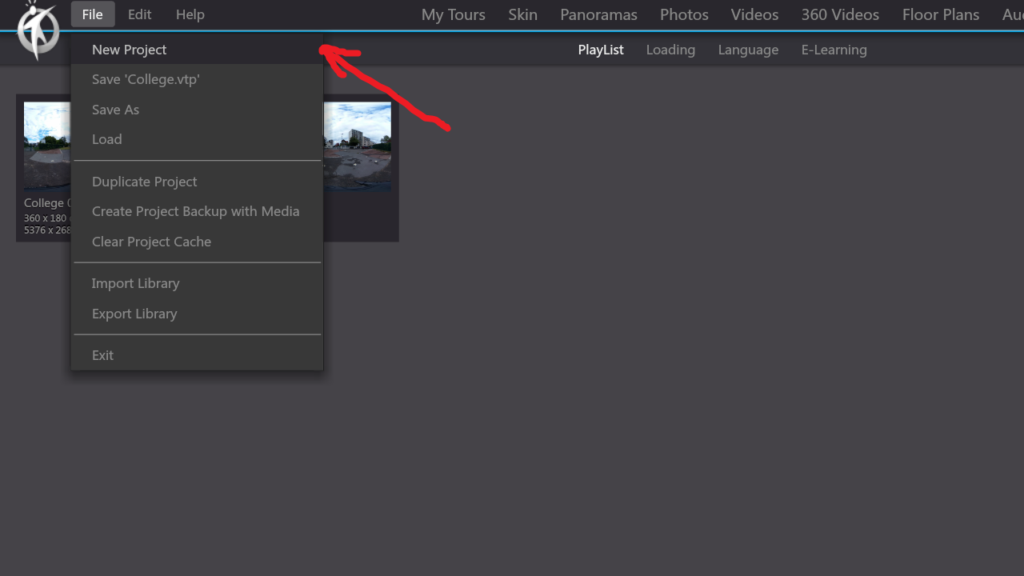
New Project
In 3DVista, the “New Project” option is a command found in the main menu under “File”. It allows users to create a new virtual tour project within the software, enabling them to start designing and building a virtual tour from scratch. By selecting “New Project,” users can set up their project preferences, such as project name, folder, and type, and then import their 360-degree images to begin creating an interactive and immersive virtual tour experience.
Save
In 3DVista, the “Save” option is a command found in the main menu under “File”. It allows users to save their current progress on a virtual tour project within the software. By selecting “Save,” users can ensure that any changes, additions, or modifications made to their project are stored safely, preventing potential data loss and enabling them to continue working on the project at a later time.

Save As
In 3DVista, the “Save As” option is a command found in the main menu under “File”. It allows users to save their current virtual tour project under a new name or in a different location on their computer. By selecting “Save As,” users can create a separate copy of their project, which is useful for making different versions or backups, while preserving the original project file.

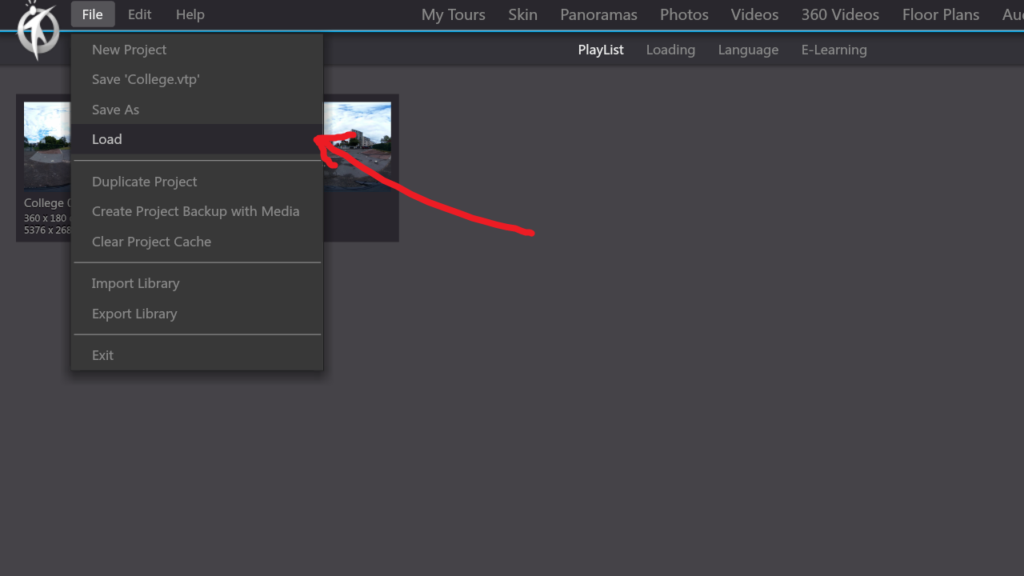
Load
The “Load” option allows users to open a saved 3DVista project file (.vtp) from their computer, enabling them to load a specific project state previously saved. By selecting “Load,” users can access different versions or backups of their project and continue working on their virtual tour from the chosen saved point.
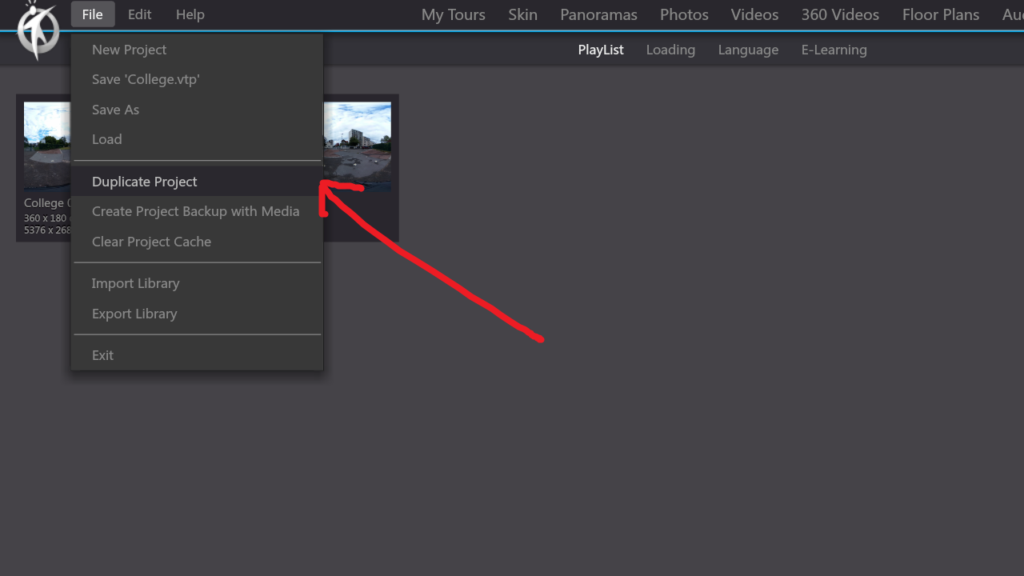
Duplicate Project
The “Duplicate Project” option allows users to create an exact copy of their current virtual tour project, including all panoramas, hotspots, and settings. By selecting “Duplicate Project,” users can create a new project based on the existing one, which is useful for making different versions, testing various modifications, or using the duplicated project as a starting point for a new virtual tour.
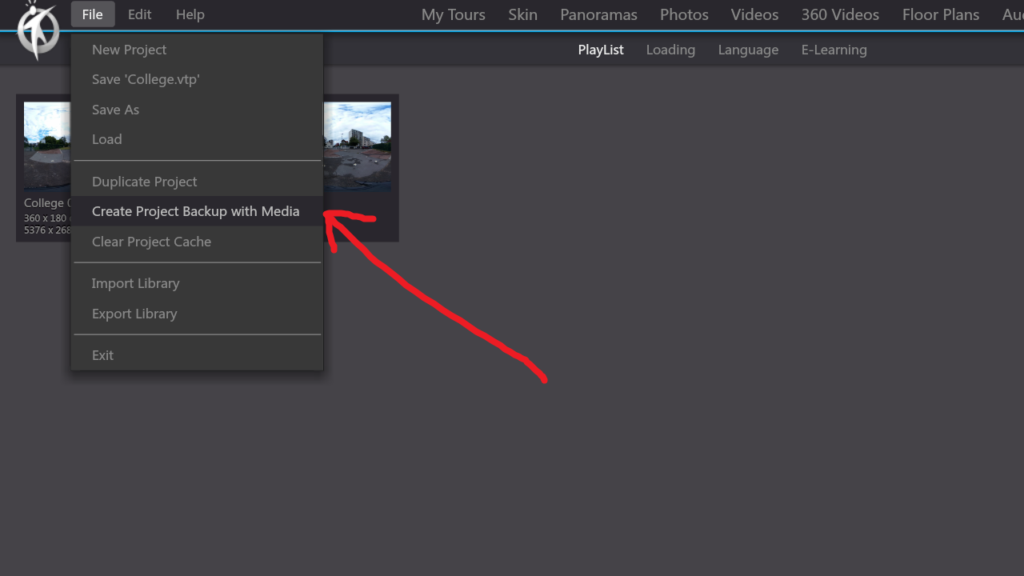
Create Project Backup with Media
In 3DVista, the “Create Project Backup with Media” option is a command found in the main menu under “File”. This option allows users to create a backup of their current virtual tour project, including all the associated media files such as panoramas, images, audio, and videos. By selecting “Create Project Backup with Media,” users can ensure that they have a complete and secure copy of their project, which can be helpful in case of data loss, accidental deletion, or if they need to transfer the project to another computer for further editing or collaboration.
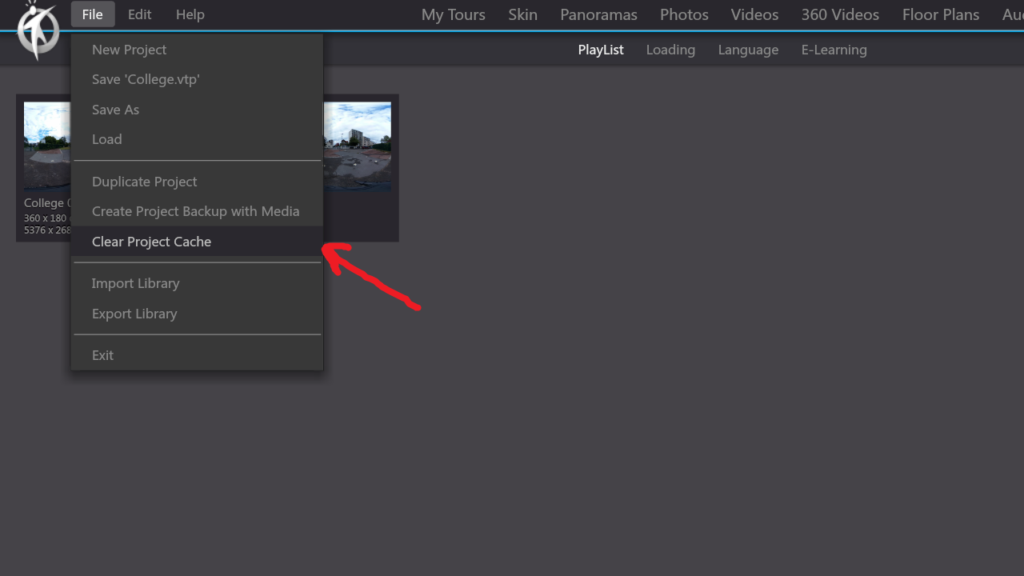
Clear Project Cache
In 3DVista, the “Clear Project Cache” option is a command found in the main menu under “File”. This option allows users to delete temporary files and cached data associated with their current virtual tour project. By selecting “Clear Project Cache,” users can free up storage space on their computer and potentially improve the performance of the 3DVista software. Clearing the project cache can be particularly useful when working with large projects or when experiencing issues related to outdated or corrupted cache files.
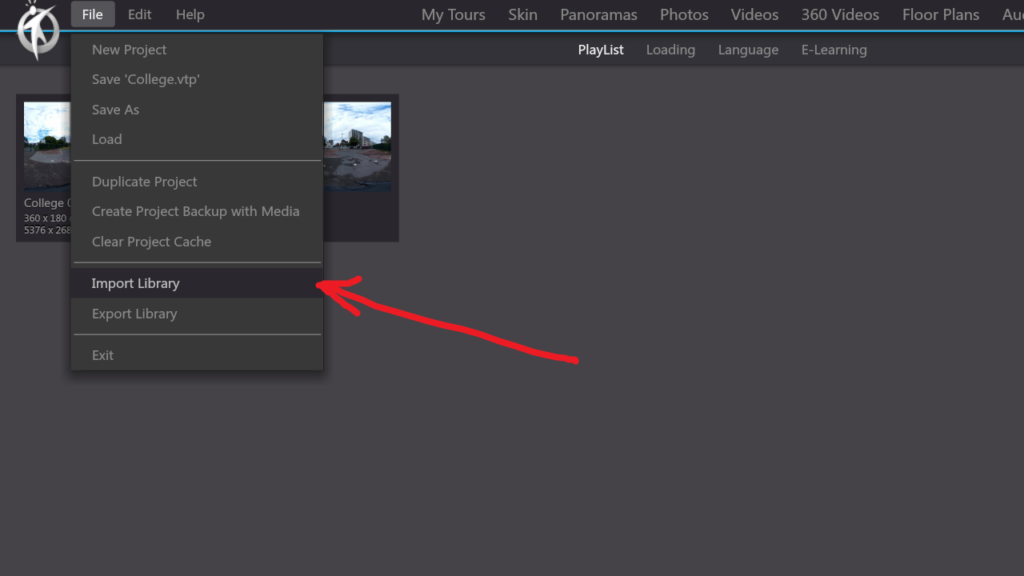
Import Library
In 3DVista, the “Import Library” option is a command found in the main menu under “File”. This option allows users to import an external library file containing a collection of resources, such as images, audio, video, or other elements, into their current virtual tour project. By selecting “Import Library,” users can quickly add pre-built assets or previously created custom elements to their project, streamlining the virtual tour creation process and ensuring a consistent design across multiple projects.
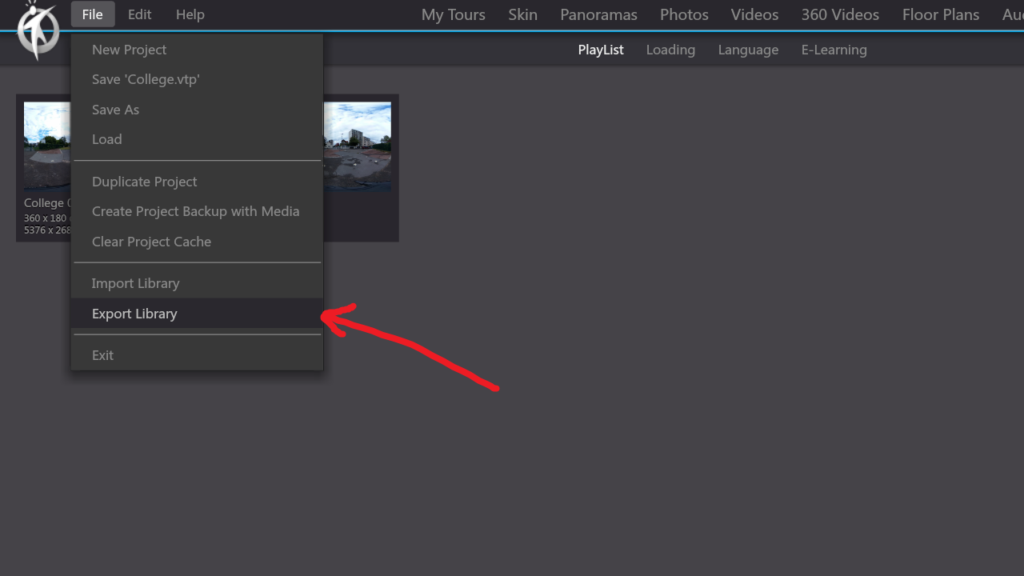
Export Library
In 3DVista, the “Export Library” option is a command found in the main menu under “File”. This option allows users to export a collection of resources from their current virtual tour project into an external library file. These resources can include images, audio, video, or other elements used in the project. By selecting “Export Library,” users can save and share pre-built assets or custom elements, making it easier to reuse them in future projects or collaborate with other team members while maintaining a consistent design.
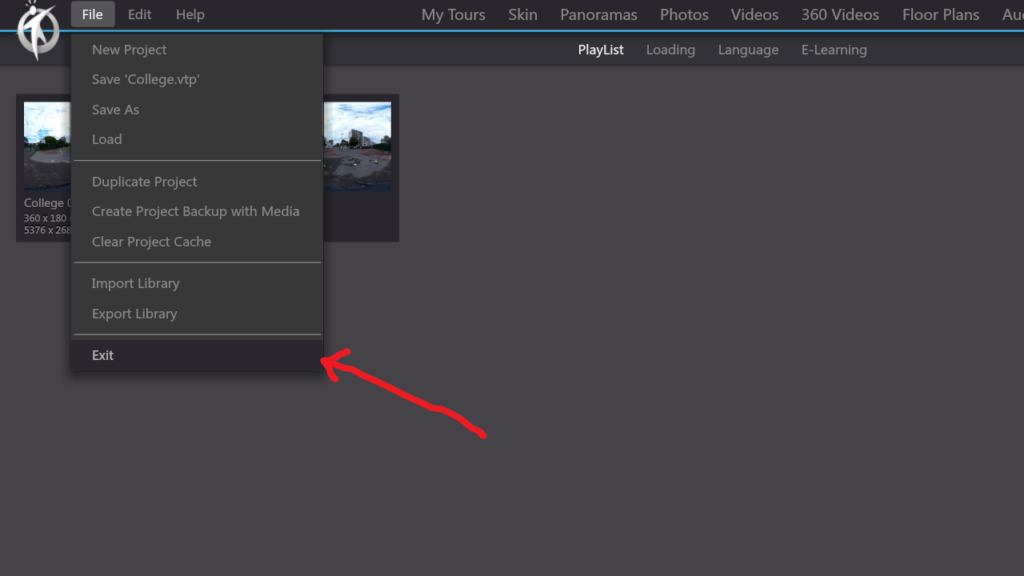
Exit
In 3DVista, the “Exit” option is a command found in the main menu under “File”. This option allows users to close the 3DVista software and exit the application. Before selecting “Exit,” it is important to save any ongoing work on the current virtual tour project using the “Save” or “Save As” commands to ensure that all changes, additions, and modifications are safely stored and prevent potential data loss.