
The panorama feature enables you to preview all imported panoramic images as well as host a range of tools that help create an interactive and appealing virtual tour. This area is used as a media library in which imported 360º images can be edited and interactive actions can be added to panoramic scenes.
3DVista – Panoramas – List
The “Panoramas” list in 3DVista is an essential tool for organizing and managing the panoramas within your virtual tour project, allowing you to keep track of all your imported and created panoramic images in one place.
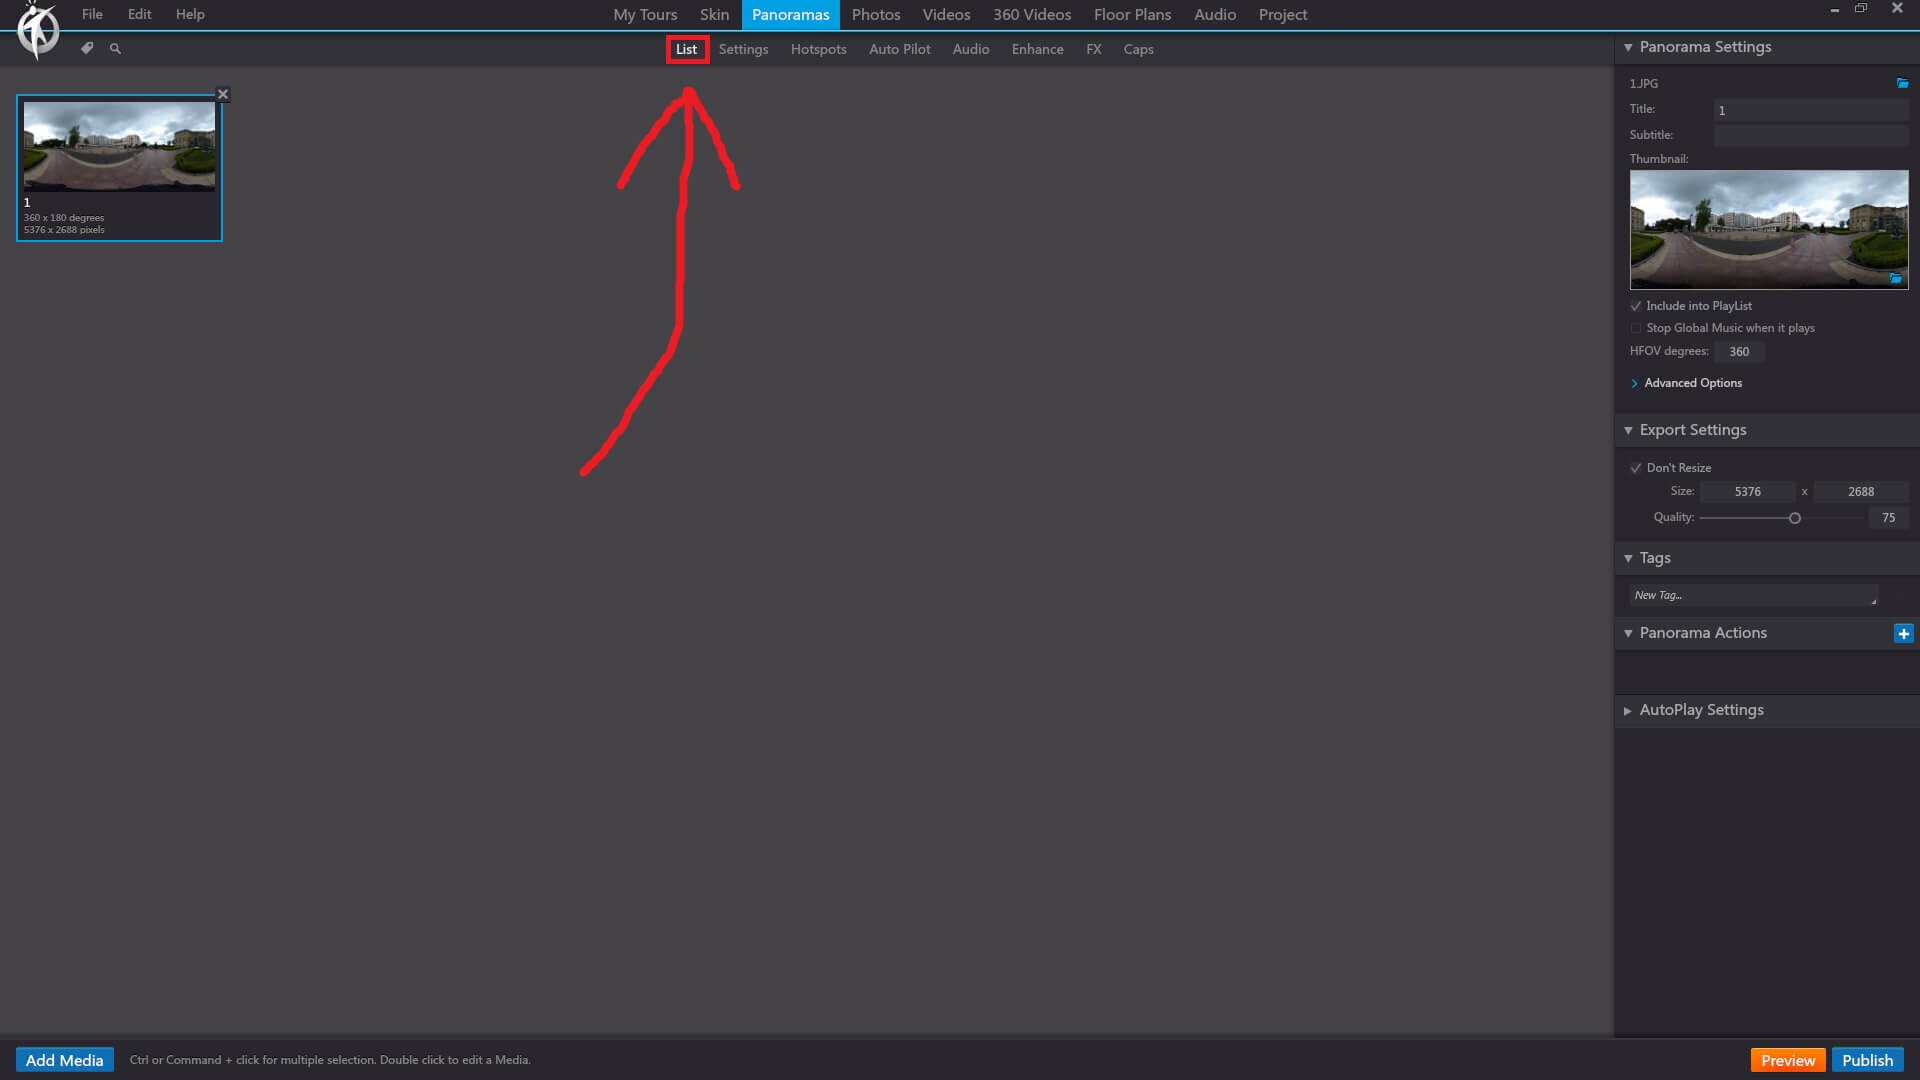
List in Panoramas displays all 360º images imported from a local file. These files are linked to its specific directories and will update accordingly.
3DVista – Panoramas – Settings
In 3DVista, the “Panoramas” section includes various settings that allow you to customize and configure each panorama in your virtual tour project. By accessing the settings for each panorama, you can modify properties like initial view, GPS location, and more.
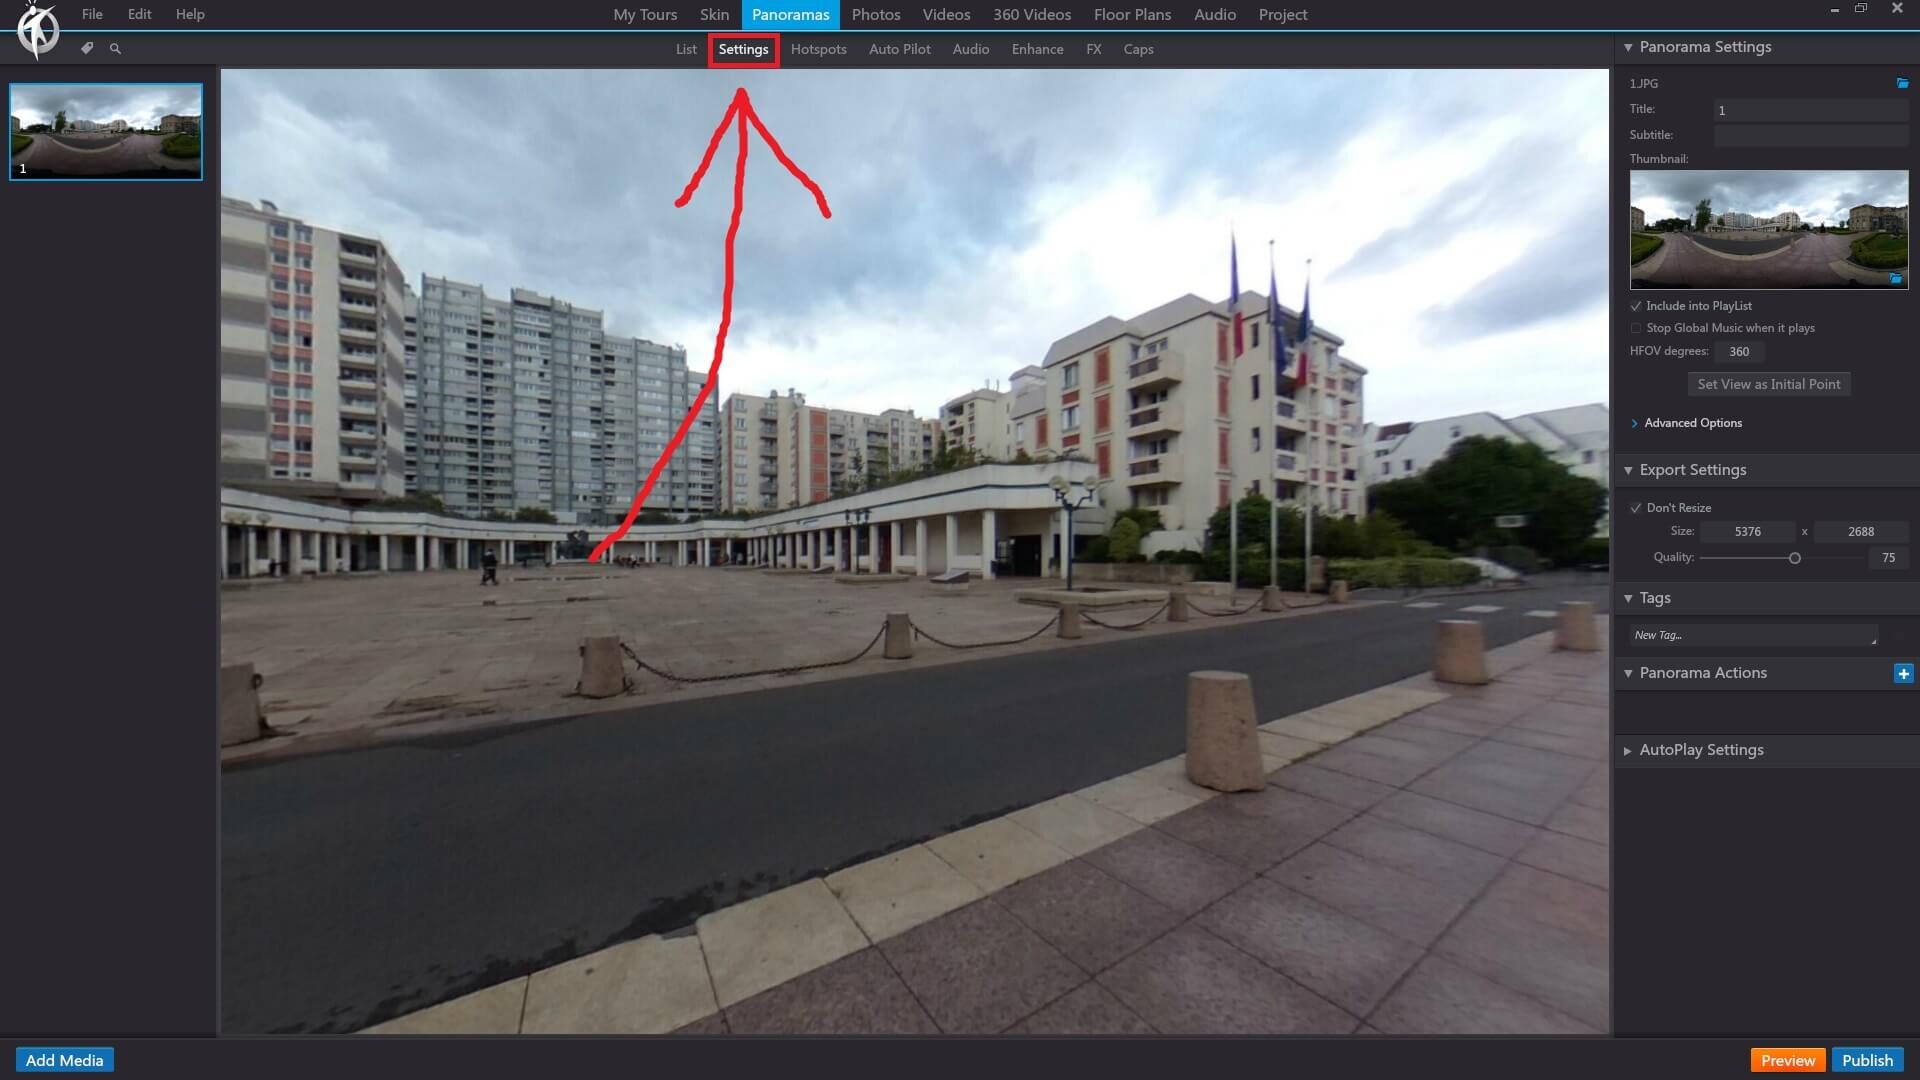
The experience of the virtual tour can be controlled through the Settings. Presets such as rotation and zoom speeds can be adjusted in the Panorama Settings window, altering the user experience.
3DVista – Panoramas – Hotspots
In 3DVista, the “Panoramas” section allows you to add and manage hotspots within your panoramas. Hotspots are interactive elements that can be used to link panoramas together, trigger actions, or display additional information, such as text, images, and videos.
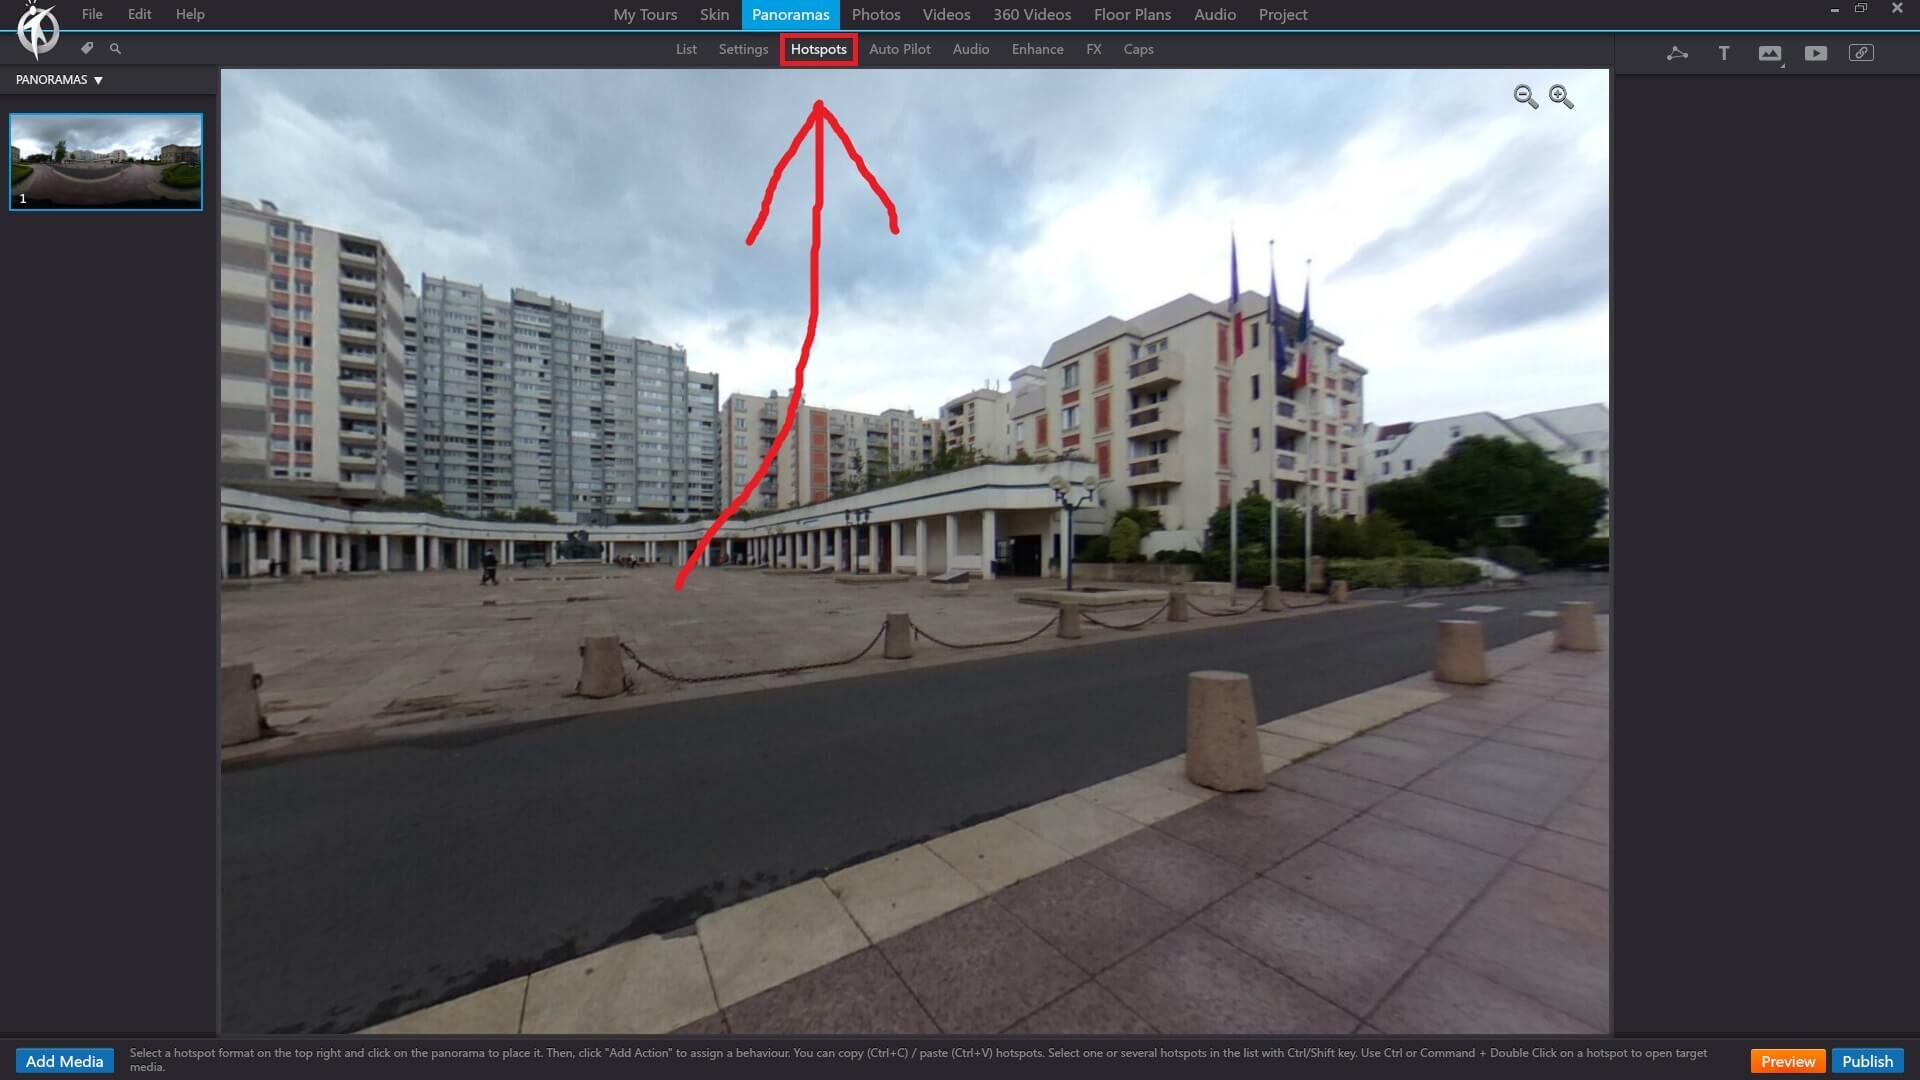
Hotspots can be image icons, polygons, text or videos placed within panoramas and used to trigger actions such displaying hidden media or transitioning to other scenes. Hotspots that transition to other scenes are known as location hotspots – essentially creating a portal and linking two scenes. This is how a virtual walk through is created.
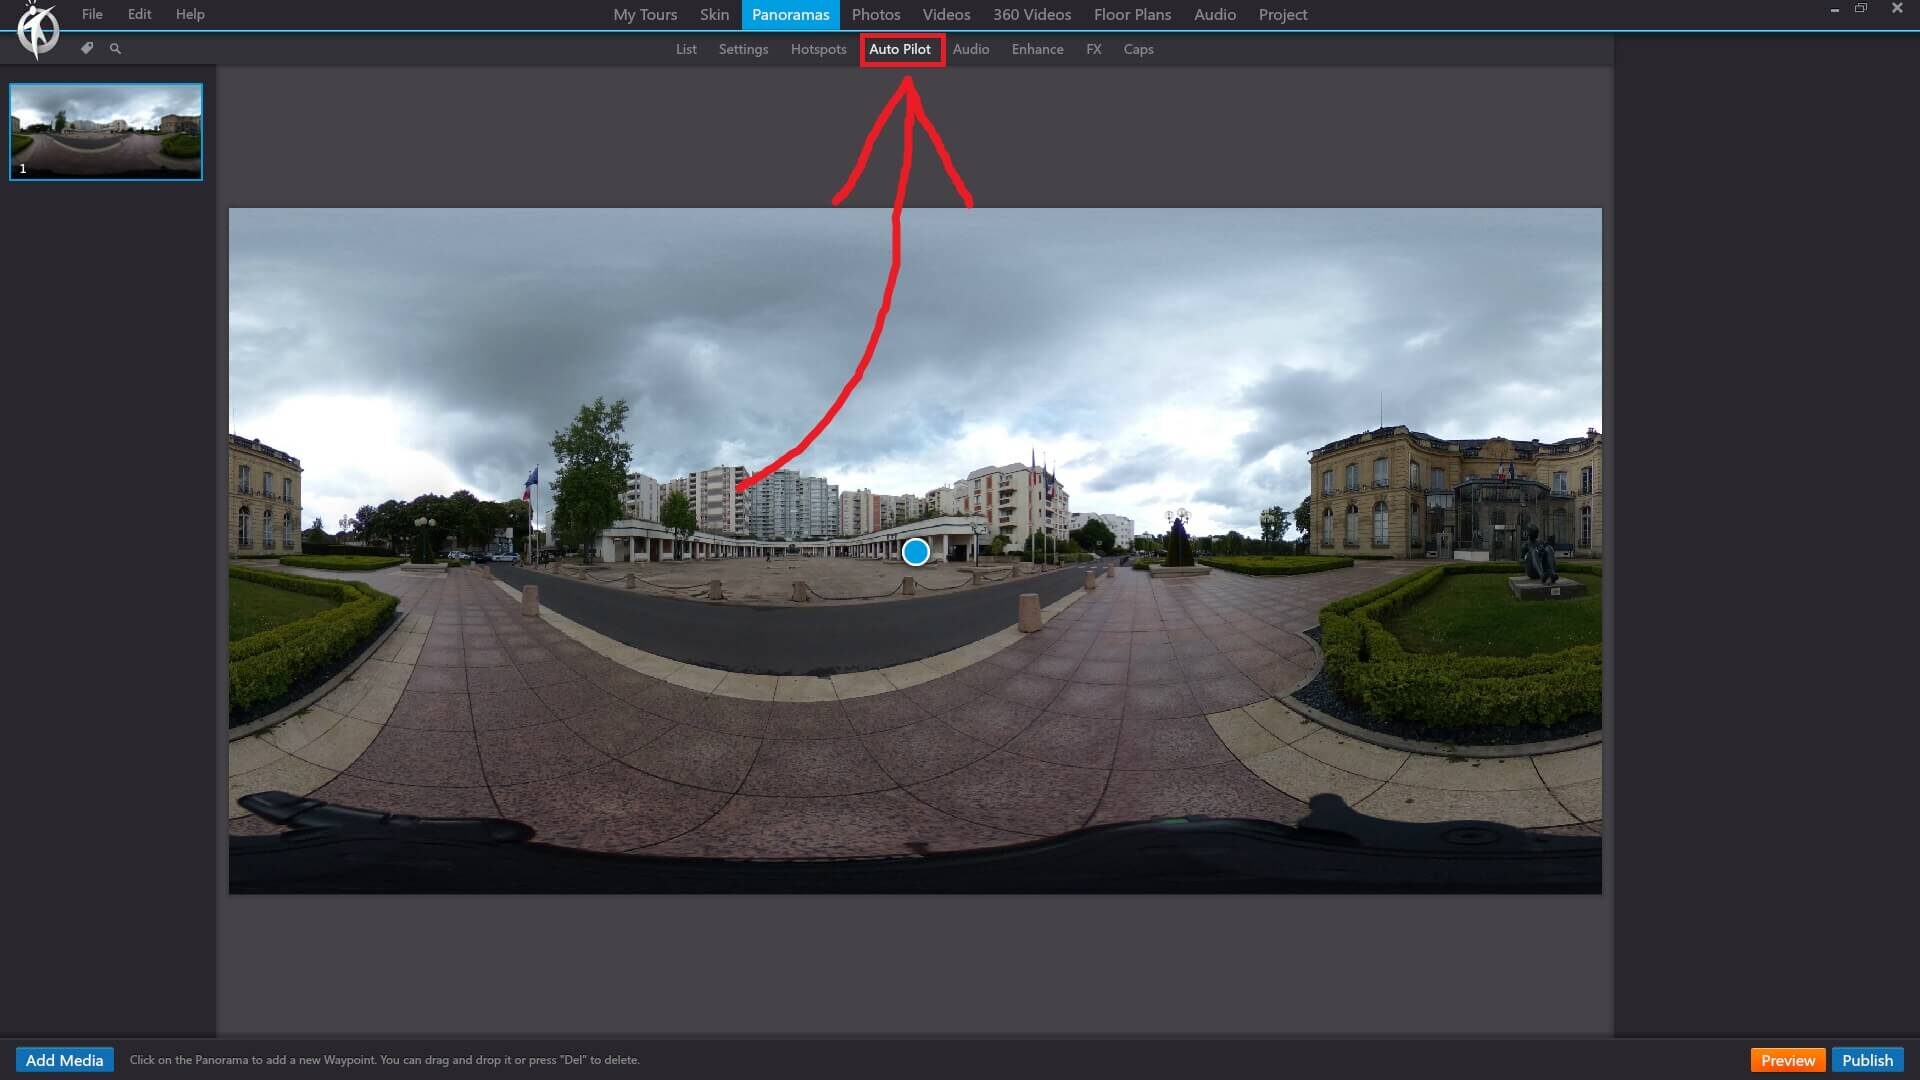
3DVista – Panoramas – Auto Pilot
In 3DVista, the “Auto Pilot” feature allows you to create an automatic guided tour that navigates through your panoramas and other media without any user input. This can be a useful tool for showcasing your virtual tour in a presentation or for providing a quick overview of your project.
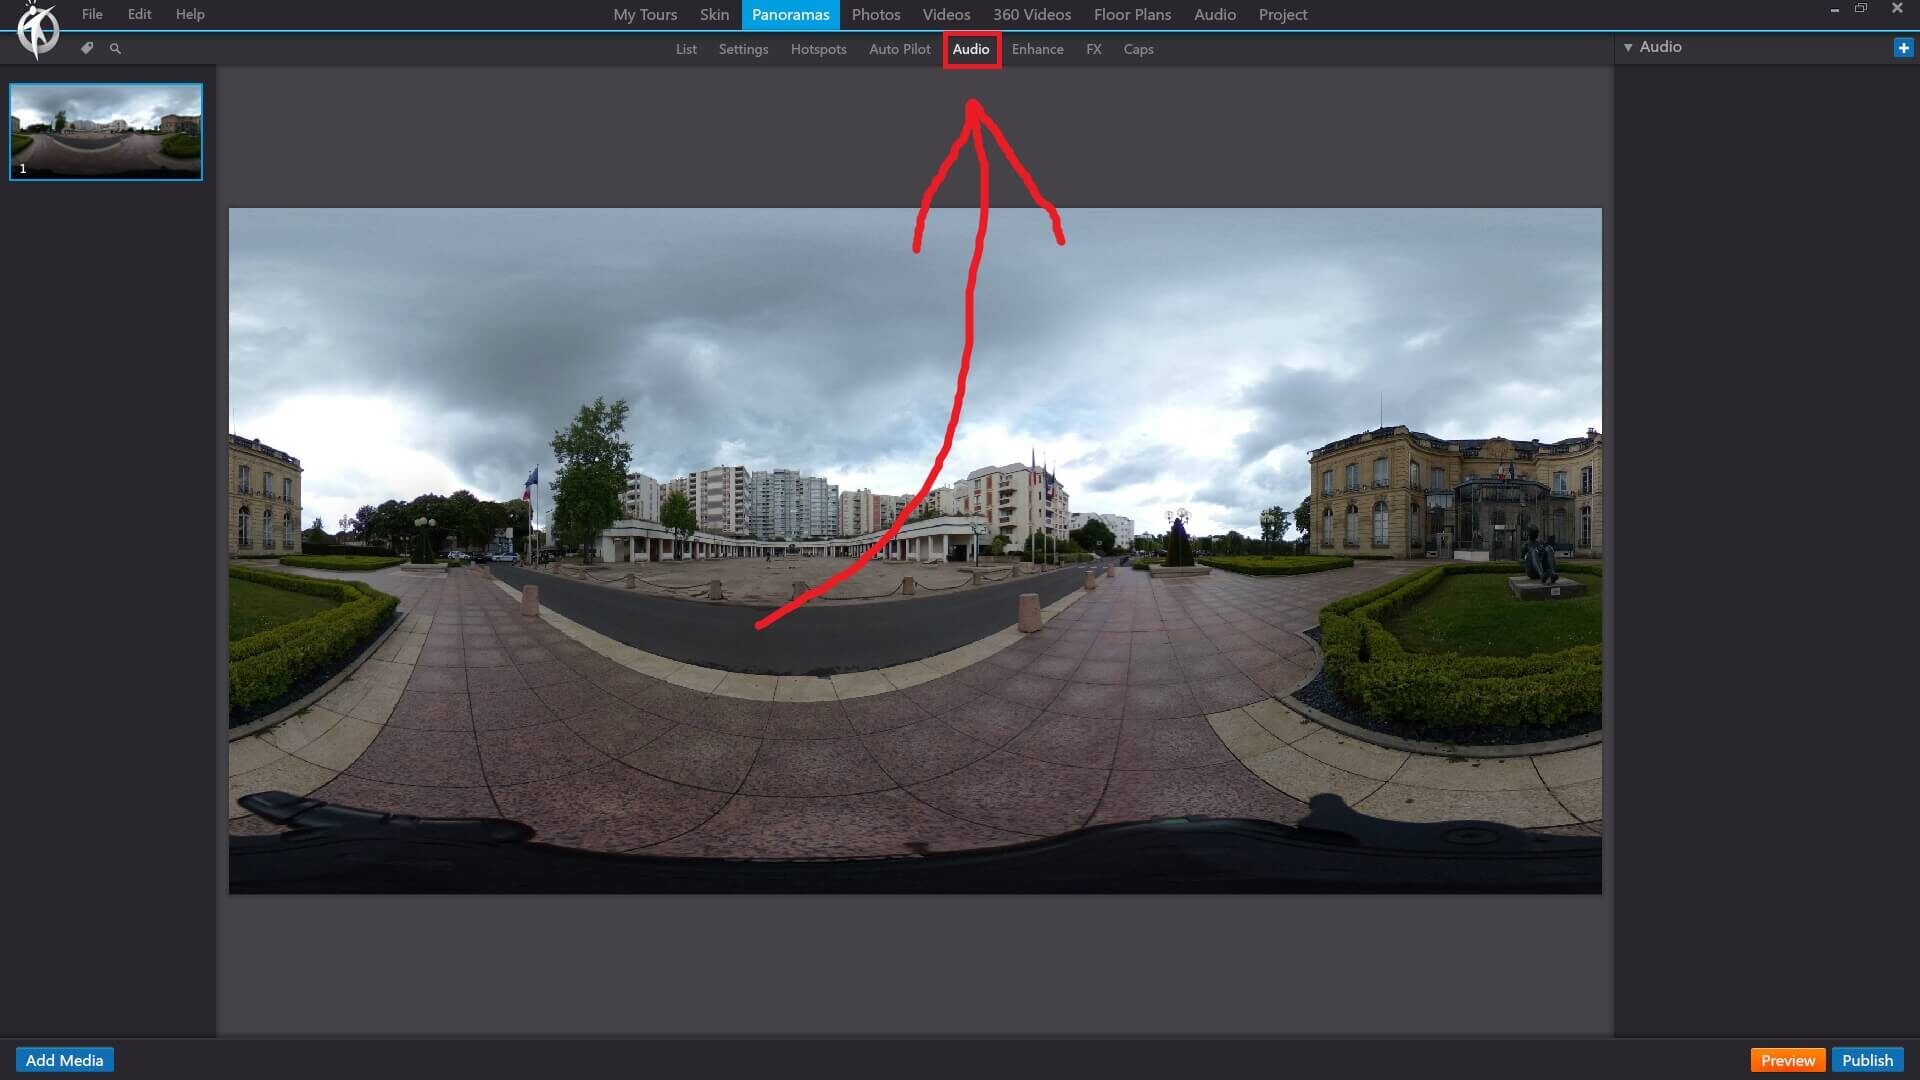
3DVista – Panoramas – Audio
In 3DVista, the “Audio” feature allows you to add background music or ambient sounds to your panoramas, enhancing the immersive experience of your virtual tours. Audio can be used to create a specific atmosphere or provide additional context for the viewer.
3DVista – Panoramas – Enhance
In 3DVista, the “Enhance” feature provides a set of tools to optimize and improve the visual quality of your panoramas, ensuring a more immersive and engaging virtual tour experience for your viewers. With the Enhance feature, you can adjust various image properties, such as brightness, contrast, saturation, and sharpness.
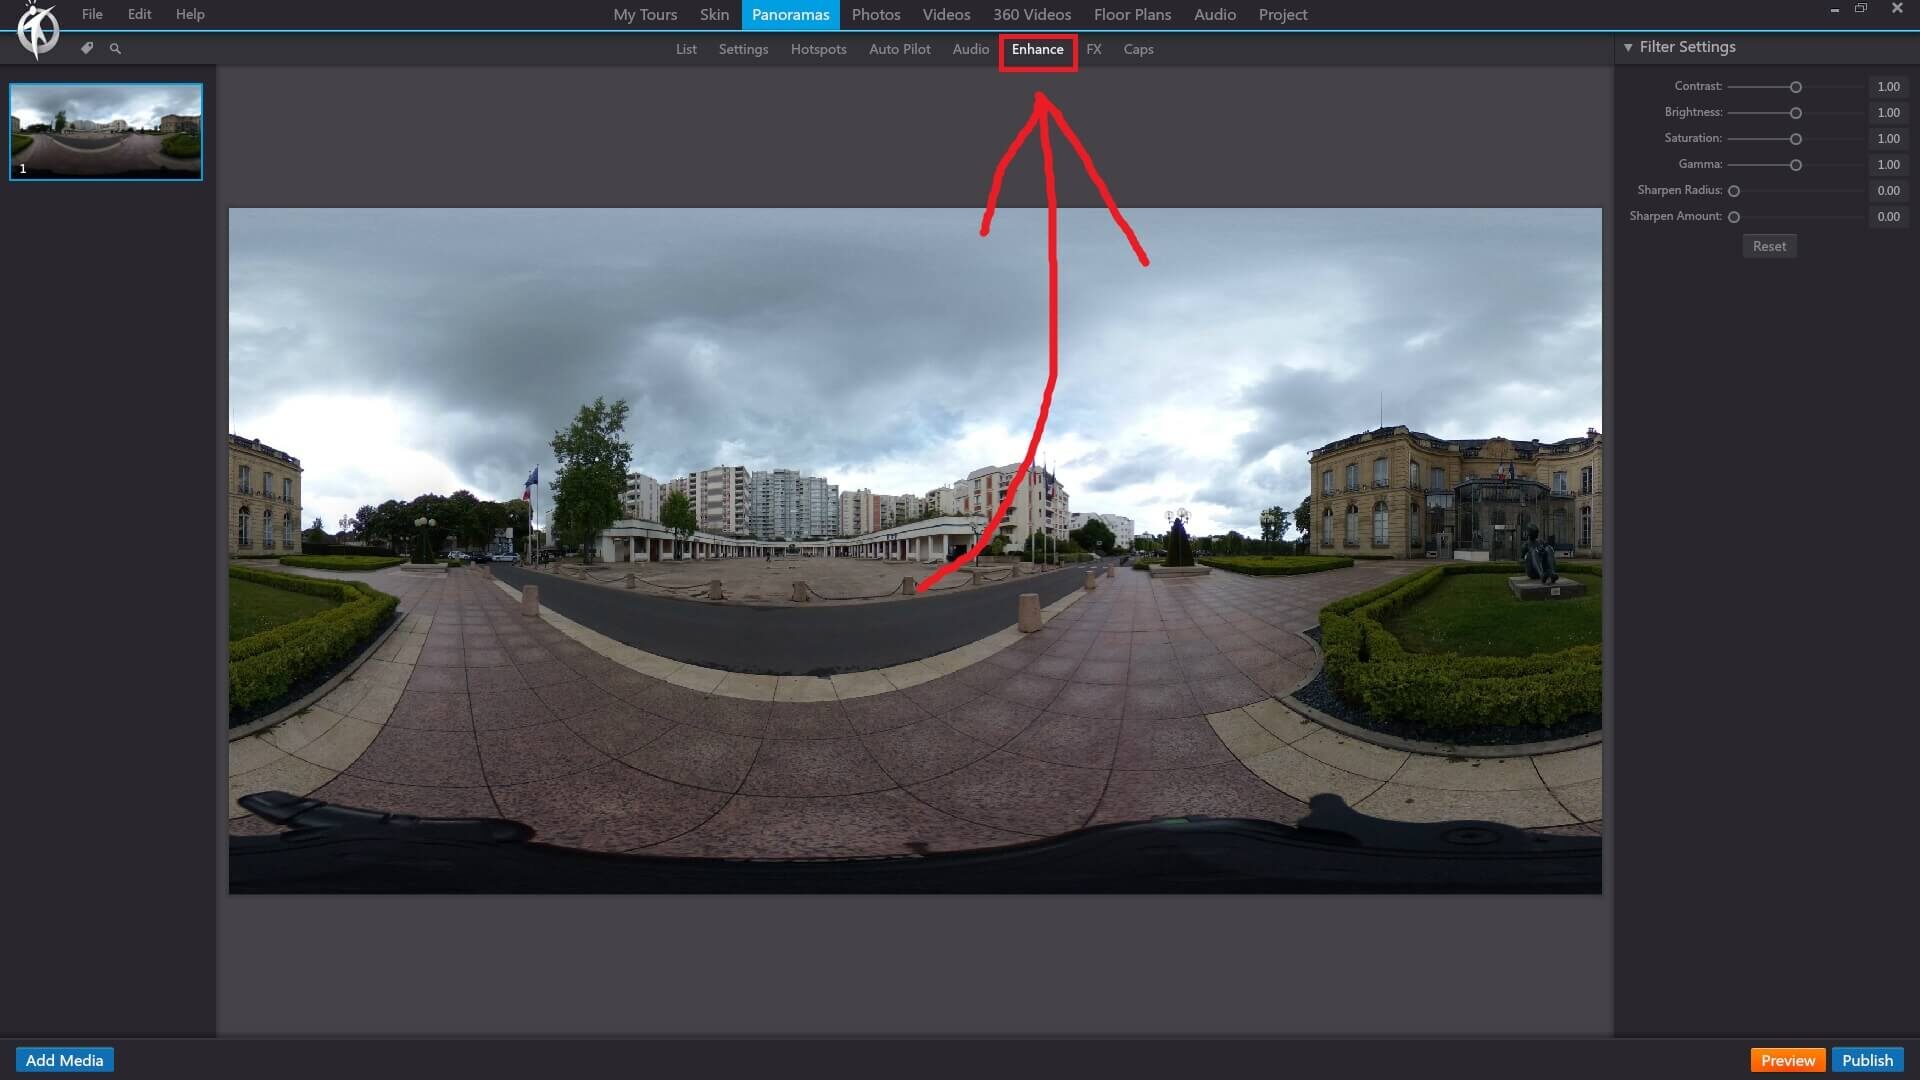
Enhance allows editing of selected images within the current work space. An images brightness, contrast and colour saturation can be edited here without having to leave the 3DVista software.
3DVista – Panoramas – FX
In 3DVista, the “FX” (effects) feature allows you to apply various visual effects to your panoramas, enhancing the overall look and feel of your virtual tour. With the FX feature, you can add filters, adjust colors, and apply other effects to create a unique and immersive experience for your viewers.
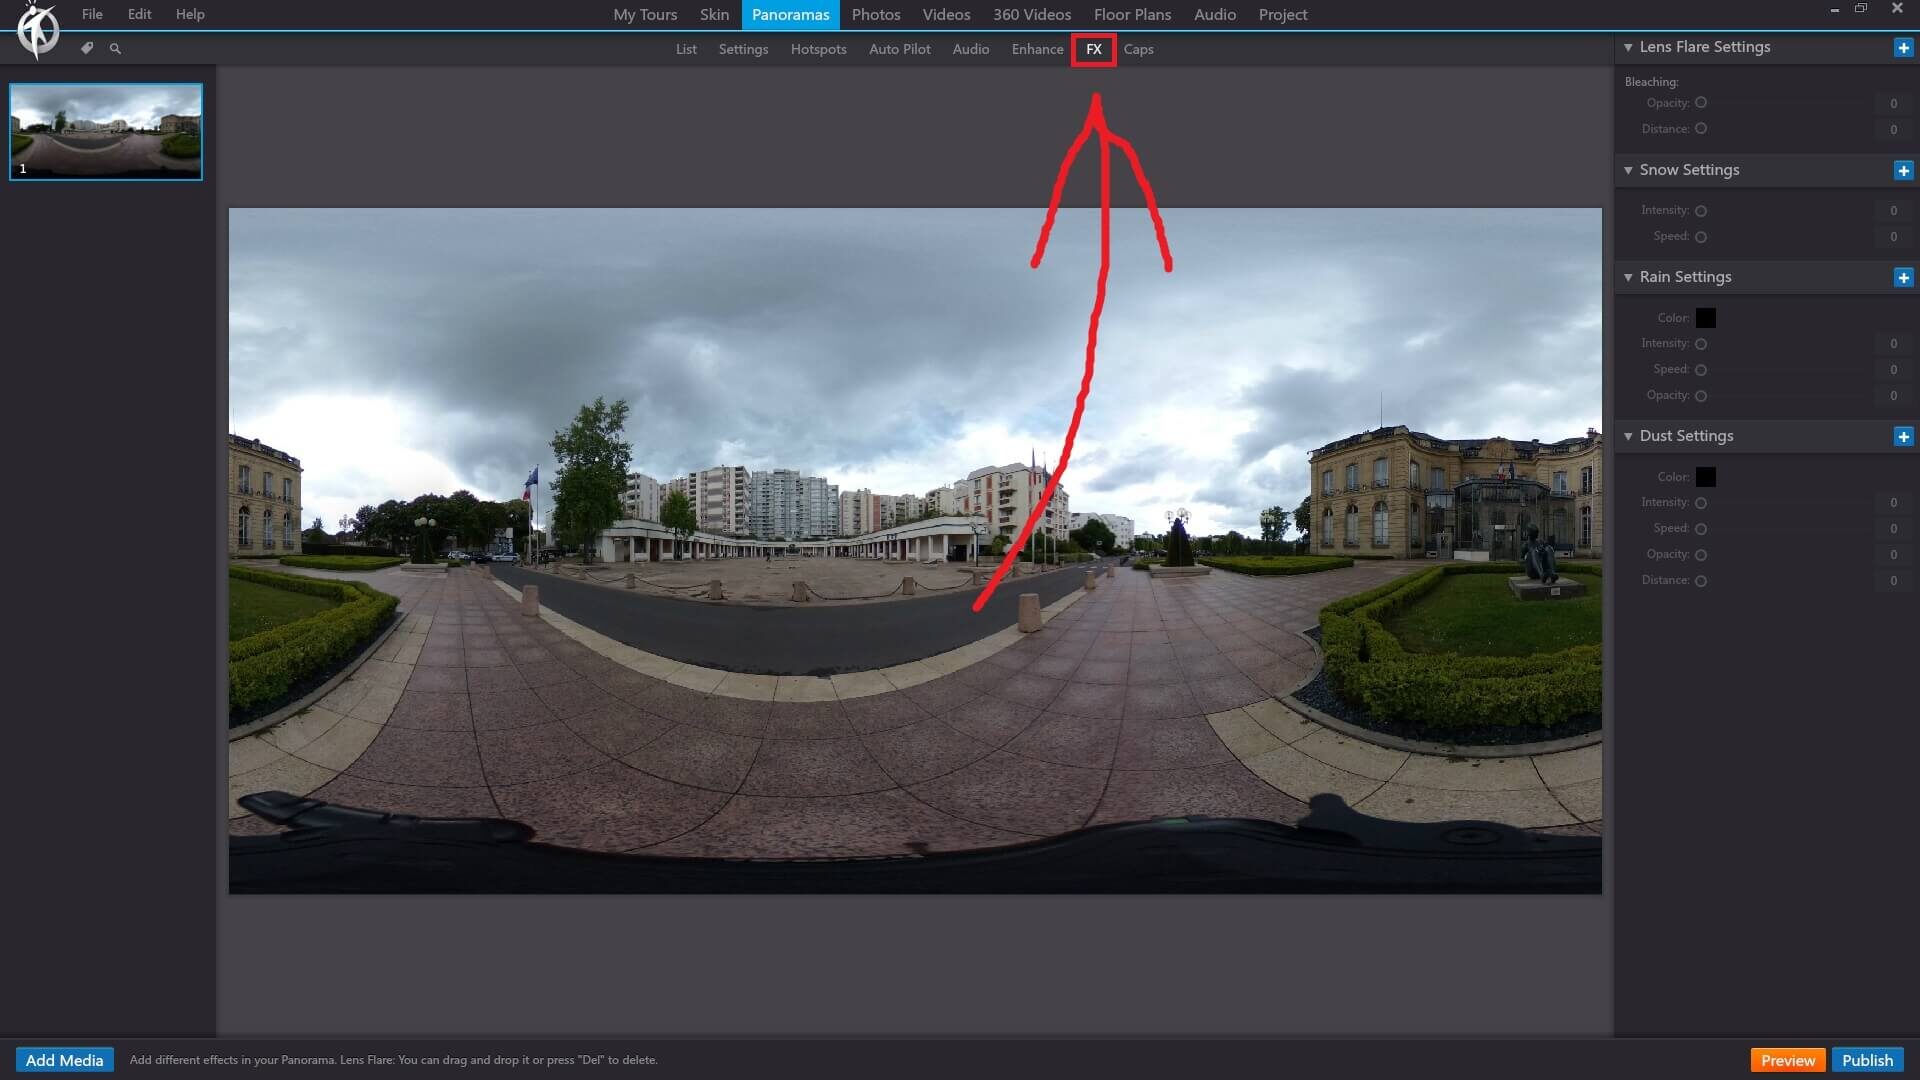
Lens Flare enables adjustments to the gradient brightness of a scene to reflect a sun’s lens flair. Click within the scene to place the sun location and adjust the flare settings to enhance brightness.
3DVista – Panoramas – Caps
In 3DVista, the “Caps” feature allows you to add customized top and bottom caps to your panoramas. Caps are graphical elements that cover the zenith (top) and nadir (bottom) areas of a panoramic image, which can be used to hide tripod legs, shadows, or stitching errors. They can also be used to add branding or other visual elements to your virtual tours.
