In 3DVista, the “Photos” feature allows you to manage and edit photo albums within your virtual tour project. Photo albums can be used to showcase additional images related to your panoramas, such as detail shots or various angles. They can also be used to add interactivity to your virtual tour by allowing users to browse through a gallery of images.
To access and manage photos in 3DVista, follow these steps:
Launch 3DVista and open your virtual tour project.
In the toolbar at the top of the main window, click on “Photos” to open the “Photos” section.
Within the Photos section, you can:
Create a new photo album: Click on the “+” button to create a new photo album. Give it a descriptive name, and then click on the “Import Photos” button to browse and select image files to add to the album.
Edit an existing photo album: Click on the photo album you want to edit from the list of albums. In the album editor, you can add or remove photos, reorder them, and change their display settings (such as captions, background colors, and transition effects).
Delete a photo album: Click on the trash bin icon next to the photo album you want to delete. Confirm your action in the dialog box that appears.
Preview a photo album: Click on the “eye” icon next to the photo album you want to preview. This will open a new window showing a preview of the photo album, allowing you to see how it will look in your virtual tour.
Once you have created and edited your photo albums, you can add them to your virtual tour using hotspots or other interactive elements in the Skin editor. By incorporating photo albums into your virtual tours, you can provide users with additional visual information, create immersive experiences, and enhance the overall storytelling aspect of your tour.
The Photo feature creates and stores a library of imported photo media. This feature enables quick editing and consolidates images that can be used for hotspots and actions.
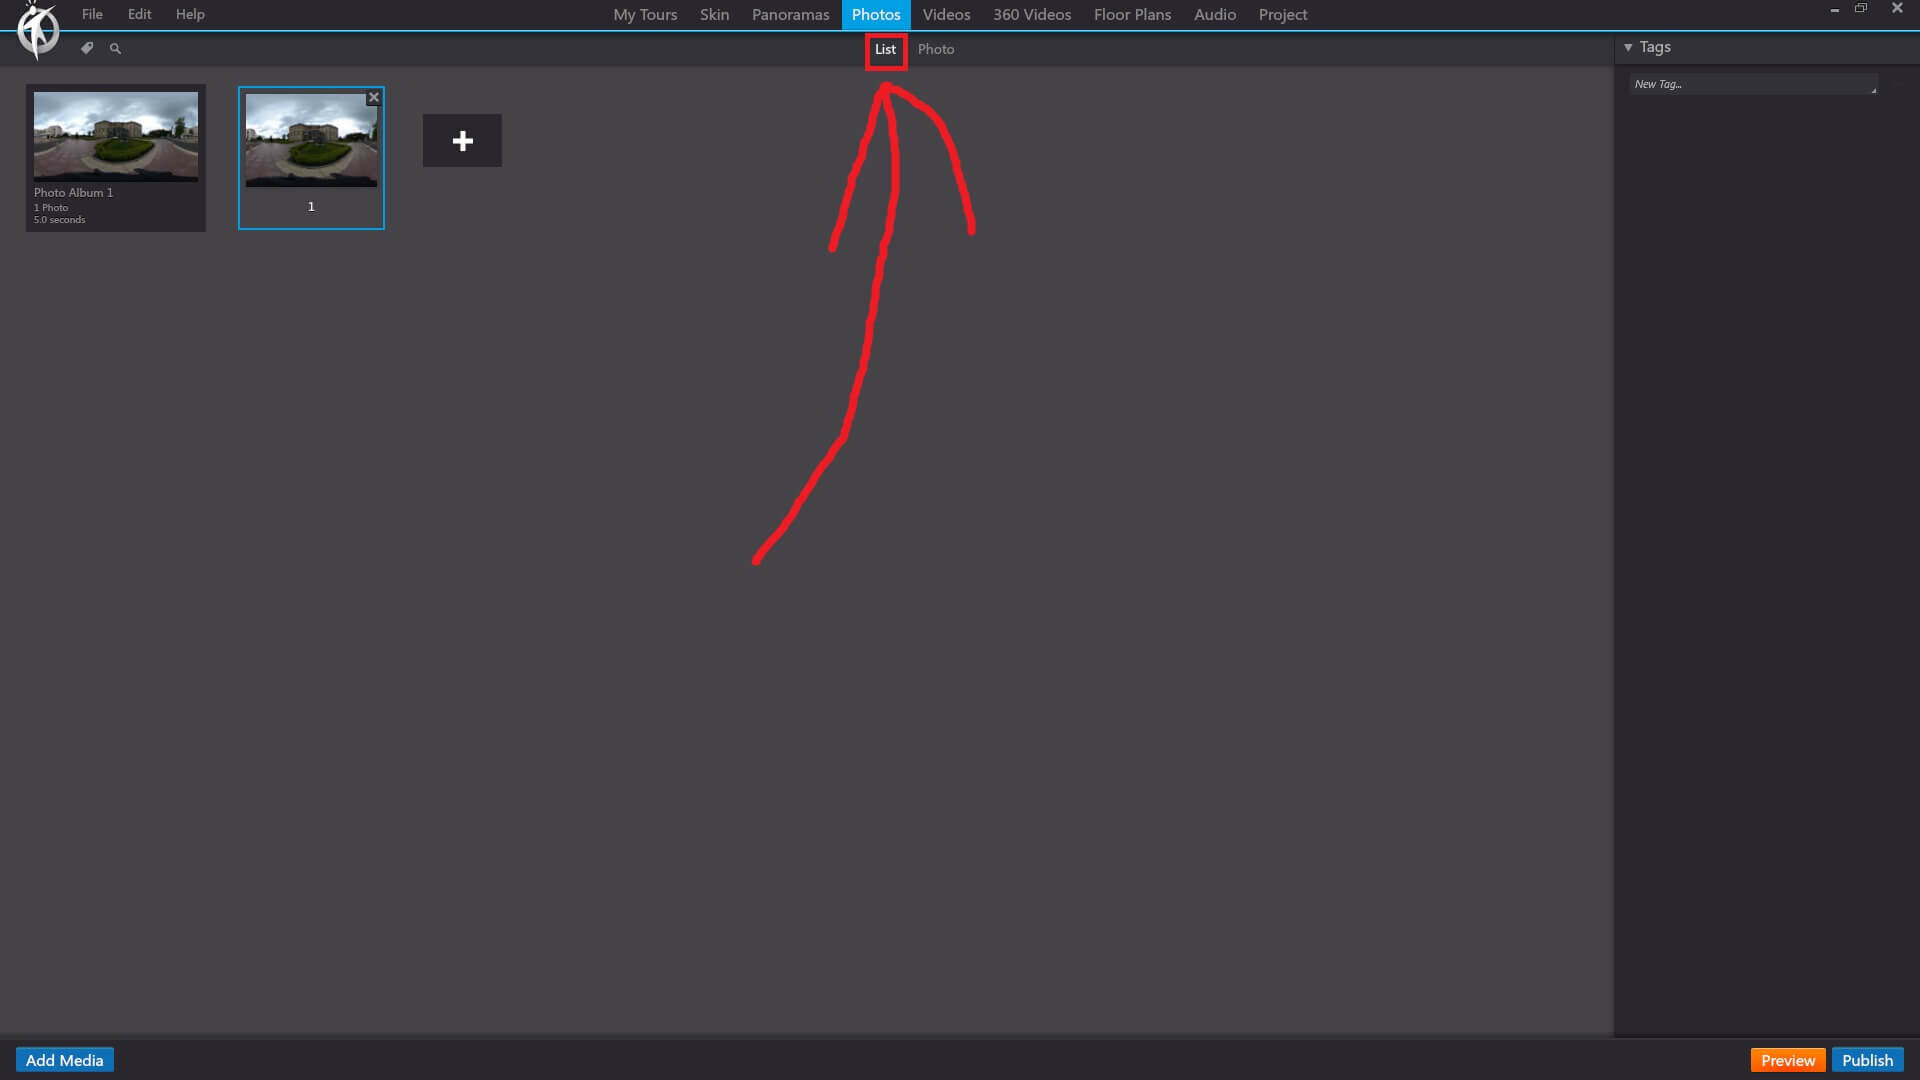
3DVista – Photos – List
In 3DVista, the “List” option under the “Photos” toolbar section is a convenient way to view and manage all your photo albums within your virtual tour project. When you click on the “List” option, you will see a list of all the photo albums you have created, along with additional details and options for each album.
Here’s what you can do with the “List” option in the “Photos” section:
View Photo Albums: The “List” view displays all your photo albums in a scrollable list format, making it easy to quickly browse through your albums and find the one you want to work with.
Edit Photo Albums: To edit a photo album, simply click on the album name in the list. This will open the album editor where you can add, remove, or reorder photos, change display settings, and more.
Delete Photo Albums: To delete a photo album, click on the trash bin icon next to the album name in the list. A dialog box will appear asking you to confirm your action. Click “Yes” to permanently delete the album.
Preview Photo Albums: To preview a photo album, click on the “eye” icon next to the album name in the list. A new window will open, showing a preview of the album and how it will appear in your virtual tour.
Sort Photo Albums: The “List” view allows you to sort your photo albums by different criteria, such as name, creation date, or custom order. To change the sorting method, click on the “Sort by” dropdown menu and select your desired option.
By using the “List” option under the “Photos” toolbar, you can efficiently manage your photo albums and ensure they are organized and easy to access while working on your virtual tour project.
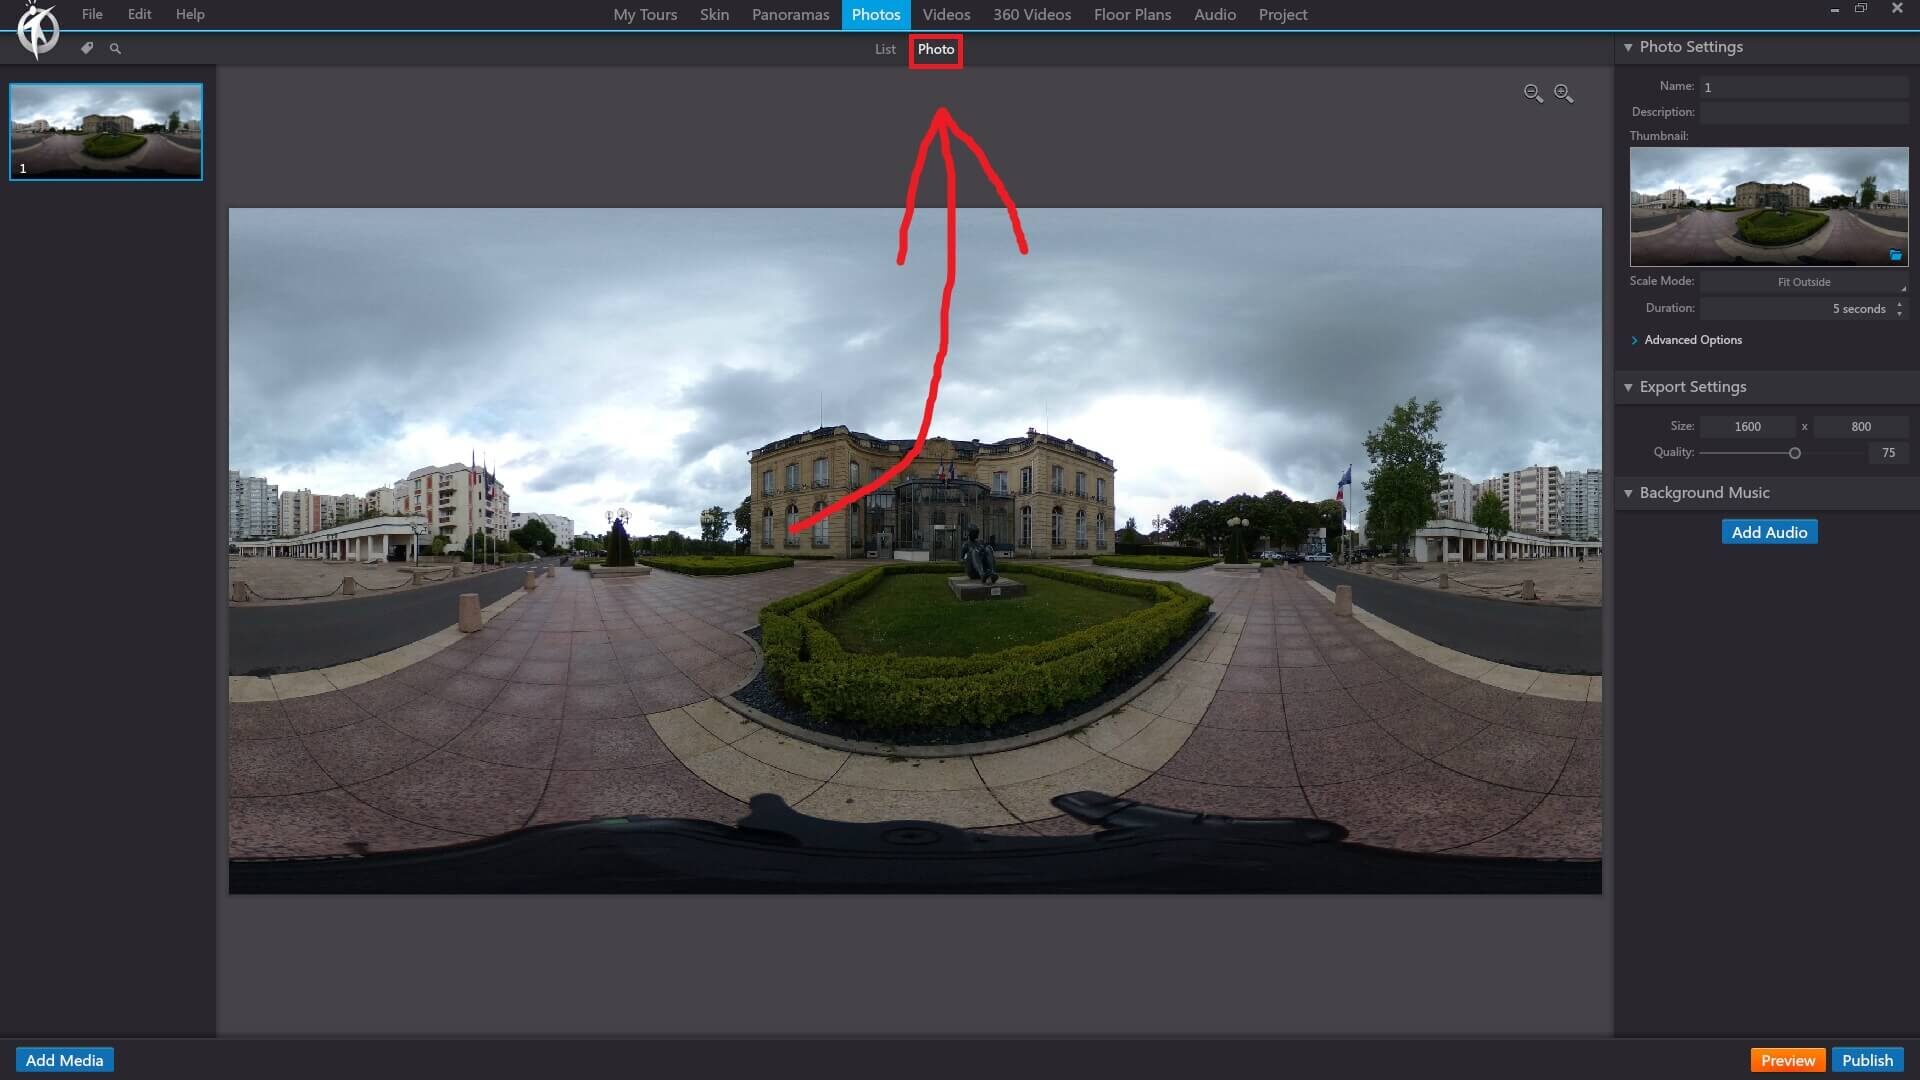
3DVista – Photos – Photo
In 3DVista, the “Photo” option under the “Photos” toolbar section is designed to help you manage individual photos and create photo albums within your virtual tour project. This option allows you to add photos to your project, edit their properties, and apply various settings.
Here’s what you can do with the “Photo” option in the “Photos” section:
Add Photos: To add a photo to your virtual tour, click on the “Photo” option, and a file browser window will open, allowing you to select the image file you want to import. Choose the desired image file and click “Open” to add it to your project.
Edit Photo Properties: Once you’ve added a photo to your project, you can edit its properties, such as the title, description, and tags. This information can be used to help organize your photos and make them more accessible to your audience.
Apply Settings: The “Photo” option also provides various settings that can be applied to individual photos or entire photo albums. These settings include display options, such as transitions, image quality, and more.
Create Photo Albums: You can use the “Photo” option to create photo albums by grouping related photos together. This allows you to create a more organized and engaging virtual tour experience for your audience.
Preview Photos: After adding and editing your photos, you can preview them directly in 3DVista to see how they will appear in your virtual tour. This helps ensure that your photos look their best and that they are properly formatted for your project.
By using the “Photo” option under the “Photos” toolbar, you can manage individual photos and create visually appealing photo albums for your virtual tour project, making it more engaging and enjoyable for your audience.