In 3DVista, the “Videos” section in the toolbar allows you to add, manage, and edit regular video files within your virtual tour project. Videos can help you create a more immersive and dynamic virtual tour experience for your audience. Here are some features and options available in the “Videos” section:
1. Add Videos: To add a video to your virtual tour, click on the “Import Video” option in the “Add Media” section. A file browser window will open, allowing you to select the video file you want to import. Choose the desired video file and click “Open” to add it to your project.
2. Edit Video Properties: After adding a video to your project, you can edit its properties, such as the title, description, and tags. This information helps you organize your videos and make them more accessible to your audience.
3. Video Playback Settings: The “Videos” section also provides various playback settings, such as autoplay, loop, and mute. These settings allow you to customize how your videos play within your virtual tour, ensuring a seamless and engaging experience for your audience.
4. Video Hotspots: You can create video hotspots in your virtual tour to link your videos to specific locations or panoramas. This allows your audience to discover and interact with your videos as they explore your virtual tour.
5. Preview Videos: After adding and editing your videos, you can preview them directly in 3DVista to see how they will appear in your virtual tour. This helps ensure that your videos look their best and that they are properly formatted for your project.
By using the “Videos” toolbar in 3DVista, you can add and manage video content to create a more dynamic and engaging virtual tour experience for your audience.
Videos creates a library of imported video media, similar to the Photo feature. However the videos feature also enables hotspots to be integrated within the media and displayed at certain points within a video’s timeline. To add hotspots to a video, create them in the Skin editor and click ‘eligible as hotspot in videos’.
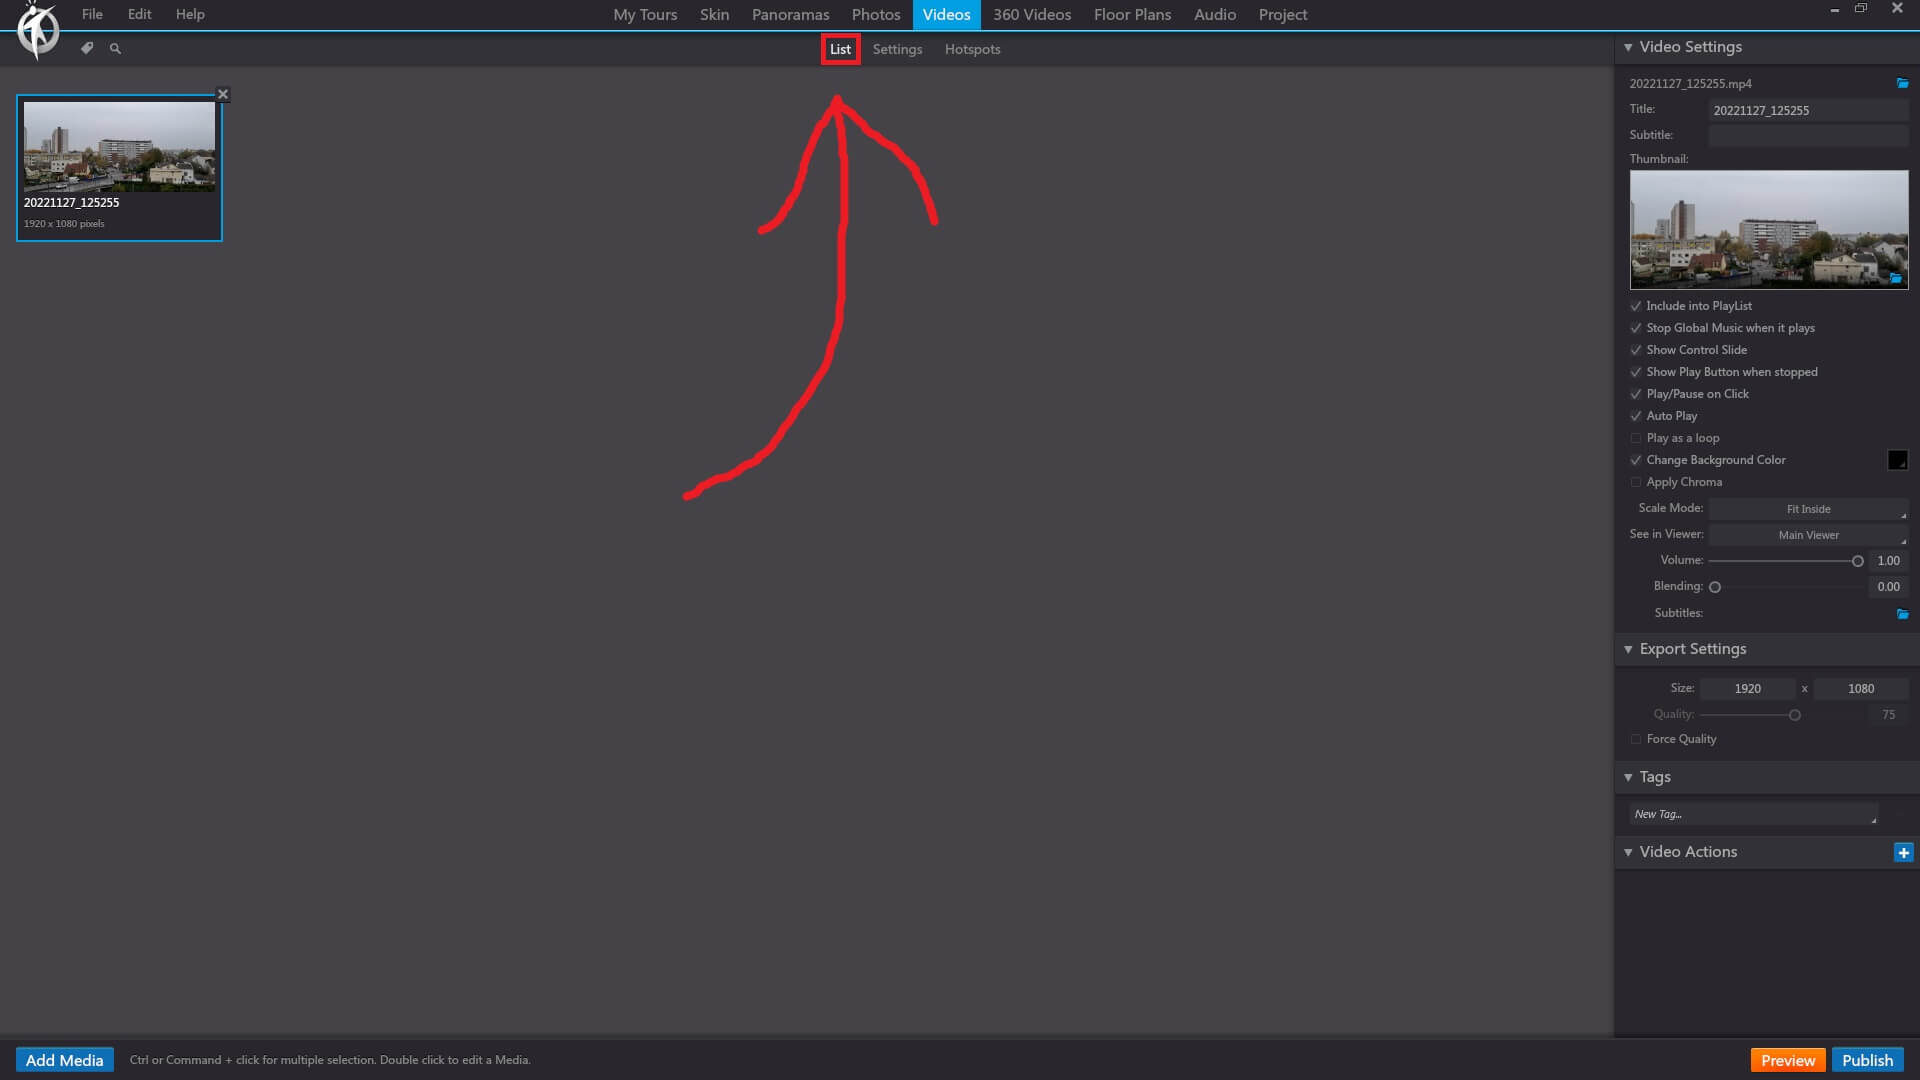
3DVista – Videos – List
In 3DVista, the “List” option under the “Videos” section of the toolbar provides an overview of all the video files you’ve added to your virtual tour project. This list makes it easy for you to manage and edit your videos, as well as organize them according to your preferences. Some features of the “List” option include:
Video Titles: Each video is displayed with its title, making it simple to identify and locate specific videos within your project.
Preview Thumbnails: The list also includes preview thumbnails of your videos, giving you a quick visual reference to recognize the content of each video.
Sorting and Searching: You can sort your videos by title, date added, or custom tags to quickly find the video you need. Additionally, you can use the search function to locate videos by keyword or title.
Edit and Delete Videos: By selecting a video from the list, you can access options to edit its properties, such as title, description, and tags, or delete it from your project if necessary.
Video Hotspots: From the list, you can easily add video hotspots to your panoramas, linking specific videos to locations within your virtual tour for a more interactive and engaging experience.
The “List” option under the “Videos” toolbar in 3DVista is a useful tool for managing and organizing your video content, ensuring a streamlined and efficient workflow for your virtual tour projects.
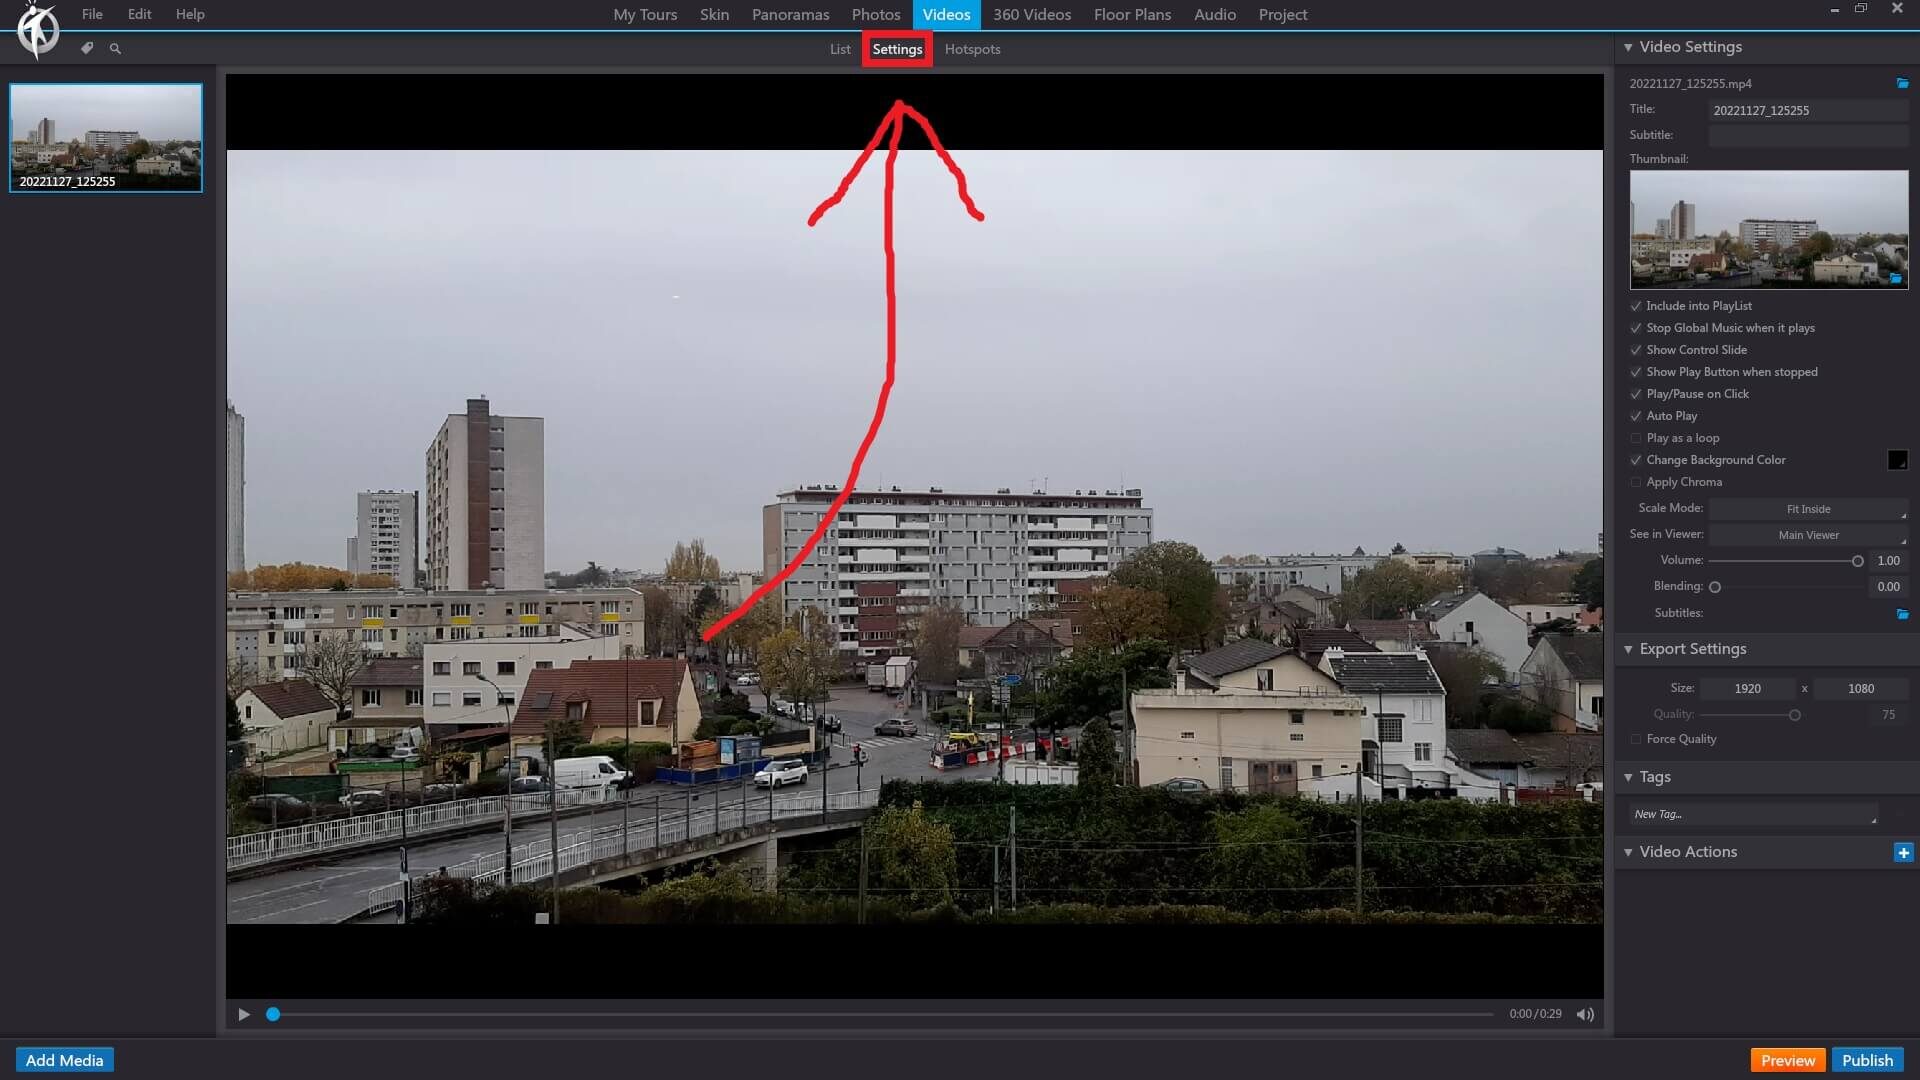
3DVista – Videos – Settings
In 3DVista, the “Settings” option under the “Videos” section of the toolbar allows you to customize the behavior and appearance of the videos in your virtual tour project. By modifying these settings, you can create a more tailored viewing experience for your audience. Some features of the “Settings” option include:
Autoplay: You can enable or disable the autoplay feature, which controls whether the video starts playing automatically when the viewer navigates to the panorama containing the video.
Loop: This option allows you to set the video to loop continuously, ensuring that the video keeps playing without interruption when it reaches the end.
Mute: You can choose to mute the audio of the video by default, giving viewers the option to enable sound manually if desired.
Controls: You can decide whether to display video controls, such as play/pause, volume, and fullscreen buttons, allowing viewers to interact with the video during playback.
Aspect Ratio: You can set the aspect ratio of the video to maintain its original dimensions, stretch to fill the container, or fit within the container while preserving its aspect ratio.
Video Quality: You can specify the video quality (resolution) for different devices or internet connection speeds, ensuring smooth playback for all users.
Poster Image: You can select a custom poster image that displays before the video starts playing. This image acts as a placeholder that entices viewers to click and watch the video.
By adjusting the settings in the “Videos” toolbar in 3DVista, you can create a more engaging and customized video experience within your virtual tour projects.
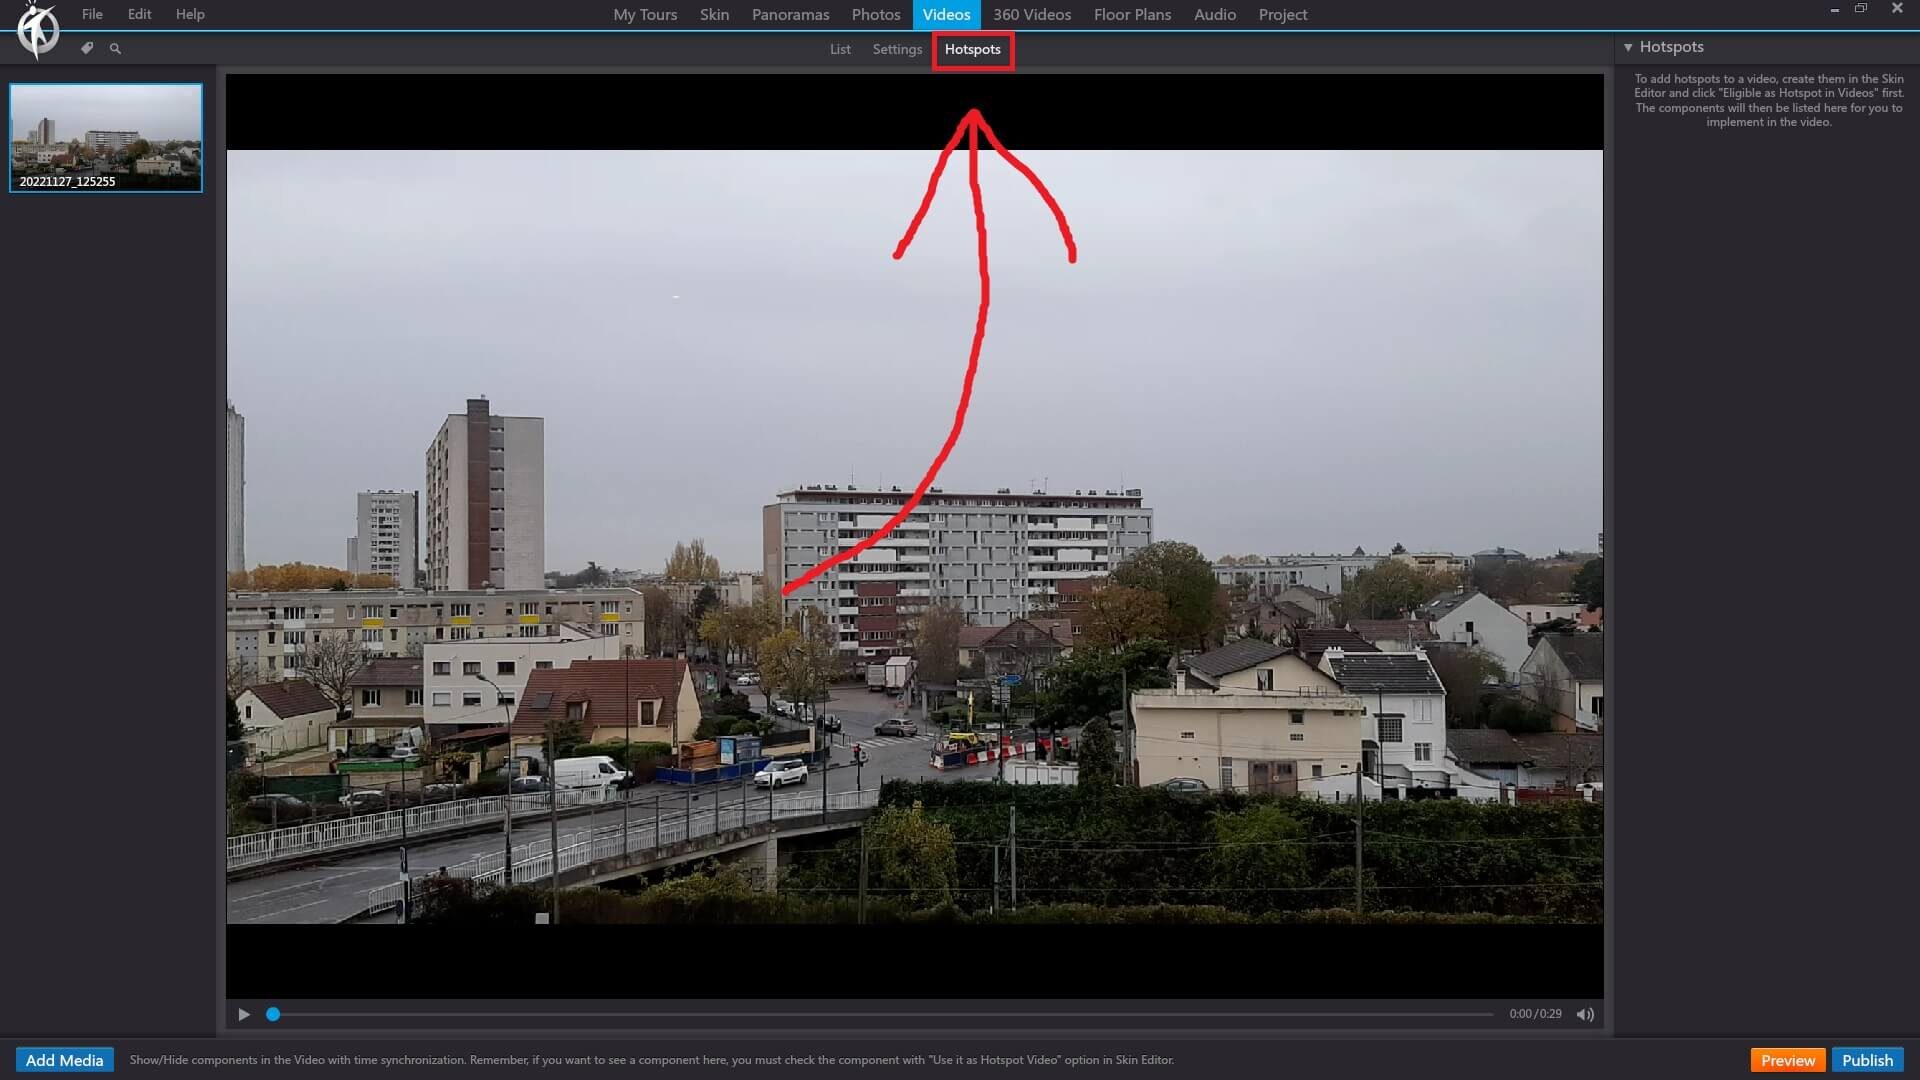
3DVista – Videos – Hostpots
In 3DVista, the “Hotspots” option under the “Videos” section of the toolbar allows you to create interactive elements within your virtual tour that link to your video content. By adding video hotspots, you can create an engaging and immersive experience for your viewers. Some features of the “Hotspots” option include:
Add Video Hotspot: You can easily add a video hotspot to any panorama in your virtual tour project. This interactive element appears as an icon or a custom image, which, when clicked by the viewer, triggers the playback of the linked video.
Customize Hotspot Appearance: You can customize the appearance of the video hotspot by choosing from a variety of built-in icons or uploading your own custom image. Additionally, you can modify the size, rotation, and opacity of the hotspot to match the style of your virtual tour.
Hotspot Animation: To draw attention to the video hotspot, you can apply animations, such as pulsing or rotating effects, making it more noticeable and inviting for viewers to interact with.
Hotspot Tooltip: You can add a tooltip to the video hotspot that displays a brief description or title when the viewer hovers over it. This provides context and encourages the viewer to click on the hotspot to watch the video.
Positioning and Alignment: You can precisely position the video hotspot within your panorama, ensuring it appears at the desired location for optimal visibility and engagement.
Video Playback Settings: When creating a video hotspot, you can also define the video’s playback settings, such as autoplay, loop, mute, and whether to display video controls.
The “Hotspots” option under the “Videos” toolbar in 3DVista is an effective tool for integrating video content into your virtual tours, making them more interactive and captivating for your audience.