
In 3DVista, the “Project” section in the toolbar provides you with options and tools for managing the overall settings and elements of your virtual tour project. This section allows you to customize your project’s appearance, behavior, and general settings, as well as manage the publication and export of your virtual tour.
When you click on the “Project” section in the toolbar, you will find the following options:
General Settings: Configure the global settings of your virtual tour, such as the project title, description, author information, and default view settings. You can also set options for auto-start, right-click protection, and social media sharing.
Appearance: Customize the visual appearance of your virtual tour, including the background color, loading screen, and default skin. You can also add a custom preloader, watermark, or logo to your project.
Behavior: Adjust the behavior and interactivity of your virtual tour, such as the mouse controls, gyroscope settings, and auto-rotate options. You can also enable or disable features like VR mode, touch controls, and keyboard shortcuts.
Media: Manage the media assets used in your virtual tour, including panoramas, videos, photos, floor plans, and audio files. You can import new media, organize existing media, and optimize your media assets for better performance and compatibility.
Export & Publish: Prepare your virtual tour for online sharing, embedding on your website, or offline viewing. You can export your project as a standalone file, generate an embed code, or publish directly to the 3DVista hosting platform.
By using the options and tools within the “Project” section of the 3DVista toolbar, you can create a fully customized and professional virtual tour that meets your specific needs and requirements.
3DVista – Project – PlayList
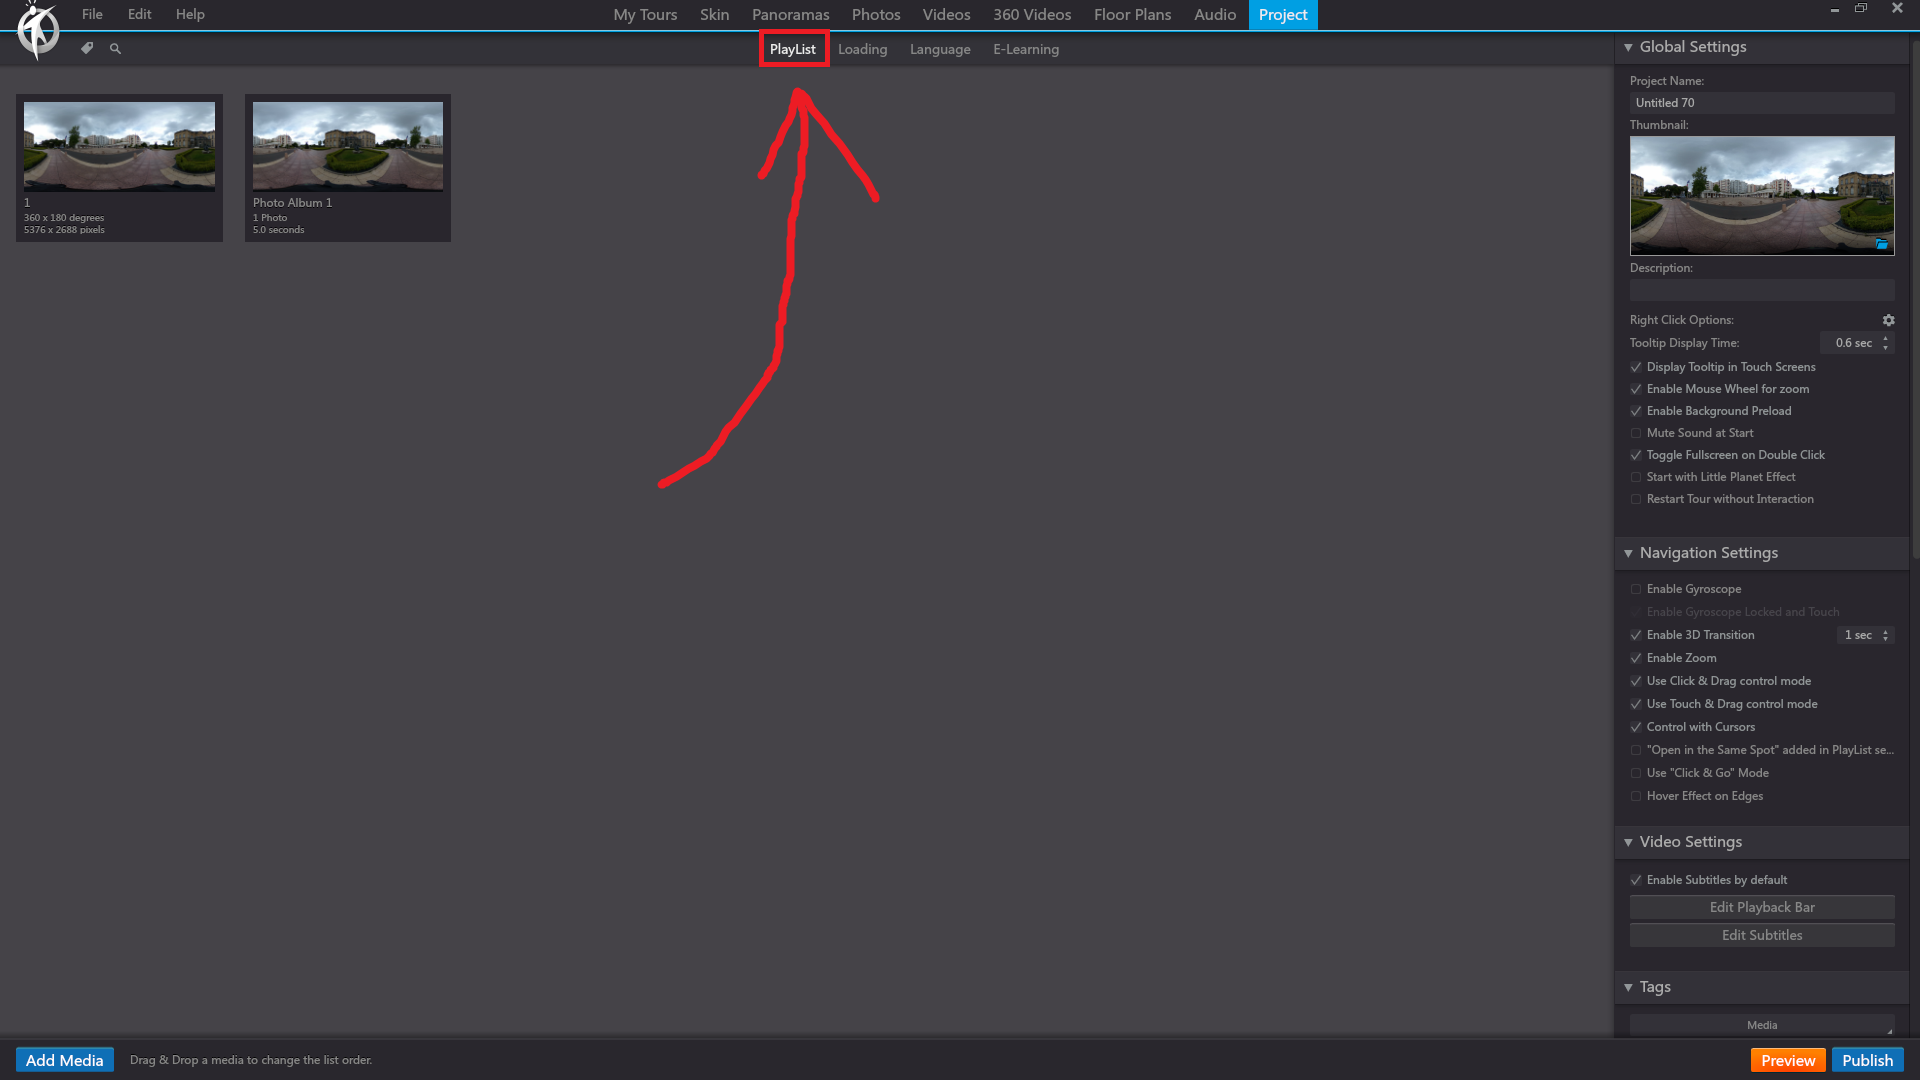
Playlist can adjust the global settings of a tour by editing panorama, video, VR, background music and social settings. These functions control how a user interacts with the tour and can be found in the right side panel. These setting will be applied to the whole tour rather than the individual scenes.
In 3DVista, the “Playlist” option in the “Project” section of the toolbar allows you to manage the sequence and timing of your virtual tour’s media assets. You can create a custom playlist to control the order in which panoramas, videos, and audio files are played during the virtual tour, as well as set specific durations for each media asset.
When you click on the “Playlist” option under the “Project” section, you will be able to perform the following actions:
Add Media: Click on the “Add Media” button to insert panoramas, videos, or audio files from your project into the playlist. You can browse your media library and select the assets you want to include in the sequence.
Arrange Media: Drag and drop the media assets within the playlist to arrange them in the desired order. You can easily change the sequence of the media by clicking and dragging the assets to a new position in the list.
Set Duration: For each media asset in the playlist, you can set a specific duration in seconds. This will determine how long the asset will be displayed or played during the virtual tour before transitioning to the next item in the playlist.
Loop Playlist: Enable the “Loop Playlist” option if you want the playlist to automatically restart from the beginning once it reaches the end. This can be useful for creating continuous presentations or background audio that plays throughout the entire virtual tour.
Preview Playlist: Use the built-in preview function to test the playlist and ensure that the sequence and timing of the media assets are as intended.
By using the “Playlist” option under the “Project” section in the 3DVista toolbar, you can create a well-organized and timed presentation of your virtual tour’s media assets, providing your viewers with a more engaging and dynamic experience.
3DVista – Project – Loading
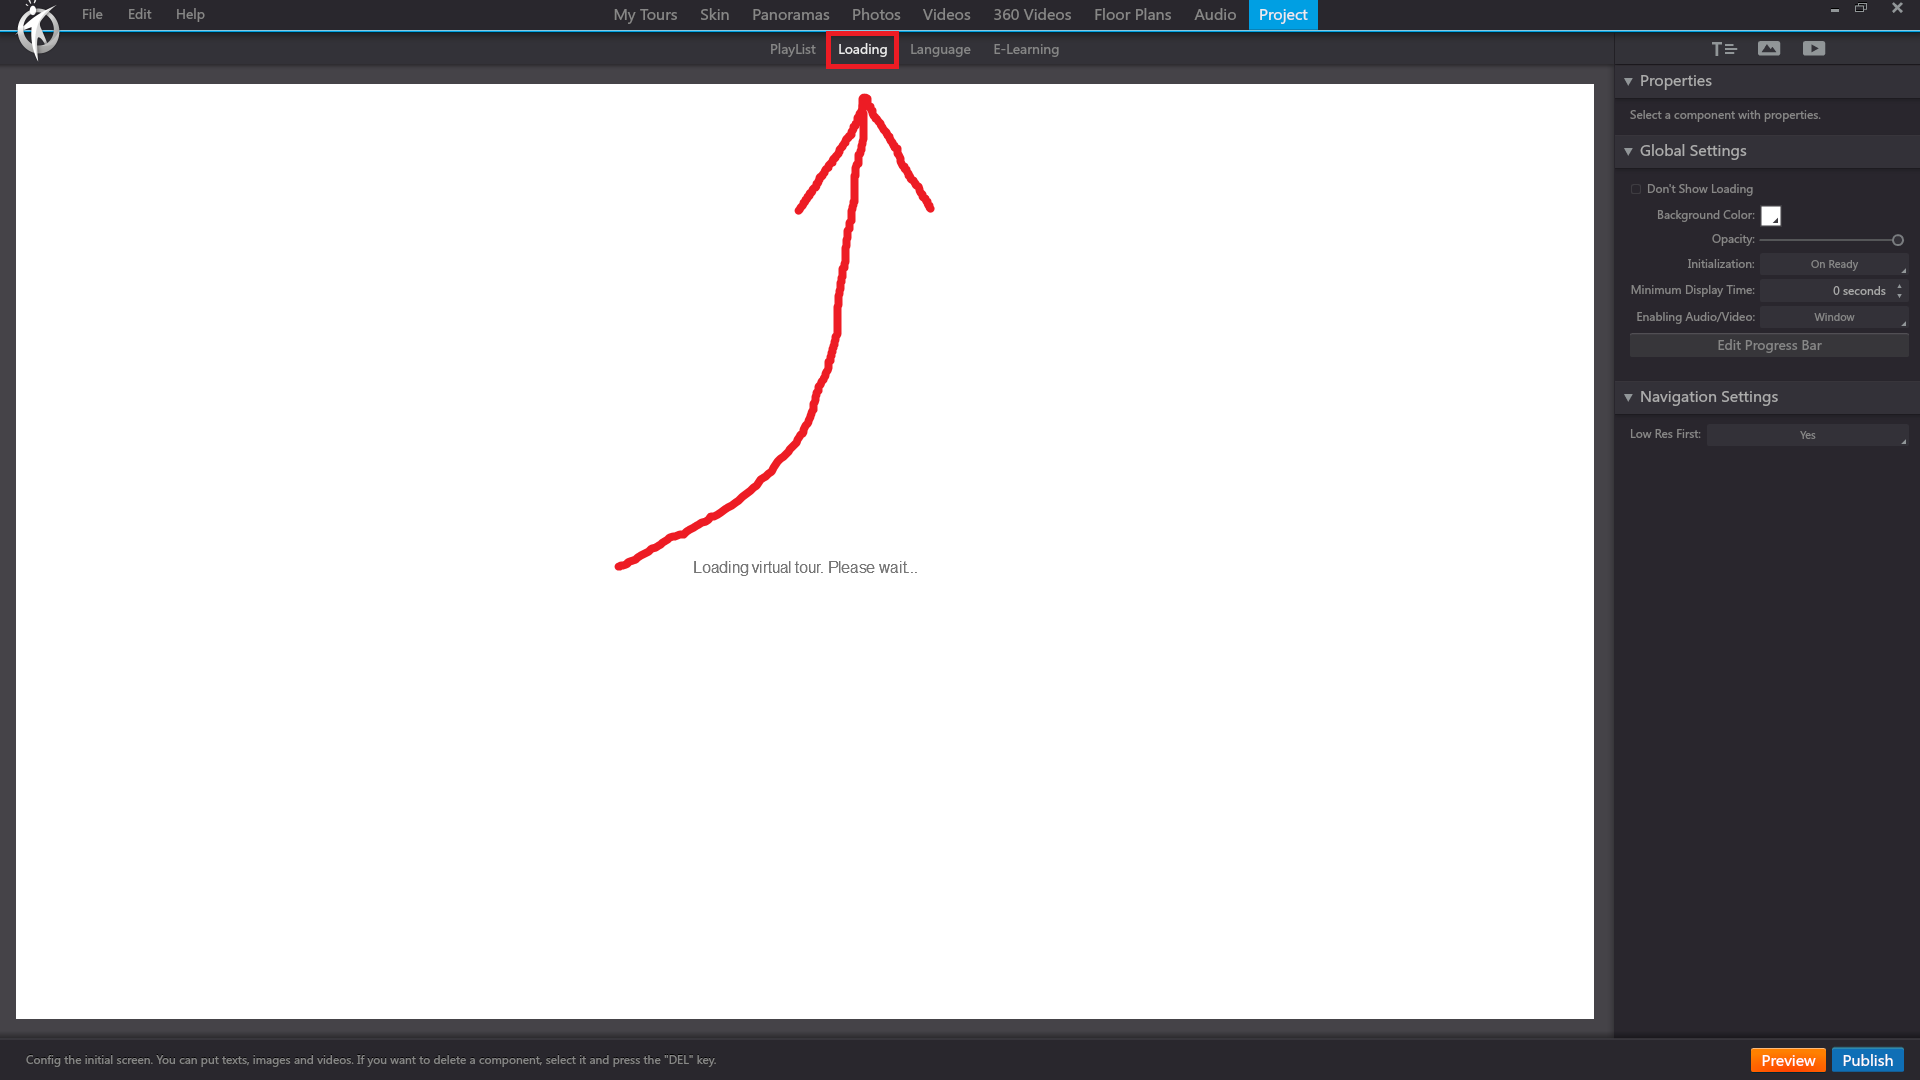
Loading enables you to customise the loading screen of the tour. Like the skin templates, you can add/delete elements to make the loading screen more engaging. To add icons select from provided elements in the top right corner of the work space and insert it into the viewport.
In 3DVista, the “Loading” option in the “Project” section of the toolbar allows you to customize the loading screen that appears when your virtual tour is being loaded by the viewer. You can personalize the appearance of the loading screen with images, text, colors, and animations to create a more engaging and branded experience for your audience.
When you click on the “Loading” option under the “Project” section, you will have access to the following settings:
Loading Screen Background: Choose the background color or image for the loading screen. You can either select a solid color or upload a custom image to use as the background.
Loading Indicator: Select the type of loading indicator you want to display on the loading screen. Options include a progress bar, a spinner, or a custom image. You can also choose the color, size, and position of the loading indicator.
Loading Text: Customize the text displayed on the loading screen. You can edit the content, font, size, color, and position of the text to match your branding or provide additional information to the viewer.
Animations: Apply animations to the loading screen elements, such as fading in/out, rotating, or sliding. This can make the loading screen more dynamic and visually appealing.
Preview Loading Screen: Use the built-in preview function to test the appearance and functionality of the loading screen, ensuring that it looks and works as intended before publishing your virtual tour.
By using the “Loading” option under the “Project” section in the 3DVista toolbar, you can create a customized and branded loading screen for your virtual tour, improving the overall user experience and reinforcing your brand identity.
3DVista – Project – Language
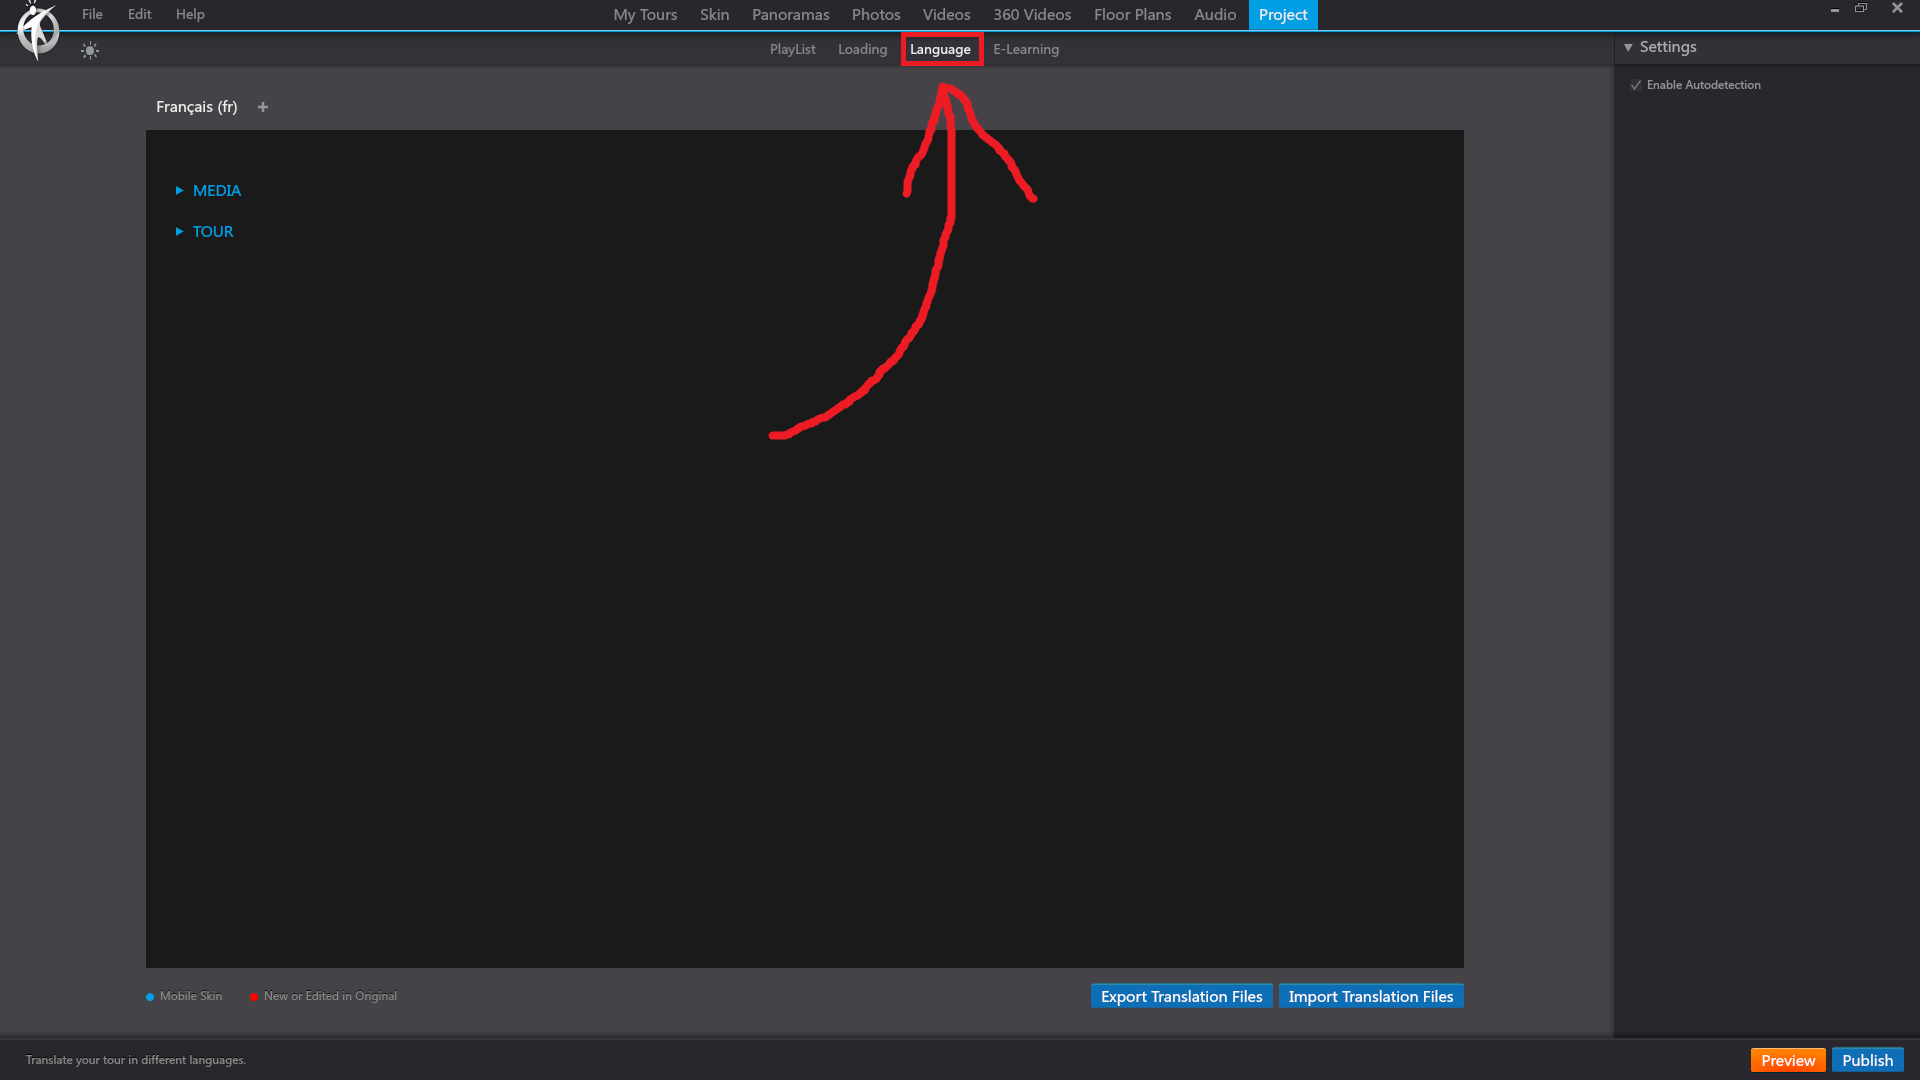
The Language function provides a consolidated view of all text objects within the file and enables you to make last minute amendments. Text objects are listed in a hierarchy based on their location within the tour, making it easy to find specific elements.
In 3DVista, the “Language” option in the “Project” section of the toolbar allows you to manage and customize the languages available for your virtual tour. This feature is particularly useful when creating virtual tours for audiences that speak different languages or come from different regions.
When you click on the “Language” option under the “Project” section, you will have access to the following settings:
Default Language: Choose the default language for your virtual tour. This is the language that will be displayed when a user first opens the tour.
Add Language: Click the “Add Language” button to include additional languages in your virtual tour. You can choose from a list of predefined languages or add custom ones.
Language Settings: For each added language, you can customize the text labels, tooltips, and other text elements within your virtual tour. This includes text within the skin, hotspots, and other interactive elements.
Language Flags: Assign flag icons to represent the different languages available in your virtual tour. The flag icons can be displayed within the skin, allowing users to easily switch between languages.
Preview Language Settings: Use the built-in preview function to test the language settings and ensure that the text and other elements are properly translated and displayed for each language.
By using the “Language” option under the “Project” section in the 3DVista toolbar, you can create a multilingual virtual tour that caters to a diverse audience, making your tour more accessible and engaging for users from different regions and language backgrounds.
3DVista – Project – E-Learning
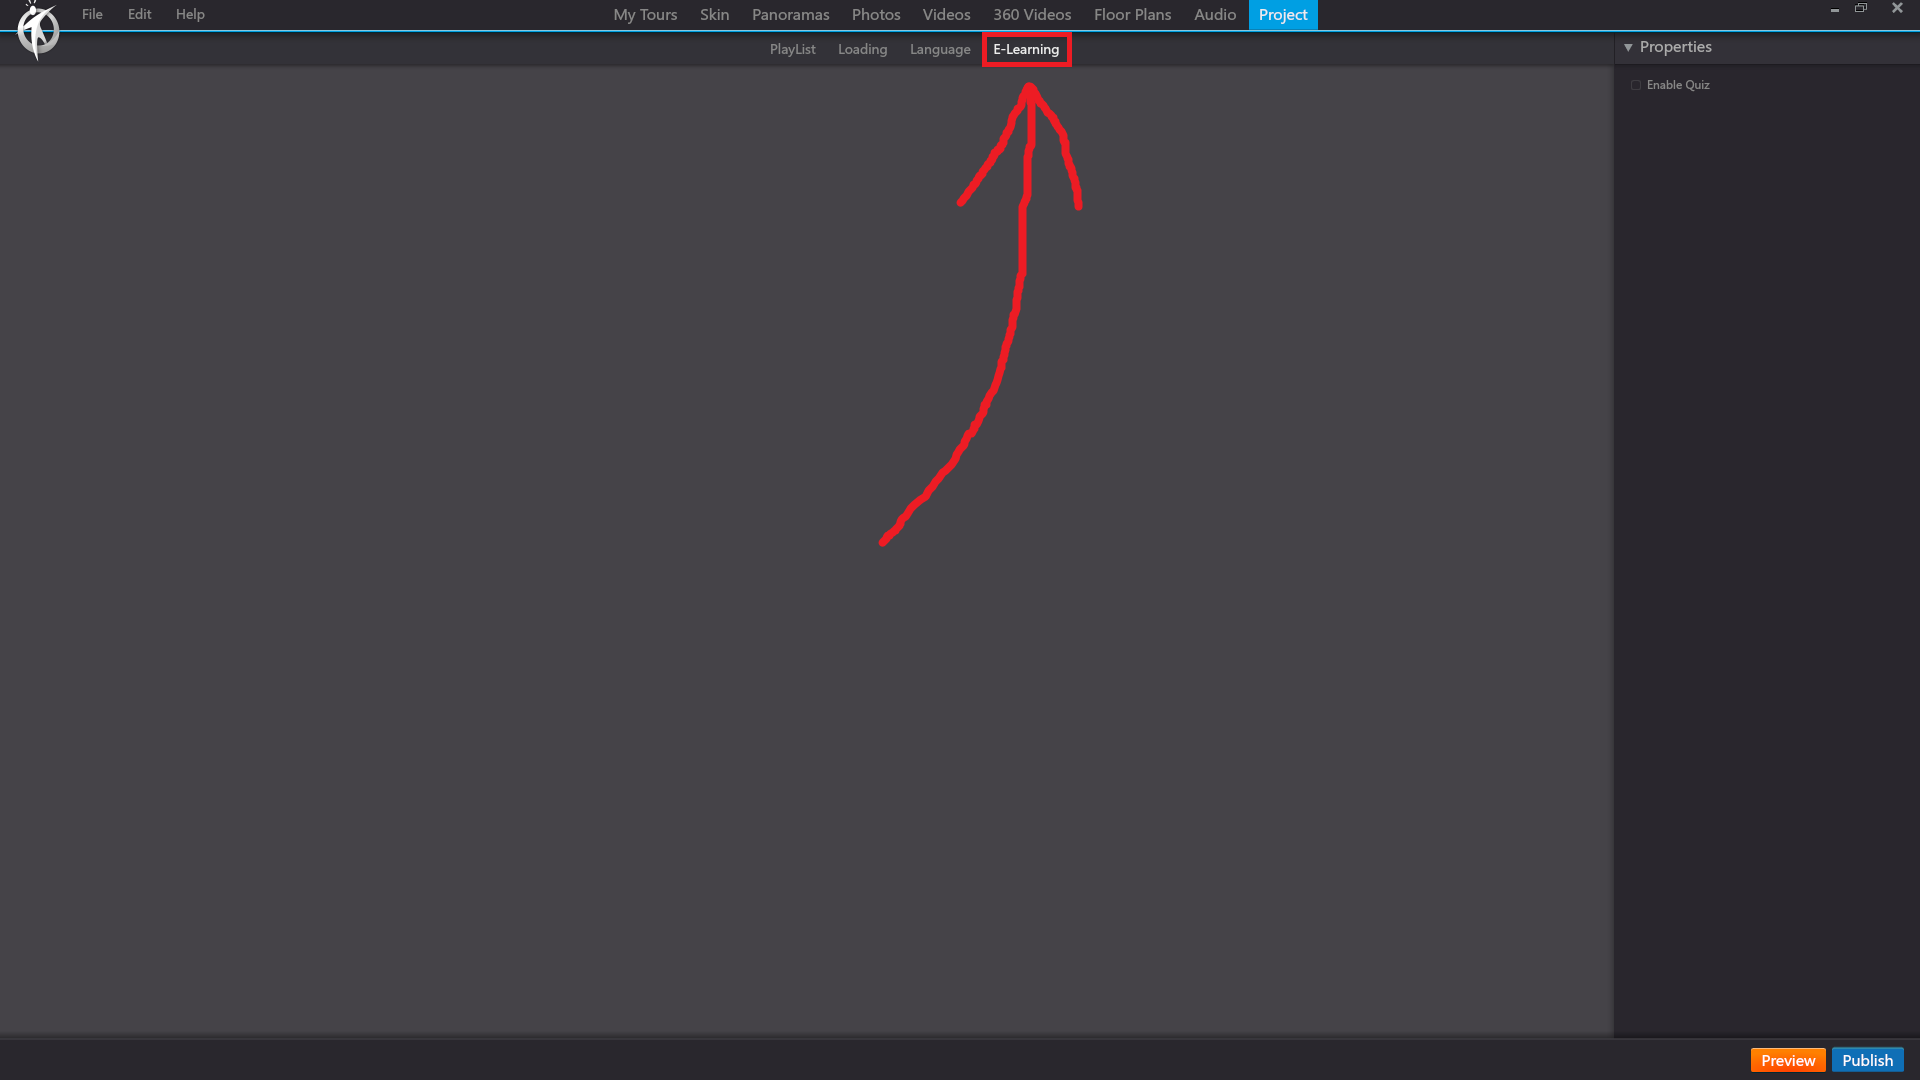
E-Learning provides the opportunity to integrate quiz cards and scores into the tour. E-Learning actions are used the same as actions found in the skins section but instead applied to a quiz as opposed to elements. To further learn about the E-Learning function, please click the follow link here.
In 3DVista, the “E-Learning” option under the “Project” section of the toolbar enables you to create interactive e-learning content within your virtual tours. This feature allows you to design educational experiences by incorporating quizzes, tests, and information points, helping to engage and educate your audience while they explore the virtual environment.
When you click on the “E-Learning” option in the “Project” section, you can access the following settings and tools:
Add Questions: Click the “Add Question” button to include various types of questions in your e-learning content, such as multiple-choice, true/false, fill-in-the-blank, and matching questions. You can customize the question text, response options, and correct answers as needed.
Question Settings: Configure the appearance and functionality of each question, including the layout, font, colors, and images. You can also set the question’s point value, required passing score, and feedback messages for correct and incorrect answers.
Question Hotspots: Link questions to specific hotspots within your virtual tour, allowing users to access the questions while exploring the environment. You can also create information points that display additional content or multimedia resources related to the question or topic.
Results Tracking: Configure how the results of the e-learning content are tracked and stored. You can choose to save results locally, submit them to an external server or learning management system (LMS), or send them via email to a specified address.
Preview E-Learning Content: Use the built-in preview function to test the e-learning content within your virtual tour, ensuring that questions are displayed correctly and function as intended.
By using the “E-Learning” option under the “Project” section in the 3DVista toolbar, you can transform your virtual tours into engaging and interactive educational experiences, making them more valuable for users and suitable for various learning and training scenarios.
Publish
Publishing a file will render the current virtual tour and ‘package’ it in a range of file formats for sharing and viewing without the need of the 3DVista program.
Once you have finished making amendments and have previewed the tour, making sure everything is ready for publishing click on the blue ‘Publish’ button in the bottom right corner of the viewport.
Publish Settings
Publish Settings enables last minute amendments to the virtual tour’s functionality and user interface.
3DVista hosts a range of different types of outputs suited to your intended use. For standard web/mobile view select ‘For Web / Mobile’, and make sure ‘Export 360 Video to Adaptive’ is checked under publish settings. Once you have selected a destination for 3DVista to output to, select the blue ‘Publish’ button in the bottom right corner of the viewport.