3DVista – Audio – List
In 3DVista, the “Audio” option under the toolbar allows you to add and manage audio elements within your virtual tour. This can include background music, ambient sounds, or voiceover narration. Adding audio to your tour enhances the immersive experience for your viewers and can help create a more engaging environment.
When you click on the “Audio” option in the toolbar, you can perform the following actions:
Add Audio: Click the “Add Audio” button to import audio files from your computer. You can add multiple audio files and manage them within the audio library.
Set Audio Properties: Select an audio file in the library and configure its properties, such as looping, volume, and fade-in/fade-out settings. You can also set the audio to play automatically upon entering a scene or trigger it through a hotspot or other interactive elements.
Assign Audio to Scenes: Drag and drop audio files from the library onto specific scenes in your tour to associate the audio with those scenes. This allows you to create different audio experiences for different parts of your virtual tour.
Create Audio Hotspots: Add audio hotspots within your panoramas to play audio files when users interact with them. You can customize the appearance and functionality of these hotspots, such as adding tooltips, adjusting the size and color, and defining actions that occur when clicked or hovered over.
Preview Audio: Use the built-in preview function to test the audio playback within your virtual tour. This ensures that the audio is working as intended and allows you to fine-tune the audio settings before publishing your tour.
By using the “Audio” option in the 3DVista toolbar, you can create a more immersive and engaging experience for your virtual tour viewers through the addition of music, sound effects, or voiceovers.

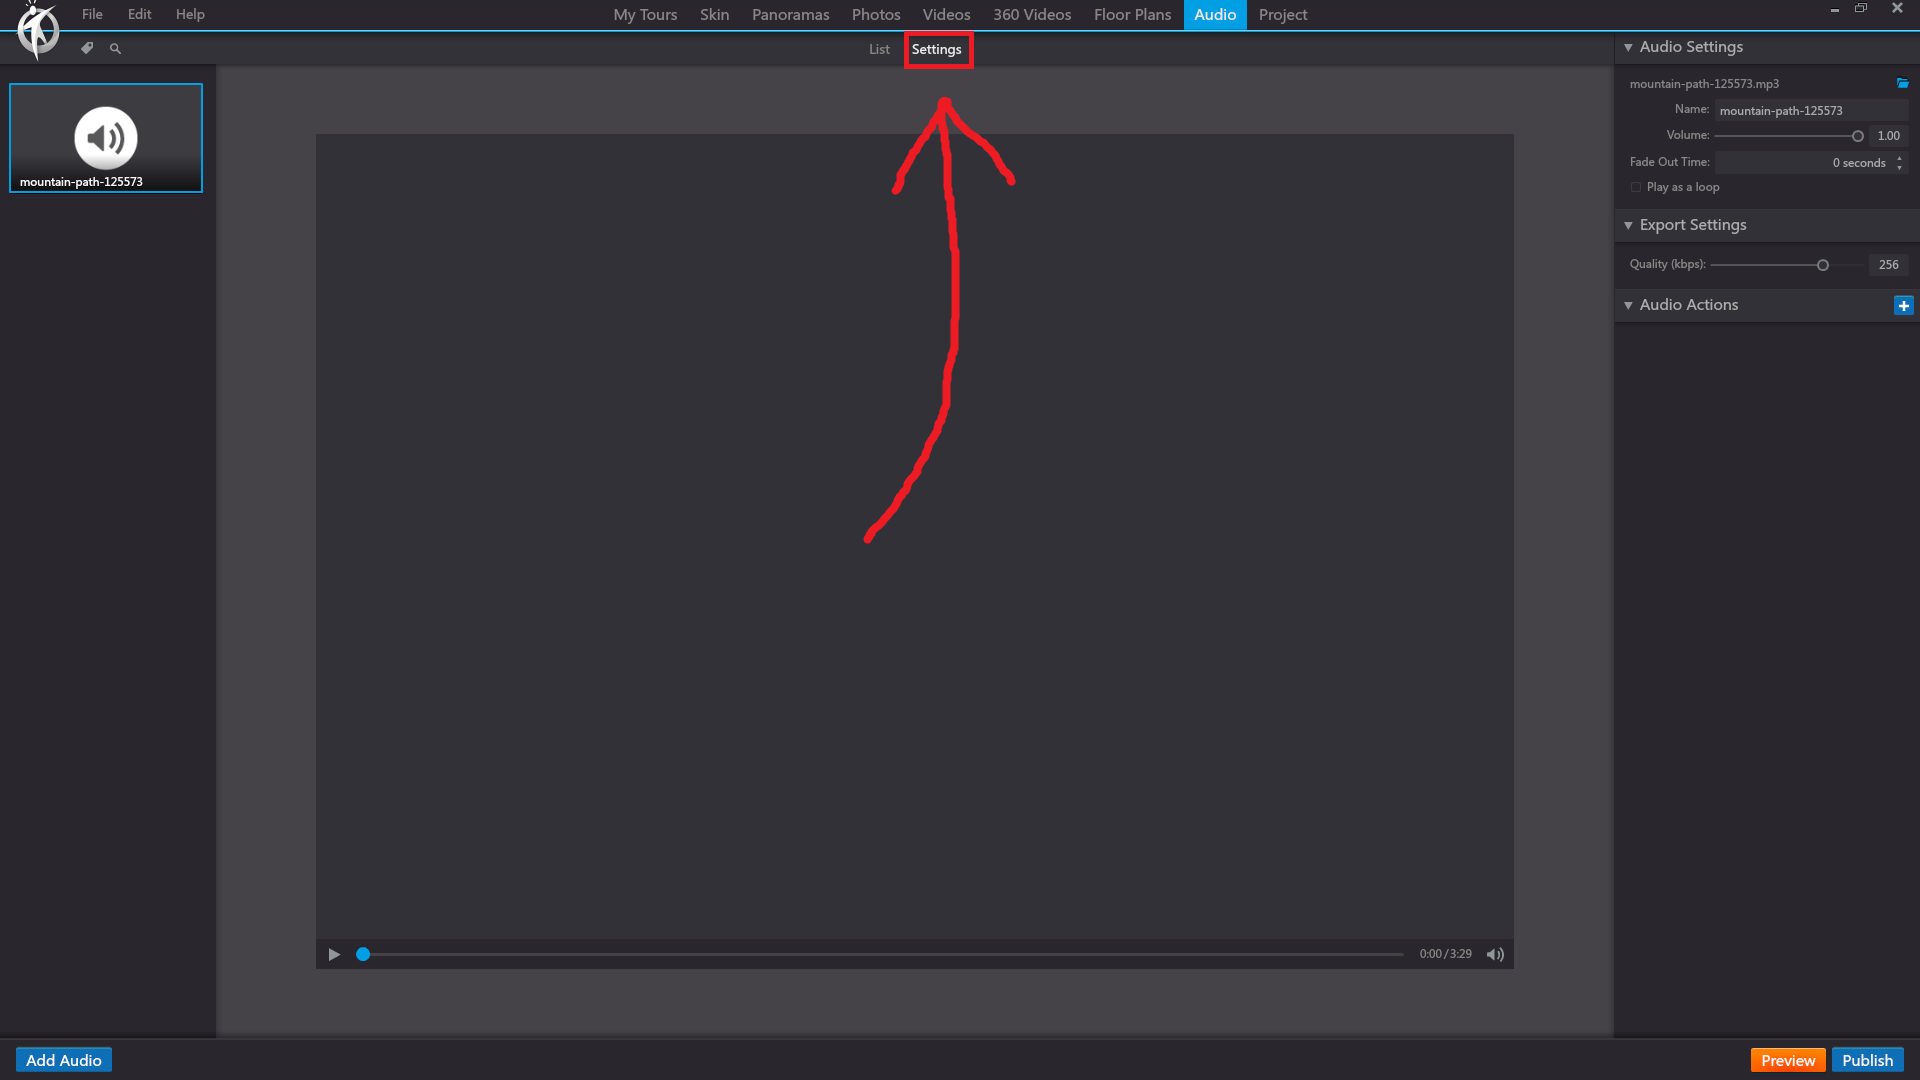
3DVista – Audio – Settings
In 3DVista, the “List” option under the “Audio” section of the toolbar displays a comprehensive list of all the audio files that you have imported or created within your project. This list enables you to organize, manage, and edit the audio elements you use in your virtual tour.
When you click on the “List” option in the “Audio” section, you will see the following:
Audio Library: A list of all audio files in your project, including background music, ambient sounds, and voiceover narration. Each audio file will display its name, file type, and duration.
Add Audio: Click the “Add Audio” button to import audio files from your computer. You can add multiple audio files and manage them within the audio library.
Edit Audio Properties: Select an audio file in the library and configure its properties, such as looping, volume, and fade-in/fade-out settings. You can also set the audio to play automatically upon entering a scene or trigger it through a hotspot or other interactive elements.
Assign Audio to Scenes: Drag and drop audio files from the library onto specific scenes in your tour to associate the audio with those scenes. This allows you to create different audio experiences for different parts of your virtual tour.
Delete Audio: Select an audio file and click the “Delete” button to remove it from your project. Be cautious when deleting audio files, as this action cannot be undone.
The “List” option in the “Audio” section of the 3DVista toolbar provides an organized and efficient way to manage all the audio elements within your virtual tour, making it easier to create a more immersive and engaging experience for your viewers.