In 3DVista, the “Floor Plans” section in the toolbar allows you to incorporate floor plans, maps, or other 2D images into your virtual tours as an additional way to navigate between scenes and provide spatial context for your viewers. These floor plans can be customized to include hotspots, labels, and other interactive elements to enhance user experience.
When you click on the “Floor Plans” section in the toolbar, you will find the following options:
List: View and manage all the floor plans you have imported into your project. You can sort, delete, or organize them into folders for easier navigation.
Settings: With a floor plan selected, you can access its settings, which include adjusting its size, position, opacity, and other properties to ensure it appears as desired within your virtual tour.
Hotspots: Create and customize interactive hotspots within your floor plans. These hotspots can be used to navigate between scenes, display additional information, or trigger various actions.
Labels: Add text labels to your floor plan to identify rooms, areas, or points of interest. Customize the appearance and position of these labels for optimal readability and visual appeal.
Radar: Configure a radar element within your floor plan that rotates and indicates the viewer’s current viewing direction, providing a better sense of orientation within the virtual space.
Audio: Associate audio files with your floor plans, such as background music or voice-over narration, to create a more engaging and immersive experience.
By using the “Floor Plans” section in the toolbar, you can create more informative and interactive virtual tours, allowing users to better understand the layout and spatial relationships within your virtual environment. This feature is especially useful for real estate, architecture, and other industries where spatial understanding is critical.
The Floor Plans tab allows static images of maps, plans or aerial images to be uploaded to the Virtual Tour. Having a floor plan as part of a Virtual Tour is not necessary but can add navigational and spatial awareness as it can provide a sense of where you are when walking through a Virtual Site Tour. A thumbnail view of the Floor Plan can be added into the Skin, to appear on every scene. Multiple floor plans can also be added to show a number of different sites and scales throughout the tour.
3DVista – Floor Plans – List
The List function within Floor Plans works the same as in other areas such as Panoramas. All imported floor plans are displayed here in a list of thumbnail images. Global image settings can be edited in Lists.
In 3DVista, the “List” option under the “Floor Plans” section in the toolbar displays all the floor plans you have imported into your virtual tour project. This list allows you to manage, organize, and access your floor plan files easily, making it more convenient to work with multiple floor plans within your virtual tour.
When you click on the “List” option under the “Floor Plans” section in the toolbar, you will see the following:
Floor Plan Thumbnails: A visual representation of each floor plan in the form of a thumbnail, making it easy to identify and select the desired floor plan.
Floor Plan Titles: The titles of the imported floor plan files, which can be renamed for easier organization and reference.
Add Floor Plan Button: Click this button to import additional floor plan files into your project.
Delete Floor Plan Button: Select a floor plan and click this button to remove it from your project.
Organize: Organize your floor plans by creating folders and sorting them as needed.
By using the “List” option under the “Floor Plans” section in the toolbar, you can efficiently manage your floor plan assets, making it easier to incorporate them into your virtual tour and create more engaging and informative experiences for your viewers.

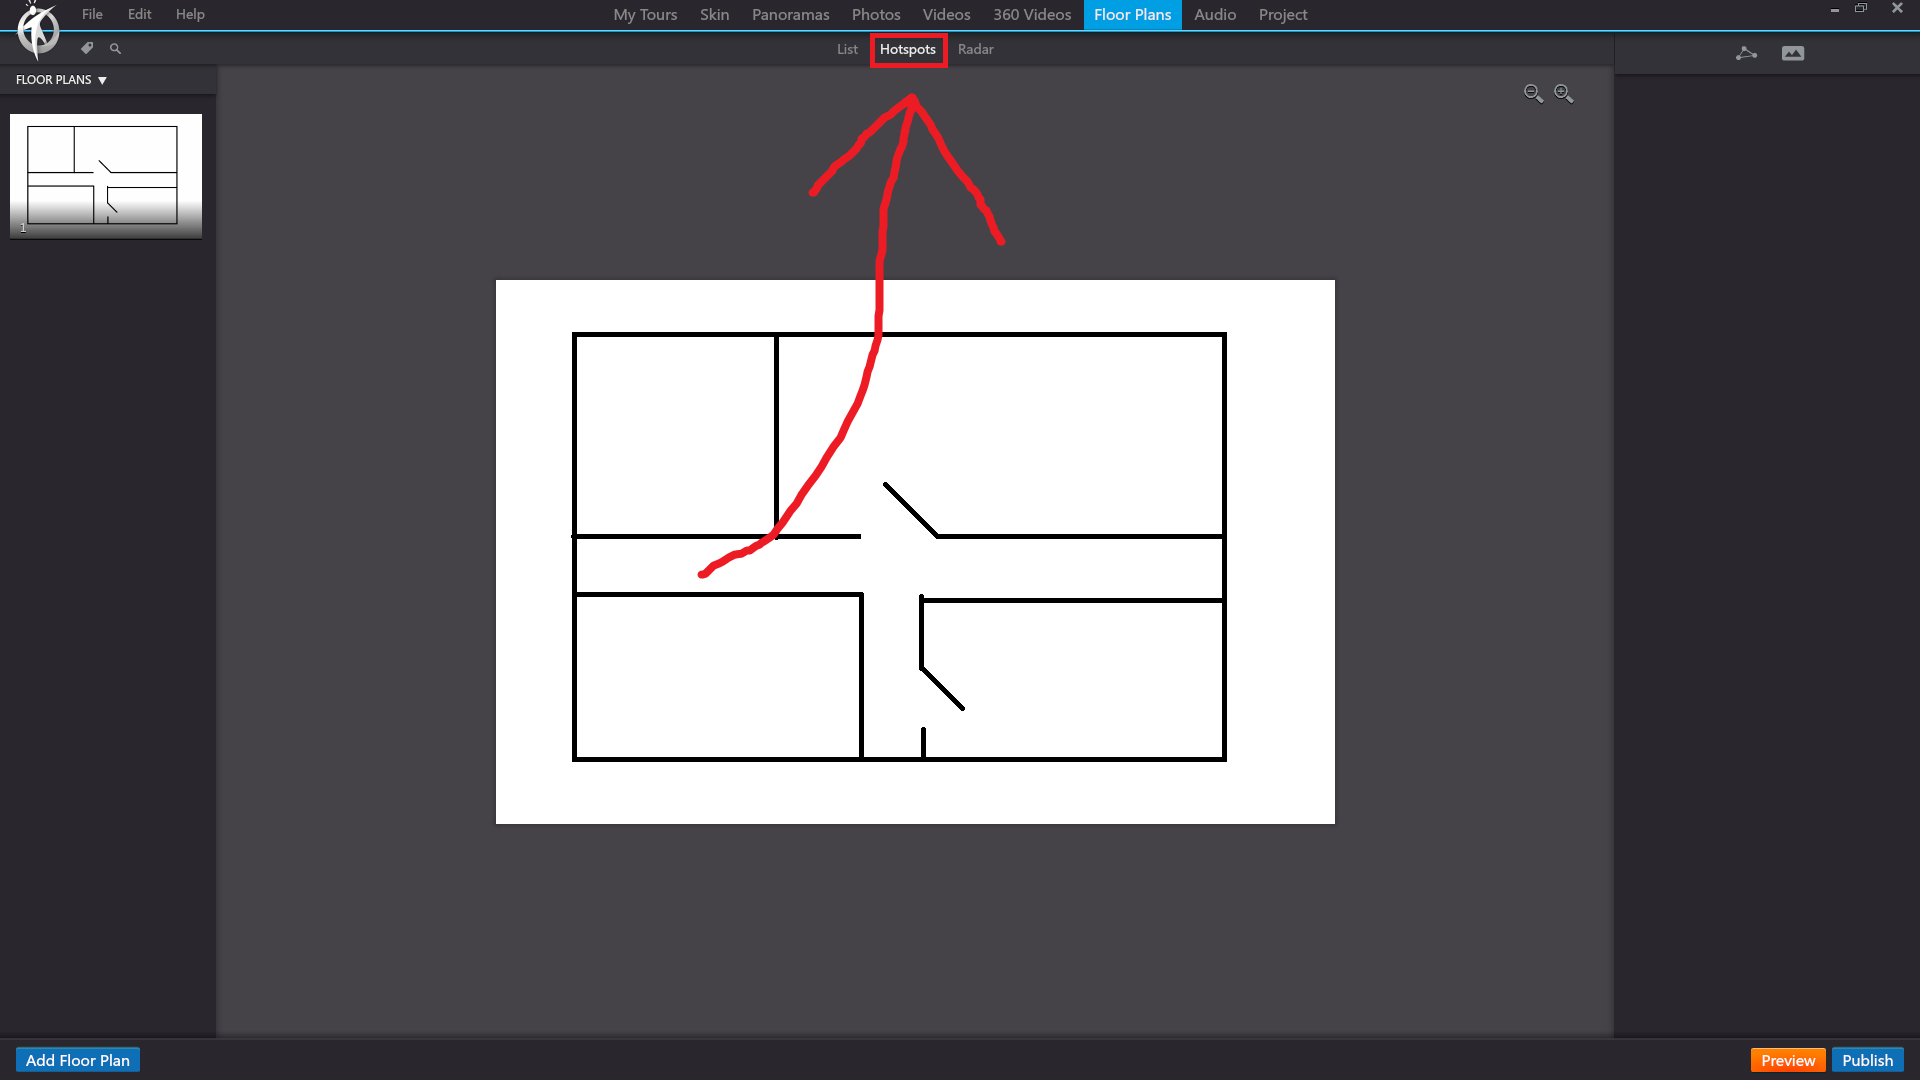
3DVista – Floor Plans – Hostpots
Hotspots within the Floor Plans tab enable interactivity within a virtual site tour defined by elements such as, customised polygons, text, images and videos. In particular location hotspots integrated on Floor Plans behave as markers mapping out views and points of interest, transporting you to scenes at a specific locations within a tour when clicked.
In 3DVista, the “Hotspots” option under the “Floor Plans” section in the toolbar enables you to add and customize interactive hotspots on your floor plans. These hotspots can be used to create engaging and interactive experiences for your virtual tour viewers, allowing them to navigate between different scenes, display additional information, or trigger various actions.
When you click on the “Hotspots” option with a floor plan selected, you can perform the following actions:
Add a Hotspot: Click the “Add Hotspot” button to place a new hotspot on the floor plan. You can choose from a variety of hotspot types, such as image, text, audio, video, or 3D objects.
Position the Hotspot: Click and drag the hotspot to the desired location on the floor plan.
Configure the Hotspot: Customize the appearance and functionality of the hotspot by editing its properties. You can adjust the size, color, opacity, and animations, as well as add tooltips or labels.
Set Hotspot Actions: Define the actions that will be triggered when the hotspot is clicked or hovered over by the user. These actions can include navigating to another scene, displaying an info window, playing audio or video, opening a website, or executing custom JavaScript code.
Preview the Hotspot: Use the built-in preview function to test the hotspot’s appearance and functionality within the floor plan. This allows you to ensure that the hotspot is working as intended before publishing your virtual tour.
Using the “Hotspots” option under the “Floor Plans” section in the toolbar, you can create immersive and interactive experiences within your floor plans, enhancing the overall engagement and enjoyment of your virtual tours.
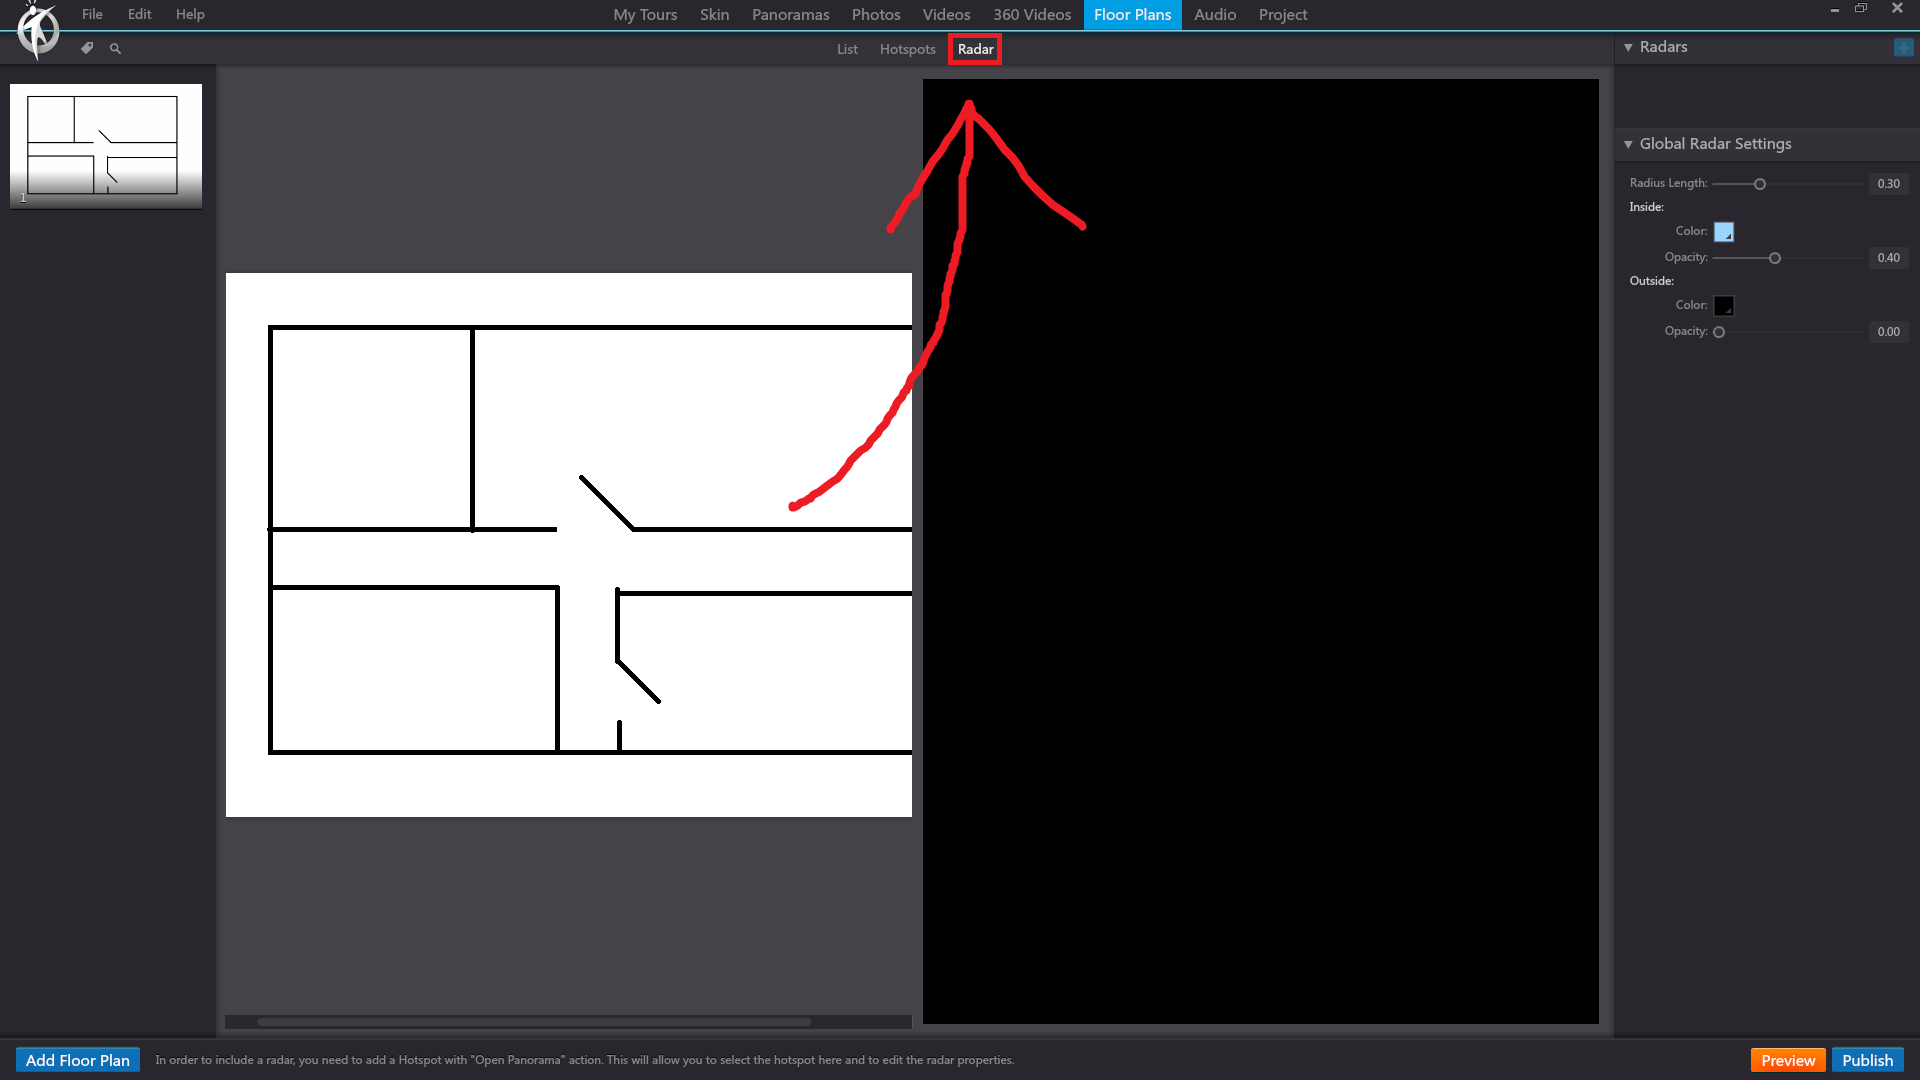
3DVista – Floor Plans – Radar
The Radar feature within Floor Plans allows you to add a radius overlay indicating direction and field of view when navigating panoramas and 360 videos. Radars combined with hotspots functions can create a very comprehensive spatial understanding of virtual sites.
In 3DVista, the “Radar” option under the “Floor Plans” section in the toolbar allows you to add a radar element to your floor plan, which helps users understand their current orientation within the virtual tour. The radar visually represents the viewer’s field of view and direction, making it easier for them to navigate the tour and understand the spatial layout.
When you click on the “Radar” option with a floor plan selected, you can perform the following actions:
Add a Radar: Click the “Add Radar” button to place a new radar element on the floor plan.
Position the Radar: Click and drag the radar to the desired location on the floor plan, usually over the hotspot that represents the current panorama.
Configure the Radar: Customize the appearance and functionality of the radar by editing its properties. You can adjust the size, color, opacity, and other visual aspects of the radar element.
Set Radar Rotation: Define the rotation of the radar element based on the orientation of the panorama within the virtual tour. This ensures that the radar accurately represents the viewer’s field of view and direction.
Preview the Radar: Use the built-in preview function to test the radar’s appearance and functionality within the floor plan. This allows you to ensure that the radar is working as intended before publishing your virtual tour.
By using the “Radar” option under the “Floor Plans” section in the toolbar, you can enhance the navigation experience for your virtual tour viewers, making it easier for them to understand their position and orientation within the tour.